
With the recent release of Animal Crossing: New Horizons‘ new summer update, players are taking to the seas to collect items and craft mermaid furniture. One of the materials you’ll need in order to craft the new furniture is pearls, which are tricky to obtain if you aren’t familiar with the contents of the summer update. Not to worry, though, as we have all the tips you’ll need for finding pearls in Animal Crossing: New Horizons.
Recommended reading:
- Animal Crossing: New Horizons sea creature guide (July 2020)
- How to swim in Animal Crossing: New Horizons
- Here’s every new item you can get from Pirate Gulliver in Animal Crossing today
Go swimming
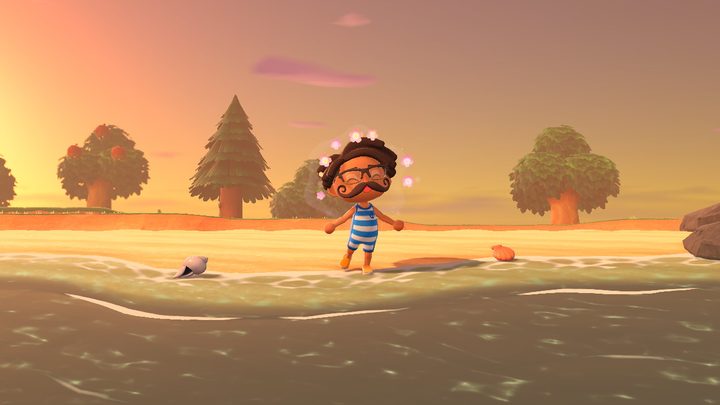
There are two main ways of getting your hands on pearls — both of which require you to go swimming in the ocean. To do so, you’ll need to purchase a swimsuit from Nook’s Cranny for 3,000 Bells. Alternatively, you can grab one from the Nook Stop terminal for the same price, but you’ll find different variations there. The terminal also has the Nook Inc. wet suit available for 800 Nook Miles. However you get it, put the suit on and get ready for a swim.
Search the ocean floor
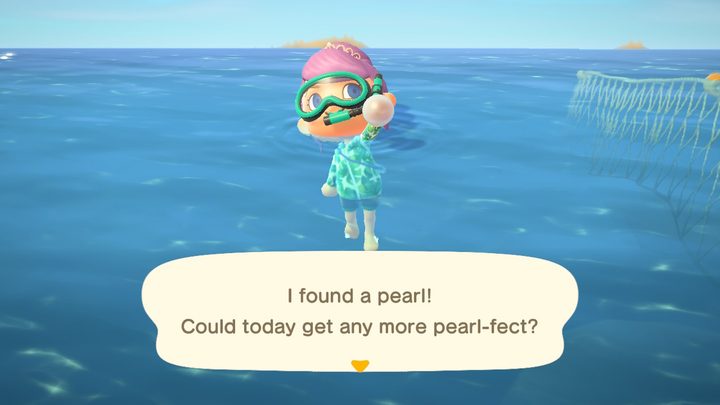
Once you’re suited up and ready to go, you can dive into the ocean and go for a swim. The first method of tracking down pearls is to find them on the ocean floor. You’ll encounter sets of bubbles that indicate an item is below, so press Y to dive and you’ll pick up the item indicated by a shadow beneath you. Keep in mind, pearls have an extremely low drop rate. You might have to do several laps around your island just to find one. It’s unclear what the pearl’s exact drop rate is, but we estimate it’s somewhere around 5%.
Keep picking up items and eventually you’ll find one. It’s best to make sure your inventory is clear so you have lots of room for the items you’ll inevitably collect. There is no limit to how many pearls you can find in a day, and they can be acquired at any time.
A reward from Pascal
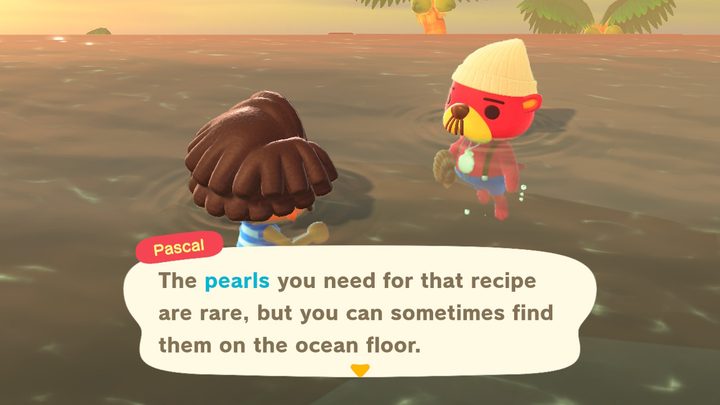
While you collect items beneath the surface, you’ll likely find a handful of scallops. Eventually, after picking up a random number of scallops (usually between one and four), you’ll come across a friendly red sea otter known as Pascal. He’ll approach you and offer to trade DIY recipes for the scallops. You’ll need to do this to make use of your pearls in the end. But the kicker is that sometimes, instead of giving you a recipe, he’ll give you a pearl, though the chances of this happening are low. Always agree to trade with him to increase the likelihood of getting a pearl or recipe. If you don’t agree to trade, he’ll stick around until you do. After you trade with him — regardless of what he gives you — he’ll say goodbye for the day and disappear.
You’ll probably gather more pearls by finding them on the ocean than from Pascal, but it doesn’t hurt to trade in your scallops when you have a chance. You can only trade with Pascal once a day, so if that’s a problem for you, you might want to consider time traveling by manipulating your system’s clock.
What do pearls do?
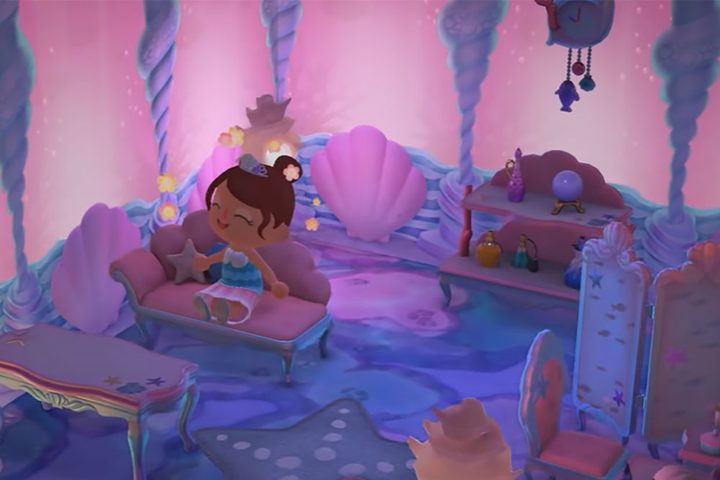
We go into much more detail about what to do with pearls in our DIY guide, but in essence, they are materials needed to craft new furniture introduced in the summer update. Typically, each piece of mermaid furniture requires no more than two pearls, but if you’re planning on completing your set, you’ll need a hefty amount of them, so you better get to swimming! All in all, you’ll need 20 of them to complete the full Mermaid furniture set, so it might take you a while to gather enough materials for all of them. Keep in mind, the mermaid furniture requires other materials you’ll likely have a stockpile of while searching for pearls.
In total, there are 14 pieces of mermaid furniture to craft, all of which require a DIY recipe given to you by Pascal. Aside from using them as a crafting material, you can also sell them at Nook’s Cranny for a whopping 10,000 Bells each. Though, you’ll likely get even more Bells if you sell them to a friend online, so do consider that before selling them to Timmy and Tommy.


