
The best Palworld tips and tricks for beginners

As a new resident of the Palpagos Islands, things may seem a bit confusing — even frightening. Not only are there dangerous Pals out there ready to ambush you, but humans as well. This isn’t a turn-based game like Pokemon, so you will need to rely on your skills in addition to strategy if you want to be a great Pal Tamer in Palworld. Being a survival game at its core, combat is just one aspect of the equation, along with exploration crafting, breeding, and more. The learning curve can be steep, but we can help you get your footing and begin your journey to be the best Pal Tamer in the land with a few tips and tricks every player should know.

Best Palworld tips and tricks

Pals in the ocean in palworld.
Pocketpair

Palworld has a lot of mechanics going on under the hood, and while it does its best to explain them all, a lot of nuance is left for you to figure out on your own.

Get the essentials

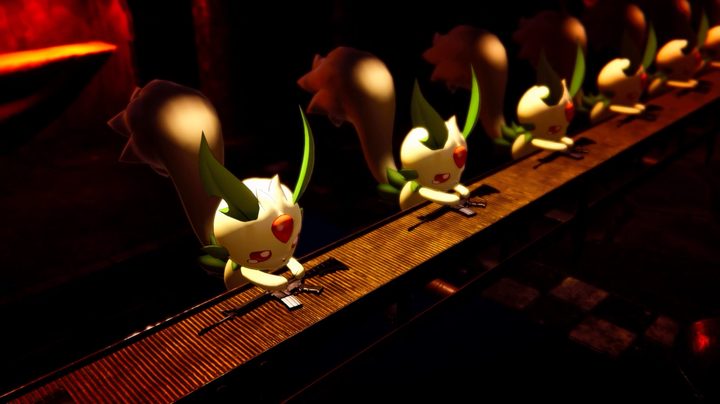
First, you need to get yourself a pickax as soon as possible. Crafting is the key to progression in Palworld, and the trusty pickax lets you gather all the most necessary materials, including, most importantly, Paldium Fragments. These blue rocks are necessary for crafting Pal Spheres that you need to catch Pals with, which we shouldn’t have to explain the importance of. You can make a Workbench out of just 2 Wood, and then use it to craft the pickax out of 5 Wood and 5 Stone. From there, your next priority should be the Palbox, so you can start catching and holding as many Pals as you can catch.

Put your Pals to work

A factory line with monsters making guns in Palworld.
Pocketpair

Pals aren’t just here to fight your battles alongside you. No, you can — and should — put these monsters to work at your base doing manual labor right away. After building a base and a roster of Pals, start assigning Pals to do things like gather materials for you by interacting with the Palbox and going into the Pals at base section. Once placed in this section, Pals will start doing whatever they are good at automatically, but if you pick them up and chuck them at the task you want them to do, they will obey. You should also work to upgrade your base by completing whatever objectives it gives you to expand.

Get some better drip

Another mechanic you probably won’t be ready for is weather conditions. Hot and cold regions of the Palworld map are deadly if you don’t have the proper clothing. Even being out at night can get cold enough to start causing you to take freezing damage. A campfire will due early on, but once you want to start exploring farther out, you will need to use cloth to make either cold- or heat-resistant armor.

Play matchmaker

A Tocotoco in Palworld.
Pocketpair

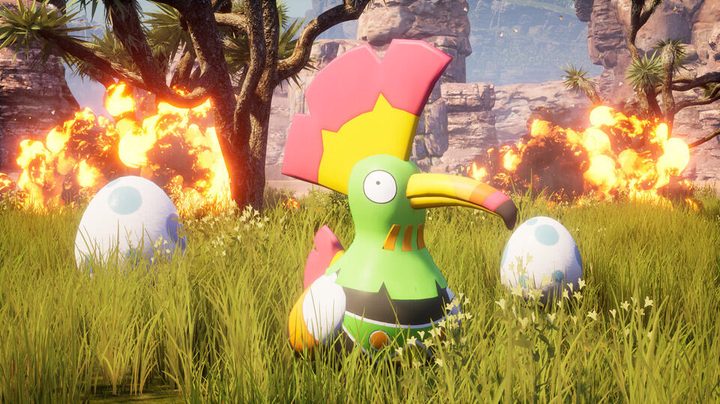
Pals don’t evolve in Palworld, so the only real way to see meaningful improvements in your team is to breed two together and pass on their traits to their offspring. It is somewhat random as to which skills, passives, and type the new Pal will be, but it will always be more powerful than its parents. You will also want to speed up the process by making an Egg Incubator so you can hatch it in a fraction of the time it would normally take.

Find as many Lifmunk Effigies as possible

Four trainers riding pals in the water.
Pocketpair

As you’re exploring, you are likely to spot some glowing green objects tucked in various spots. These are Lifmunk Effigies that you should always make a detour to collect. Once you grab one, bring it back to your base and use it with a Statue of Power that you can build to get a boost to your Capture Power, which makes it easier for you to capture higher-level Pals. If you’re on the hunt for the game’s Legendaries, you will need all the Capture Power you can get.

Editors' Recommendations

Jesse Lennox
Jesse Lennox loves writing, games, and complaining about not having time to write and play games. He knows the names of more…
The best skills for each Vocation in Dragon’s Dogma 2
An archer fires an arrow at an enemy in Dragon's Dogma 2.

As you level up your Vocations and character in Dragon's Dogma 2, you will earn XP and Dcp. The former will contribute to you leveling up and passively getting stronger, while the latter needs to be spent on unlocking new skills for your current Vocation. There are 10 total Vocations you can eventually unlock and use, and each one has a dozen or more skills to unlock and test out, and yet you can only use four at any given time. That's a lot of possible skills to try out and potentially waste your DCP on. Instead, we'll help you min-max your build right from the start by recommending the best skills you should get for each and every Vocation in the game.
Best skills

The best skill will vary for each Vocation based on what role they are most suited to in combat. Some skills can be upgraded to better versions as you level up your Vocation, so check back in the skills menu every so often to make sure you're using the best version available.
Fighter
Airward Slash -- Fighters are limited in range, but Airward Slash gives you an option to at least attempt to attack flying enemies with this leaping strike.

Read more
The best item recipes in Dragon’s Dogma 2

Believe it or not, your Arisen in Dragon's Dogma 2 is very skilled at crafting. We're not talking about building structures, tools, or weapons, but item crafting. By combining specific pairs of ingredients in your inventory, you can produce some extremely potent consumables. As you will discover for yourself on your first long trip across the land, there are a ton of materials to discover, leading to hundreds or thousands of possible combinations. Knowing what items are best saved to make something special can save you from having to scour the world looking for more or struggling without it. Here are the best recipes that not even the best pawns will tell you about.
Best item recipes

Salburious Drought
This green liquid will be your most common healing item in Dragon's Dogma 2 and also the item you will probably craft first. It probably has the most possible combinations of ingredients to make and will always be a more effective way to get the most healing out of any individual ingredients. If you have a Greenwarish and combine it with almost any fruit, you can whip this tonic up.
Detoxifying Decoction
Status effects are no joke in Dragon's Dogma 2. If you get poisoned, it isn't going away until you cure it or rest at an in or camp. And that's if you have enough healing items to keep yourself alive long enough to make it there. Detoxifying Decoctions will cure what ails you and keep you adventuring instead of scrambling to get back to town. An easy way to make it is by combining Pitywort and Syrupwort leaves.
Exquisite Dried Spud
Stamina regenerates naturally, so you may not think an item that replenishes it would be all that important. Ask yourself that when you're clinging to the back of a Griffen 100 feet above the ground and your grip is slipping. Pop an Exquisite Dried Spud to keep climbing or running in those touchy moments. Just smash two Ripened Princess Harspuds together to make it.
Mighty Robrant
For a more flavorful and alternative healing item, the Mighty Robrant will be able to take you from close to death to full HP for the majority of the game. This is a second-level item made by first crafting a Fruit Robrant and then combining that with Cinnamon Bark.
Miracle Robrant
The ultimate consumable that you can make is the Miracle Robrant. This will heal a massive amount of HP and refill your stamina all in one. These take a bit more work to get, so save them for emergencies. Make one with any Fine Robrant and a Saurian's Tail.
Bunch of Flowers
Finally, make a nice gift for someone with a Bunch of Flowers to earn some favor. You can give gifts to almost any important character in the game, and while not all will like flowers, a good deal will, and they're free to make. We craft ours out of Sunbloom and Noonblooms, but most flower combinations will do the job.

Read more
The best accessories in Rise of the Ronin
A ronin near a cat on a roof in Rise of the Ronin.

Following in the footsteps of the Nioh games, Team Ninja's Rise of the Ronin is absolutely bursting at the seams with loot. Between mission rewards, materials in the open world, drops from enemies, and loot from treasure chests, you will be managing your gear very often to keep your character as strong as possible. Aside from your two weapons and armor slots, you begin with a single Accessory item to equip. These are more unique items that fall into certain categories that focus on buffing specific stats or aspects of your character. Picking the right one, or multiple once you unlock additional slots, really ties your build together. Here are a few of the best Accessories to keep an eye out for while exploring Japan.
Best Accessories
While each Accessory is unique, there are only a few "types" that have variations in terms of their main effect's potency and what secondary bonuses they offer. The examples we list mainly focus on that primary stat, so even after you find one, you may encounter one of the same type later with a better version of that effect. Also, all stats stack. If you have multiple slots and want to really buff one specific thing, slot in multiple of the same Accessory type.
Talismanic Arrow

The Talismanic Arrow's main buff is related to how much Karma you gain for everything you do in Rise of the Ronin. Because Karma is cashed in for skill points, it goes without saying that you will want to build up as much as possible. Early versions will give you low percentage increases, but when you consider how much Karam you get all the time, it adds up fast. The extra perks that come with it are less important but may end up helping your build as well.
Calabash Gourd

Read more