
Choosing the best new CPU is a big deal, but once you’ve done it, you’ll need to install the device.
Installing an Intel CPU is just as easy as installing an AMD one, with some minor caveats that make it a little different. You’ll need a few pieces of equipment before we get started, but nothing that will cost you more than a few dollars.
Step 1: Prepare your tools
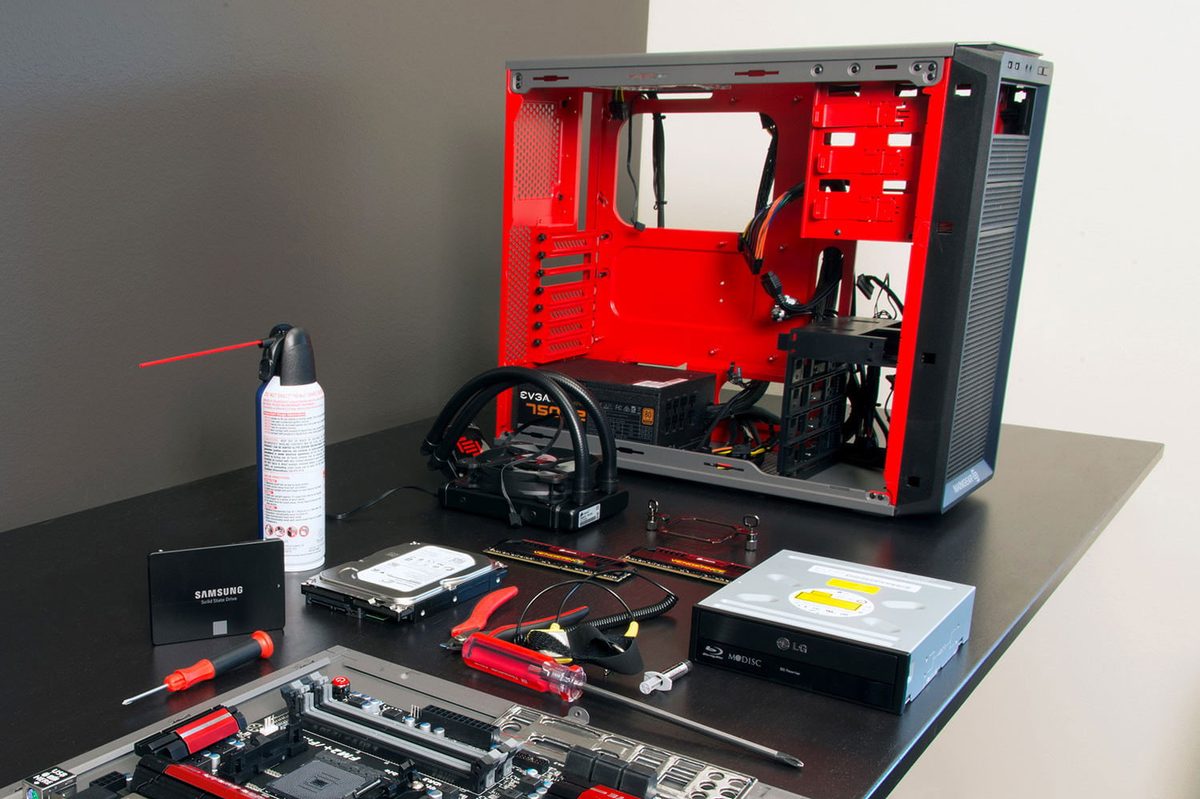
Before getting started with your CPU install, you want to make sure you have all the necessary tools to hand. The first isn’t strictly necessary, but one we always recommend it. An anti-static wristband.
This prevents any static discharge from damaging your CPU or your motherboard. We would also recommend that you perform the installation on a non-conductive surface like a desk, and don’t wear socks on carpet. If you don’t have a wristband, just be sure to ground yourself before and periodically during, the installation, by touching your PC case, or the PSU chassis.
You’ll also need the CPU itself, the motherboard you want to install it to, an appropriate CPU cooler (the one that came with the CPU is fine), some thermal paste if your CPU cooler doesn’t have any pre-applied, and a Phillips screwdriver if your CPU requires it.
It’s a good idea to have a lint-free cloth and some 100% isopropyl alcohol, should you get a little overzealous with the heatpaste. Finally, ensure the work area is clear of any junk and you have cleaned the surface of any dirt.
Step 2: Identify the CPU socket
Before you can fit the CPU, you need to identify the socket on the motherboard. If you’re familiar with fitting a CPU, this should be obvious. If not, you should be able to find it by referring to the manual that accompanies the motherbaord.
For Intel Core i5, i7, and i9 processors, the socket is a slightly oblong segment of the motherboard with a narrow metal arm running along one of the long sides. This retention arm levers a bracket into place, which secures the CPU, and is secured by default. To install a new CPU, release this arm so that the bracket can be lifted.
You should see the socket move slightly at this motion. If you’re working on a new motherboard, remove the plastic bracket. If there is an old CPU in place, remove it and place to one side.
Step 3: Install the CPU
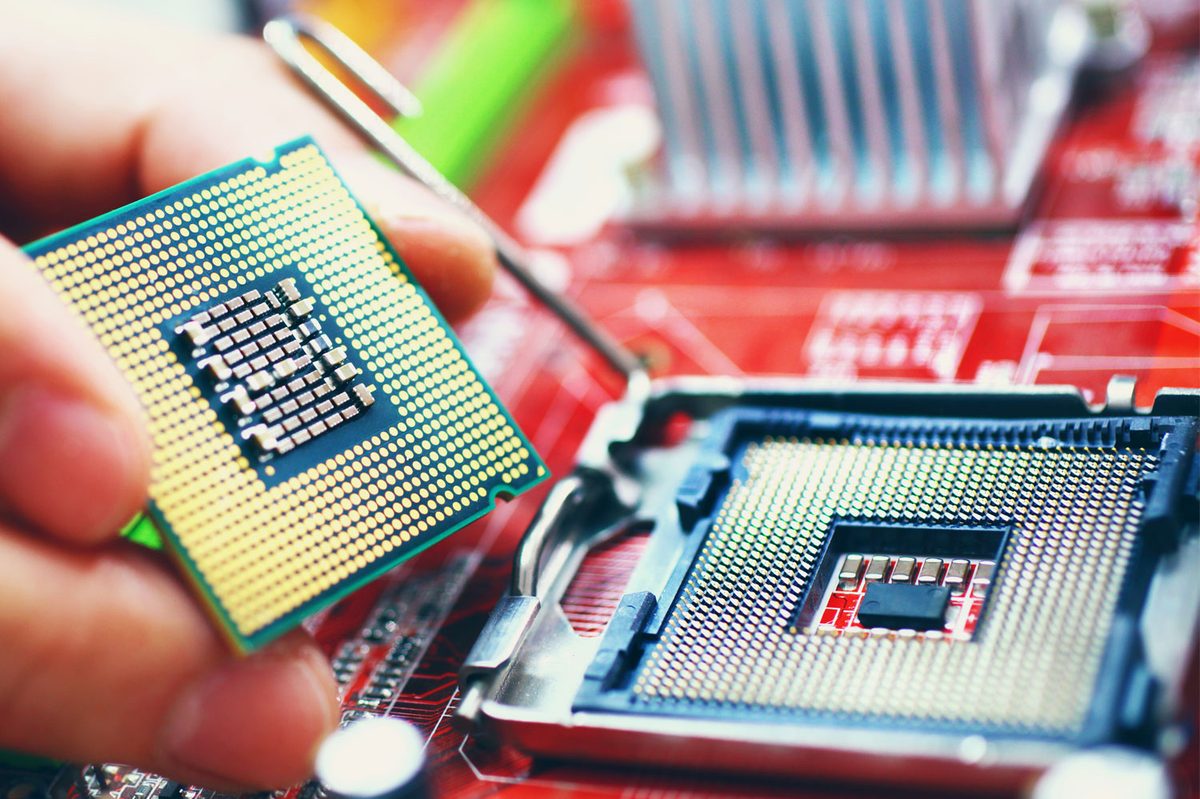
The only obvious physical differences between Intel and AMD CPUs are the placement of the pins. AMD chips have the pins on the processor itself, while Intel has the pins in the socket. That means that it’s easier to handle the CPU itself without damaging it, but you need to be a little more careful during the installation.
Pick up your Intel CPU and look at its top side. In one of the corners you should see a golden triangle. This will line up with a plastic indent of an arrow on the socket itself. Use that and the notches on either side of the processor’s PCB to line up the processor correctly, then gently lower it into the socket. It should fit snugly without force. If in doubt, remove it and try again.
Once you’re confident the processor is in place, press down the retention arm to lock it in place. This does take a little force, but it shouldn’t be hard. Firm but gentle is a good frame of mind to use.
Step 4: Install the cooler
There are various ways to install the myriad of coolers out there, so for specific instructions, refer to your cooler’s installation guide. That said, the broad strokes will work for most and there are steps that the cooler installation manual may not cover.
Thermal paste is of paramount importance as no cooler surface is perfectly flat. Paste serves to fill in those gaps for better contact. Some coolers come with heatpaste pre-applied. If yours has that, then skip this portion of the guide.
Otherwise, you’ll want to use a popular commercial paste like Thermal Grizzly’s Kryonaut, and squeeze out a small, pea-sized lump in the center of your CPU. There is a lot of contention around the best way to apply thermal paste, but there isn’t much variance in the end results. This method is a great place to start.
Note: Some thermal paste is electrically conductive. While most isn’t, it’s a good idea to make sure not to get any on the underside of the CPU or within the pins it’s connected to. If you do, use the lint-free cloth and the isopropyl alcohol to clean it up before continuing.
Install the cooler following the manual and the paste will spread out as pressure is increased. If you’re tightening screws, be sure to tighten them slowly, a turn or two at a time in a cross pattern — one corner, then its opposite, and then the other two in the same way. This prevents the CPU from being overloaded on one side, which could damage your hardware or cause an uneven thermal paste coating.
Once the cooler is installed, connect the fan to the CPU cooler header on your motherboard. It will be a three or four pin header and will usually be designated CPU_FAN or similar.
Step 5: Test it out

If everything in the above steps has gone to plan, your CPU should be installed. Complete the rest of your build and plug everything in.
When you’re ready, you should test the system to make sure it’s working right. In the case of this guide, we want to test the CPU. The first step in that is making sure the system posts — that is, it beeps and then shows either the system logo or a bunch of numbers on a black screen. If it does that, it should boot to Windows or your preferred operating system.
If you make it there, congratulations, you’ve installed a CPU. It’s a good idea to make sure temperatures are where they should be. To do that, install something like Intel’s Extreme Tuning Utility (above) or HWInfo and look at the idle CPU temperature. It shouldn’t be too many degrees above ambient. Testing it during a game or using a benchmark is a good idea too.
If everything looks good, you might want to consider trying to overclock your CPU.
If you run into problems with the CPU not booting, or temperatures being too high, your best bet is to reseat the processor. Repeat the above steps in reverse to remove the processor, then reinstall it using those same methods.
Learn more about installing a CPU
You can find further information about installing a CPU in our guide on how to build a PC, and if you want more in-depth help, we also have great guides on how to install a motherboard and how to install a graphics card.


