Transferring files to and from your Android smartphone is now easier than ever. Whether you're on Windows, macOS, or Chrome OS, you can send photos, files, and folders quickly and easily with just a few steps.
Here are some of the best ways to transfer files from Android to your PC and more.
Transfer files on Windows using Nearby Share
Google's Nearby Share app is the most seamless way to transfer files from your Android device to a Windows PC. Here's how to use it.
This application works on Windows 10 and 11 PCs. ARM devices are not supported. At the time of writing, Nearby Share on Windows is in Beta, so is not available in some select territories as its rollout continues.
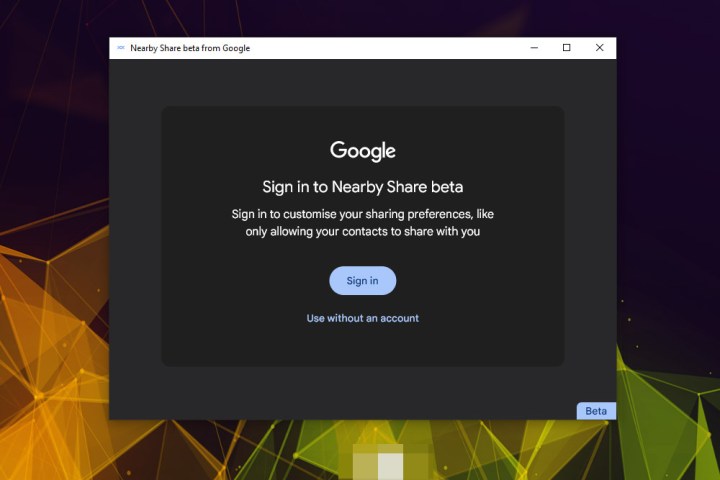
Step 1: Download the Nearby Share beta application from the official site, here. Then install it like you would any other application.
Step 2: If you wish to, sign in to the application to give you greater control.
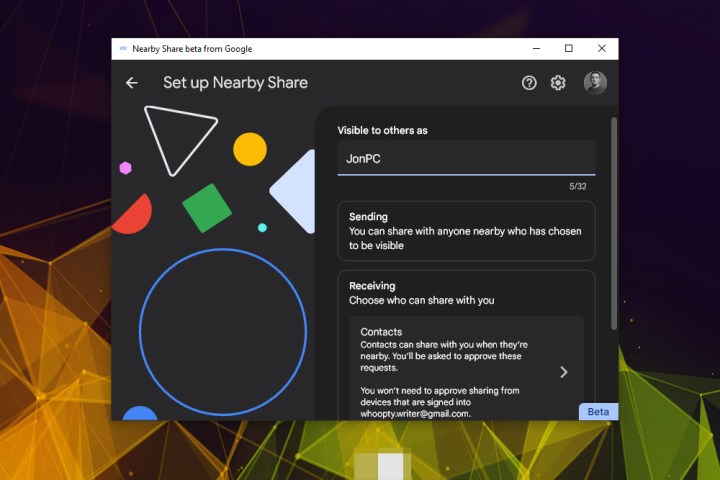
Step 3: Choose the name you want your PC to be visible to other devices as.
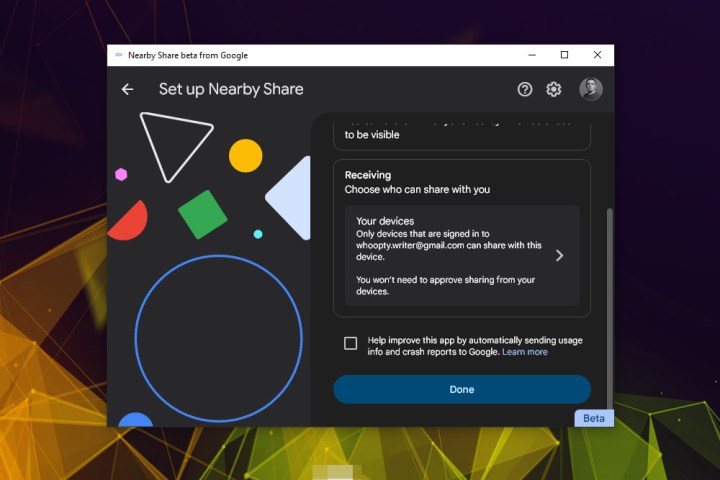
Step 4: Scroll down and under the Receiving heading, select what devices you want to be able to share with your PC. You have the option of Everyone, only your Contacts, Your Devices, or No one.
Then, if you wish to, tick or untick the box to provide additional usage information to Google.
When ready, select the blue Done button.
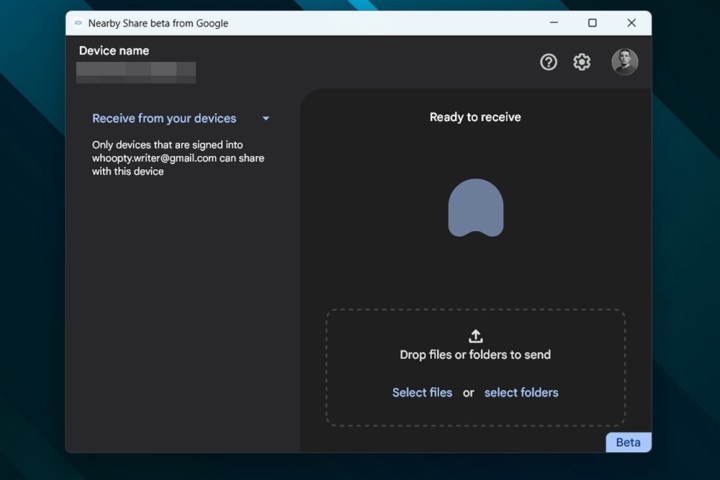
Step 5: At this point, your laptop or PC should be ready to send files to your Android smartphone. To do so, either drag and drop a file onto the respective area or select it and pick a file using Windows File Explorer.
If you don't have Bluetooth enabled on your smartphone or laptop/desktop PC, the Nearby Share app should let you know.
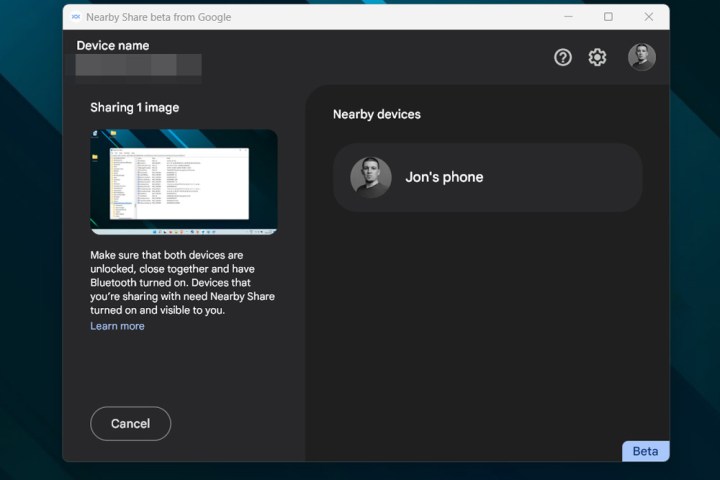
Step 6: When prompted, select the device you want to send it to. In this case, it's my phone.
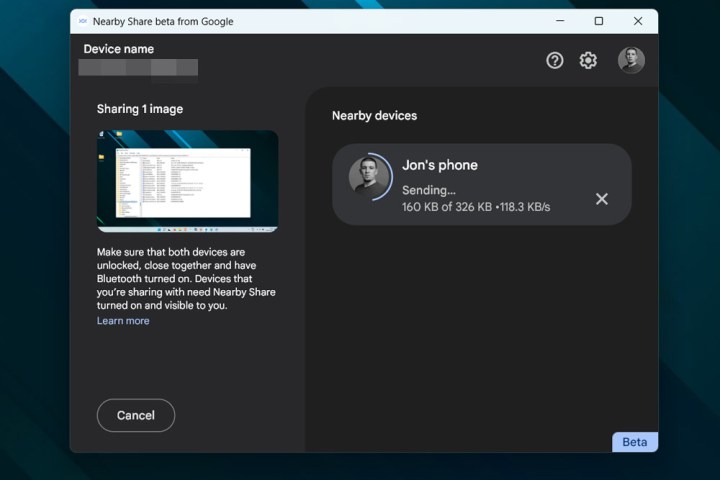
Step 7: The file will then transfer, with a progress bar and information on data transfer speed giving you an idea of when it will complete.
Transfer files on Chrome OS using Nearby Share
Nearby Share was a feature of Chrome OS before it made its way to Windows. Here's how to use it on the Chrome-based operating system.
Step 1: Open the Settings app.
Step 2: Under the heading Nearby Share select Setup.
Step 3: In the Setup Nearby Share window, input the name of your device, select who or what devices you want to be able to share with your Chrome OS device, then select Confirm.
Step 4: To set up Nearby Share on your Android device, navigate to Settings > Google > Devices and Sharing and select Nearby Share.
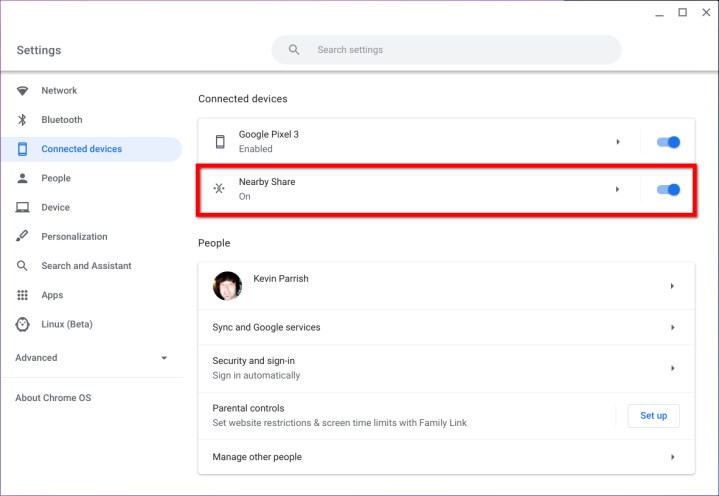
Step 5: Toggle the setting to On.
Step 6: To send a file from your Chromebook to your Android smartphone, right-click the file and select Share > Nearby Share.
To send a file from your Android device to your Chromebook, find the file or image you want to send, select the Share icon, then select Nearby Share, followed by the device you want to share it with.
Transfer files on macOS using Bluetooth
Nearby Share isn't supported on MacOS – yet – but you can use Bluetooth or – as below – a USB connection. Here's how to transfer files wirelessly using Bluetooth.
Step 1: Enable Bluetooth on both your Mac/MacBook and Android device.
Step 2: On the Mac, open System Preferences and then select Bluetooth.
Step 3: Select the Connect button next to your listed Android device and follow the directions to pair the two.
Step 4: Go back to the main System Preferences screen and select Sharing.
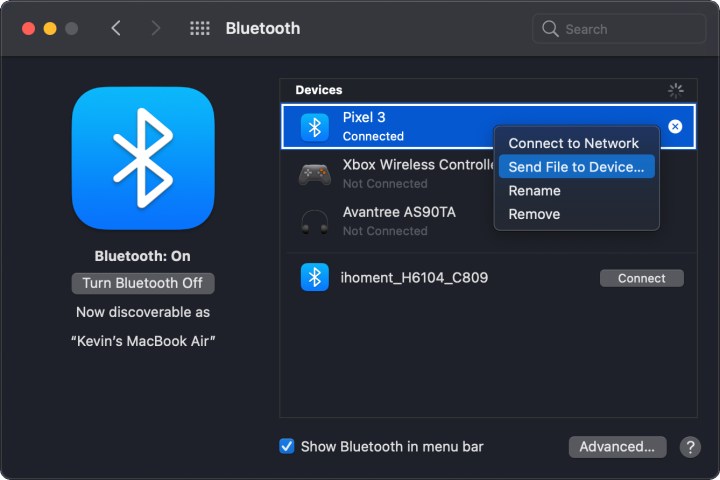
Step 5: Go back to Bluetooth in System Preferences and right-click on the paired Android device.
Step 6: Select Send File to Device on the pop-up menu.
Step 7: When the Bluetooth File Exchange window opens, select the file you want to transfer and then select the Send button.
Step 8: On the Android device, tap Accept to receive the file.
How to transfer files over USB
If in doubt, you can always use a USB connection to transfer files between your Android device and just about any other. Here's how to do it.
Step 1: Connect your Android device to your system of choice using a USB cable. It will be either USB-C or Micro-USB depending on the generation of smartphone you're using, but you can connect it to any compatible USB port; USB-A, or USB-C. The only potential effect it has is on transfer speed.
Step 2: On your Android device, if you receive a prompt that asks whether you want to Use USB for file transfer? select Yes.
Alternatively, if you don't see that, look in your notifications for Charging this device via USB and select it. Then select File Transfer instead, to use the connection to transfer files.
Step 3: If you're using a Windows PC, you should now be able to find your smartphone within the File Explorer. Access its files and folders there, and drag and drop or copy and paste any files you want to transfer between devices.
If you're on macOS, download and install the Android File Transfer application from Google. Run the app, then look for your Android smartphone in there. Drag and drop whatever files you want to transfer between the two systems.
If you're on ChromeOS, you should be able to see your Android smartphone within the Files application. Drag and drop or copy and paste the files you want to transfer between devices.
An alternative to all of these methods is to use one of the best cloud storage services. Simply back up your files to one of them, then send the download link to your smartphone or vice versa.
Editors' Recommendations
- How to delete a file from Google Drive on desktop and mobile
- How to choose the best RAM for your PC in 2024
- How to download Vimeo videos on desktop and mobile
- How to convert WMA to MP3 on Mac, Windows, and Web
- How to convert FLAC to MP3 on Mac, Windows, and web


