The Legend of Zelda: Breath of the Wild introduced a lot of systems and mechanics never before seen in the decades-old franchise. What really made this game a hit among fans and critics alike was how open-ended the world of Hyrule was. Every inch was begging to be explored, and most importantly, there were constant rewards for exploring.
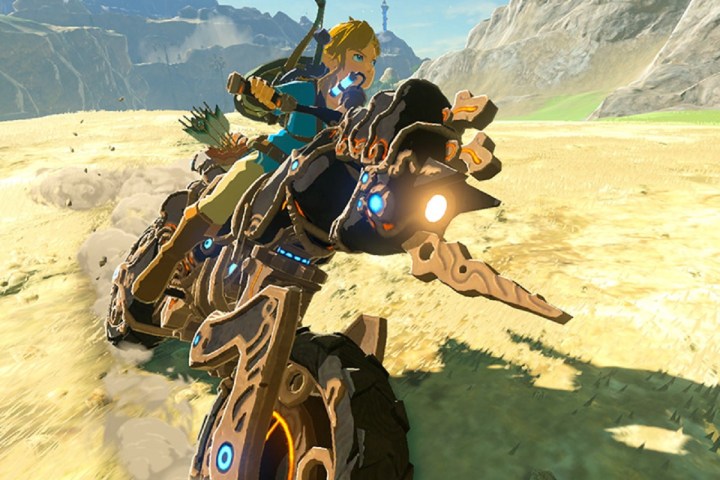
The second DLC for the game, titled The Champions’ Ballad, included new dungeons, quests with memories and cutscenes, armor, and … a motorcycle? Outside of Mario Kart, seeing Link riding anything but a horse (or another animal) would be considered unheard of, and yet Nintendo allows you to burn some rubber in Breath of the Wild with the Master Cycle Zero. If you are looking to upgrade your normal horse for a steel one, we’ll show you how to get the motorcycle in BOTW.
See more
How to unlock the Master Cycle Zero

Just like anything worth getting in BOTW, you need to earn this motorized immersion breaker of a vehicle by completing the entire DLC’s Champion Ballad questline, which essentially means beating all the main content in the game. You’re free to skip any of the new side content, but the main missions all need to be done. Oh, and while you don’t need to have beaten the base game, you will need to have beaten all four of the Devine Beasts and their Blight Ganon bosses too.
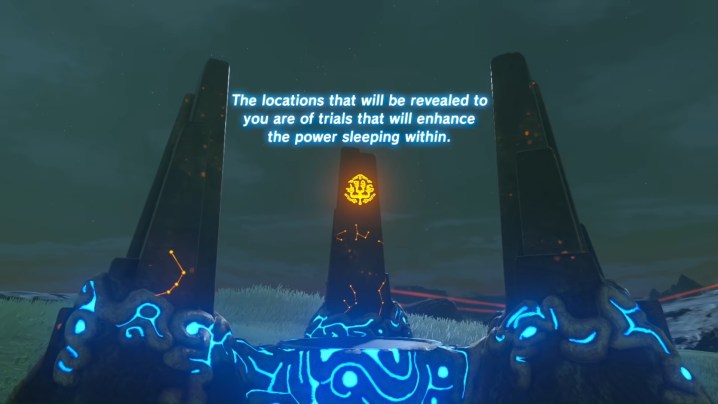
You begin the Champion Ballad quest by returning to where it all began, The Shrine of Resurrection on The Great Plateau. After taking a new weapon out for a spin, the One-Hit Obliterator, you are given four new locations you can choose to tackle in any order you wish. Each one has three trials and three Shrines associated with them, meaning you need to complete a total of 12 each before you can take on the final trial and boss.
EX Champion Mipha’s Song

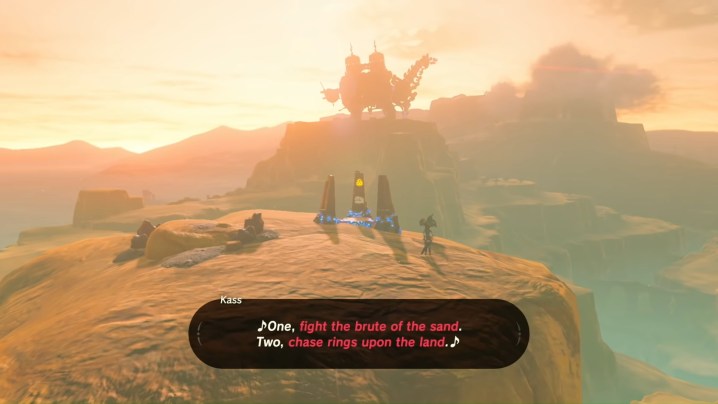
The first challenge you will face when you reach Mipha’s monument is to solve a riddle. Between the pictures on each stone pillar and the song Kass sings to you, you will need to figure out what you need to do in three different locations. The clue to “find what the lights path shows” is located on the eastern shore of the Zora capital. When you come to the shore, you will come across the Zora Muzu who tells you, “While the morning sun is newly born, follow the path of light to the trial.” At this point, you will need to pass the time until it is morning and then keep your eyes on the water. The rising sun will reveal a blue ring in the water that you need to swim through to find the Kee Dafunia Shrine.
This shrine involves melting and moving ice blocks to activate pressure plates and climb your way to the end. It isn’t particularly tricky and is over quite quickly.
The next location is on the mountain north of Zora’s Domain called Upland Zorana. All you have to do here is defeat all the ancient foes, of which there are three Guardian Skywatchers and one Guardian Turret. That may sound simple enough, but these enemies are no pushovers, so make sure you’re well-equipped with strong weapons and arrows. Once they’re all downed, the Sato Koda Shrine will pop up. This is a ball puzzle that is made fairly easy if you use stasis to lock the tilting platforms in place rather than try and use ice pillars alone.
The final challenge for this song is on the east side of Zora’s Domain. This challenge is just about passing through all the blue rings, so make sure you have Zora’s armor on hand so you can swim up some waterfalls on the path. The Shrine will be waiting for you at the end.
The Mah Eliya Shrine is another traversal shrine involving metal cages and cubes. Smart uses of ice and stasis are all it takes to climb to the top.
The last step is a rematch against Waterblight Ganon. You will already have faced this boss before, so you know what to expect here. Take him out with some well-placed arrows and smart use of Urbosa’s Fury.
EX Champion Revali’s Song
After you arrive at Revali’s Song on the eastern side of Cuho Mountain for more clues and another song, things start off simple by just asking you to shoot Dinraal’s horn to make the first Shrine open up. The dragon will only show up in the morning in Tarangar Canyon, so wait until then and then jump, glide, and snipe the glowing horn with an arrow. The Shira Gomar Shrine is equally straightforward. Just use your bombs and wind turbines to break the walls and get to the end.
To start the next trail, go to the Goma Asaagh Shrine on Hebra Peak, where you will find some more glowing blue rings. Get your best snowboarding shield out and bomb down the hill, hitting all the rings to pop your next Shrine. This is another guiding puzzle shrine where you just need to guide a ball from one end of the track to the other with some cubes.
The final trial is northwest of Rito Village. There’s a flight range here where four targets are floating in the distance. Hop off the edge and let the winds take you up so you can draw and shoot them all in one go. As always, the next Shrine will appear and will test your shooting and gliding skills one more time.
Face off against another Windblight Ganon, and you’re ready to move on to the next set of trails.
EX Champion Daruk’s Song
Daruk’s Song starts southwest of Goron City, just down the Golow River. Check out the pillars and Kass for the clues and then teleport out to the Shora Hah Shrine. Here, you will need to take down an Igneo Talus, which basically requires you to have the Firebreaker armor for enough fire resistance. Glide on his head and wail on him or pepper him with ice arrows if you have them. Once he’s felled, the Shrine will open. This is another dead-simple shrine. Just shoot the targets that get more difficult as you progress. You have infinite arrows, so take your time.
Your next ring-based trial starts on Divine Beast Vah Rudania. Look over the edge to see the first ring. Clear them all, open the next shrine, and ride the blocks while avoiding hazards to reach the end. Nothing too taxing here.
The last trial is near Darb Pond, and all you need to do is place a block onto a glowing circle in the lava and jump on it. The Shrine is again just about ducking, blocking, and avoiding flames as you make your way through.
Fireblight Ganon is waiting for you as one last challenge.
EX Champion Urbosa’s Song

The last of the three Champion Songs is Urbosa’s in the Gerudo region. You know the drill at this point, so let’s get right into it.
Your first trial will bring you to Gerudo Town to find Teake, who will be right by the doors to the palace. You’ll be sent to a spot south of East Barrens to take out Molduking, which is more easily done during the night to avoid the health penalty of being exposed to the heat of the desert sun. Bombs and stasis are your best friends during this fight, which isn’t too hard. The Shrine you open is a simple electrical puzzle. Just place the metal cubes in the correct places to complete the circuits and move right along.
Back toward Gerudo town, we have, you guessed it, another set of rings you need to pass through. This time, you will need to capture a sand seal and use it to clear all the gates and open up the next shrine. This is just another electrical puzzle that is a bit longer, but it’s no more challenging than any other.
The last trial involves an orb you need to collect from the hideout you fought Master Khoga in during the base game’s main questline. Sneak through to the treasure room again, which will now have the orb. Carry it back out and toss it into the giant hole (that you no doubt noticed on your way in) to reveal the final shrine. To complete the Shrine, you just need to place the appropriately-colored orb in the corresponding hole. The order is pink in the first, green in the second, yellow in the third, and blue in the fourth.
Make quick work of Thunderblight Ganon, and you’re nearly ready to mount your new steel horse.
The Devine Trial dungeon
Before starting this final trial, make sure you’re well-equipped and buffed up with an elixir. The previous boss fights all had you start with set gear, but this one allows you to go in with whatever you carry on you, so bring out the big guns.
You’ll be directed back to the Shrine of Resurrections, where new areas have opened up. There are four mini-puzzle rooms you need to solve and activate switches in — one with lava, one that spins, one with fans, and one with water. Take your time clearing them, and make sure you’re all healed up and ready before opening the final door and talking to the monk inside.
Monk Maz Koshia is a boss that could give Ganon a run for his money. During the first phase, he will be very aggressive, so be ready to dodge and counter when he leaves himself open. Play defensively for this phase, but always capitalize on openings to wail on him.
His next phase takes a page right out of Thunderblight Ganon’s book. One perfectly-timed backflip dodge into flurry rush (with a strong enough weapon, that is) will push him right into the next phase.
For Maz’s next trick, he clones himself. They can hurt you, but a clone can only take one hit before vanishing. This is the time to unleash Urbosa’s Fury for an AOE that will reveal the true monk so you can focus your attacks.
Maz is giant now, tossing big spiked balls at you that you want to catch with magnesis and hold against him. His next move is to electrify the balls, which will only damage him if you are fast enough to get it close to him.
To finish off the fight, you will need to show your mastery of the parry skill and reflect back an eye laser attack. Watch for the flash to get the timing down and give him a taste of his own medicine. Once he falls, wail on him with everything you have to finally put this quest to bed.
How the Master Cycle Zero works

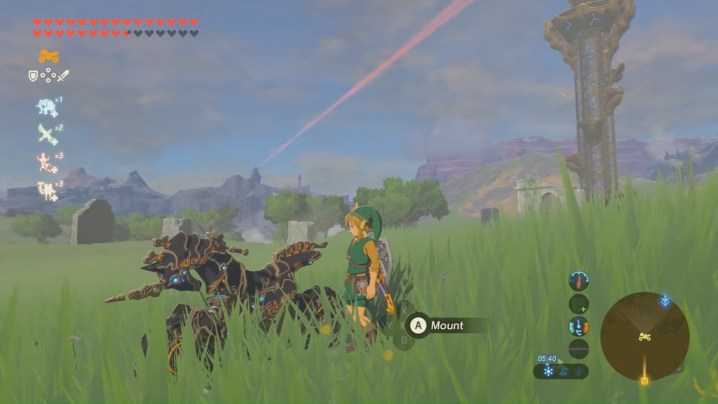
With the final boss defeated and the quest completed, you will be rewarded with a new rune that allows you to summon none other than the Master Cycle Zero. Once summoned, you mount it just like any other horse. It isn’t quite as fast as a five-star horse’s boost speed, but it’s way easier to control, prevents fall damage, and lets you do some cool jumps. You can’t summon it everywhere, however. The cycle is prohibited in shrines, the Gerudo Desert, and areas in Eldin.
The only other real downside to your new favorite way to ride across Hyrule in style is fuel. Thankfully, you won’t have to pay real-world gas prices to fill this steed up — it can run on basically anything, actually. Just stand near the back and deposit materials into the fuel tank, and you’re good to go. Depending on what you put it, the bike will regain different amounts of fuel. For whatever reason, some of the most common items give the biggest fuel percentages, like Apples, Flint, and Wood. It should go without saying but stick to these when filling up the tank rather than any of your rare materials. Now go hit the road!
Editors' Recommendations
- How to hack in Fallout 4
- Best Nintendo Switch deals: consoles, games, and accessories
- All companions in Baldur’s Gate 3 and how to get them
- How to get Wild Greens in Zelda: Tears of the Kingdom
- How to find the Fifth Sage in Zelda: Tears of the Kingdom


