
Even though physical discs still exist, the Xbox One still stores all of your game data on the hard drive. In most cases, the disc is just to verify that you actually own the game. Although convenient for maintaining updates, it makes transferring your games and saves a tedious process (gone are the days of the memory card). Thankfully, Microsoft anticipated this problem, adding a couple of different ways to transfer your data between Xbox One systems.
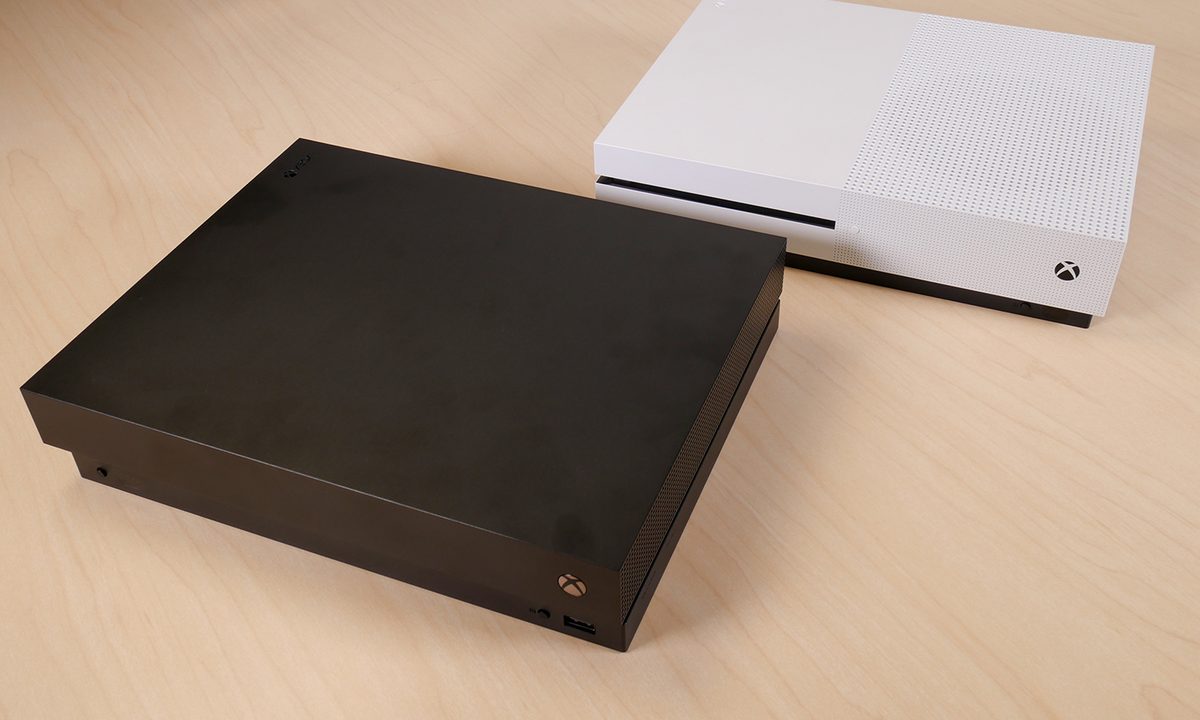
It doesn’t matter if you want to transfer to a new Xbox One system or if you’re upgrading to an Xbox One X; the process is the same. We have two methods below: one that uses a hard drive and another that uses the network. Using a hard drive is the preferred method, as you can automatically apply all of your previous system settings to your new console, but you’ll need an external hard drive (here are our recommendations). Network transfer is simple, but you’ll need to apply system settings manually after the fact.
Further reading
- Get the most out of your Xbox One with our tips and tricks
- The best Xbox One exclusives
- The best games on Xbox Game Pass
How to transfer with an external hard drive: Connect and format your storage device
Since an Xbox One is practically a Windows PC under the hood, it’s no surprise that the console plays well with external storage devices. For our purposes, you will need a hard drive that stores at least 256GB and connects via USB 3.0.
Before we begin, note that formatting your drive for storage will delete everything currently stored on it, so make sure to back it up ahead of time.
Step 1: When you plug the drive in, a pop-up will ask whether you want to use it to store media or as a general storage device. Select Format Storage Device and press A to prepare the drive for backing up your games and data.

Step 2: You will be prompted to name the drive.
Step 3: Then, you will be asked whether you would like to use it as the default storage destination for new games and data. Since we’re using it to transfer, you can just leave it as is. When the drive is formatted, you will see a notification.

How to transfer with an external hard drive: Back up your games
Step 1: With your drive formatted, plugged in, and ready to go, press the Xbox button on your controller.
Step 2: In the pop-up menu, following Settings > System > Storage. Highlight your internal storage on the right and select Transfer.

Step 3: This will bring up a menu with all of your games. Make sure the target device is the external drive you just named, then select the games or apps you want to transfer (or Select All if you want to move everything).

Step 4: Press Copy Selected if you want to leave everything installed on the original Xbox One, or Move Selected if you’re cleaning house.
One thing you should know: If you’re moving a lot of games, especially large AAA titles, this process could take a long time.
Because this process is identical to using your drive as a permanent expansion, save data transfers as well, but they are also automatically backed up on the cloud when you are connected to Xbox Live, whether you have an Xbox Live Gold subscription or not.
How to transfer with an external hard drive: Back up your settings
With your games and apps squared away, it’s time to transfer your general settings, including your profiles, preferences, and themes.
Step 1: Navigate back to Settings.
Step 2: Select Backup & Transfer.
Step 3: Select Back Up My Settings.

Step 4: Select Back Up to Device.

How to transfer with an external hard drive: Set up your new console
That is everything you need from your old console.
Step 1: Before you turn on your new console and begin the initial setup process, plug your external drive into a USB port. The console should recognize it and prompt you to copy over your preferences, saving a lot of time in the process.
Step 2: Select Apply Settings and follow the setup instructions.

How to transfer with an external hard drive: Install your games
From here, you can continue using the external storage device for your games. If you would rather use the console’s internal storage, though, you can copy everything back over to your new system, as described above. For reference:
Step 1: Press the Xbox button, then select Settings.
Step 2: In this menu, select System, and in the next, select Storage.
Step 3: Highlight your hard drive’s storage, and select Transfer.
Step 4: Press Select All to transfer your games, and make sure your target device reads Internal.
Step 5: Press Move Selected to transfer all your games to the new Xbox and delete them from the hard drive. To leave the games stored on the hard drive, press Copy Selected.
Note: You don’t need to keep two copies of your games, so we wouldn’t recommend copying them unless you plan on wiping the external hard drive later.
How to transfer with an external hard drive: Wipe your old Xbox clean (optional)
If you’re selling your old console or giving it to a friend, you probably want to delete everything so the new owner gets an out-of-the-box experience when they boot up for the first time. Check out our guide on how to factory reset an Xbox One for a step-by-step walkthrough of that process.
How to transfer over a local network: Set up your new console
If you have both your old and new console at the same time and can connect them both to your local network, then you can transfer games and apps without using an external device at all.
Step 1: Make sure that your Xbox One is connected to a reliable internet network.
Step 2: As this method requires users to run both consoles alongside each other, you have to go through the beginning setup on your new Xbox One. Unfortunately, you won’t be able to transfer your old settings over directly. To begin, turn on the Xbox One.
Step 3: Follow the instructions you see on the screen.
How to transfer over a local network: Enable network transfer
Step 1: Once you’ve completed the initial setup on your new Xbox, press the Xbox button and select the Settings menu.
Step 2: Once there, choose Network and then Network Transfer.
Step 3: You’ll see a few options here; select Allow Network Transfer.

Step 4: Follow the instructions that pop up on your old Xbox One.
Step 5: Now that both of your consoles are ready and paired up, you can transfer data properly. Select the Network Transfer menu on your new console to launch the transfer process.
Step 6: There, you’ll notice the same transfer list that we listed above. Sort through the list and transfer as many apps and games from the old console to your new Xbox One that you want.
Note: We advise using a wired transfer between both devices if possible. Of course, Wi-Fi will get the job done, but the transfer is significantly slower than a wired connection.


