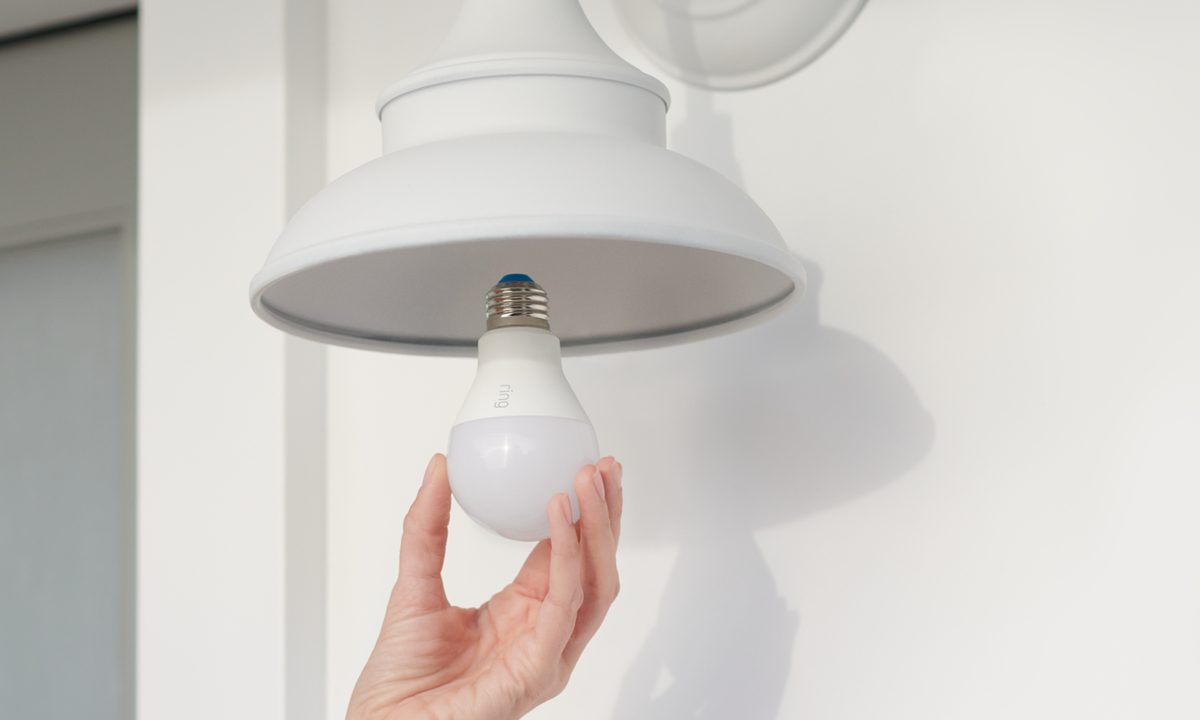
You've picked up your first set of smart light bulbs, and now you want to get started with set up. Thankfully, this process is super easy and takes minimal time to learn.
How do I connect my smart light bulb to Wi-Fi?
The way to connect a smart light bulb to your Wi-Fi network will differ based on brand and model number. Generally, smart light bulbs require a hub that is already connected to your Wi-Fi network. This hub can be a physical device that plugs directly into your Wi-Fi router. You'll likely need to press a button on it to put the hub into pairing mode, so your mobile device can detect it (and the connected bulbs) over your Wi-Fi network.
If you're bumping into problems, there are apps that can circumvent the native app's set-up process and reset bulbs if needed. The Hue Lights app has been helpful to us for resetting bulbs orphaned by an irregular installation process.
Protocols like Thread allow other smart home devices to be the home base for your smart light bulbs, rather than needing a completely separate hub. If you're starting from scratch, it's worth planning around one of these hubs in order to minimize the number of devices in the home you need to manage.
You'll also want to double-check to ensure your bulbs are actually able to connect over Wi-Fi. Some smart bulbs connect directly to your phone over Bluetooth. This option is helpful, on the one hand, because it means you don't need a hub. But, you're also missing out on some remote access and automation features that having an independent connection offers.

How to set up Philips Hue bulbs
Once you get your Philips Hue bulbs, you'll need to download and install the Philips Hue app on your phone or tablet to connect these smart light bulbs. Here are links to the apps for iOS and Android:
Step 1: Plug in your Bridge to a wall outlet for power. Connect your Bridge to your Wi-Fi router using an ethernet cable.
Step 2: Open the Philips Hue app while connected to the same Wi-Fi network as your router. Follow the on-screen instructions, which will require you to press the button on the Bridge.
Step 3: Turn off the power to the lights you want to add new bulbs to.
Step 4: Remove the old bulbs and put in the new Philips Hue bulbs.
Step 5: Turn the power to the bulbs back on. They should light up.
Step 6: Tap the three dots in the top-right of the app to open the menu.
Step 7: Tap Start configuration once the light is found. You can now name and set an icon for the light bulb.
Step 8: Next, pick which rooms you want to add the bulb to within the app. This will allow you to group the bulbs and manage them all at once, room by room.
Step 9: Repeat the process for each bulb as necessary.
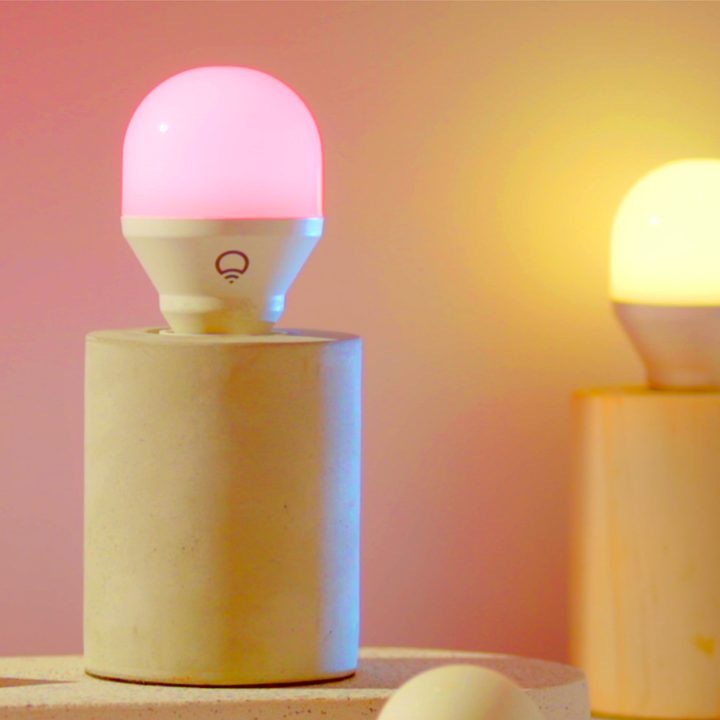
How to set up Lifx bulbs
Once you get your Lifx bulbs, you'll need to download and install the Lifx app on your phone or tablet to connect these smart light bulbs. Here are links to the apps for iOS and Android:
Step 1: 1. Remove the old bulbs and put in the new Lifx bulbs.
Step 2: Turn the power to the bulbs back on. They should light up.
Step 3: Open the Lifx app while connected to your home 2.4 Ghz Wi-Fi network.
Step 4: Open your phone Settings and make sure you have Bluetooth on. Give the app permission for location services in your device settings.
Step 5: Tap the + icon in the bottom-right of the Lifx app and tap New Device. Select the green arrow to start.
Step 6: Choose the bulb you want to set up.
Step 7: Pick a location, group, and name for your light.
Step 8: Repeat the process for each bulb as necessary.
How to set up Nanoleaf bulbs
Once you get your Nanoleaf bulbs, you'll need to download and install the Nanoleaf app on your phone or tablet to connect these smart light bulbs. Here are links to the apps for iOS and Android:
Step 1: Turn off the power to the lights you want to add new bulbs to.
Step 2: Remove the old bulbs and put in the new Nanoleaf bulbs.
Step 3: Turn the power to the bulbs back on. They should light up.
Step 4: Make sure you activate Bluetooth on your phone or tablet that you'll use to set up the lights.
Step 5: Tap the More tab and select My Devices.
Step 6: Tap the + icon to add a device. Select the product you want to add and tap Start Pairing.
Step 7: To certify the bulb, scan the QR code either on the bulb or on the welcome card included in the packaging. You can also manually input the code if scanning isn't working.
Step 8: Repeat the process for each bulb as necessary.

How to set up Wyze bulbs
Once you get your Wyze smart light bulbs, you'll need to download and install the Wyze app on your phone or tablet to connect these smart light bulbs. Here are links to the apps for iOS and Android:
Step 1: Turn off the power to the lights you want to add new bulbs to.
Step 2: Remove the old bulbs and put in the new Wyze bulbs.
Step 3: Turn the power to the bulbs back on. They should light up.
Step 4: Make sure you activate Bluetooth on your phone or tablet that you'll use to set up the lights.
Step 5: Tap Home in the app, and tap the + icon in the top-left corner.
Step 6: Tap Add Device, then Power & Lighting, and finally Wyze Bulb. Select your Wyze Bulb model.
Step 7: Turn the light you want to pair off and on three times until it pulses. It's now in pairing mode.
Step 8: Select your Wi-Fi network in the Wyze app.
Step 9: Name your bulb.
Step 10: Repeat the process for each bulb as necessary.
What app do I need for my smart bulb?
The app you use to connect to your smart light bulbs will depend on the brand. The light bulb's included instructions should point you in the right direction. Once downloaded, the app will walk you through the installation and set up process.
Once you install these apps and set up your light bulbs, you can also use the or iOS Home apps to control your lights alongside all of your other smart home devices. There are other third-party apps available that can also connect to your light bulbs, like iConnectHue, but these are typically used to access advanced functions that aren't strictly necessary.
Hopefully, that provides all the guidance you need to get started with the most popular smart light bulb brands available.