If you’ve been looking for an action-packed western, developer Flying Wild Hog’s Evil West is probably right up your alley. This fast-paced, gory action title is set in an alternate version of the Wild West, where humans and vampires face off with deadly results. If you’re ready to embody vampire hunter Jesse Rentier and take on the hoard, we invite you to glance over a few tips and tricks that might give you a little insight into what to expect on your adventure.
Further reading
- The best weapons in Horizon Forbidden West
- Shadow Warrior 3 isn’t revolutionary, and that’s refreshing
- The best PS5 games for 2022
Be thorough and keep lookin’ up
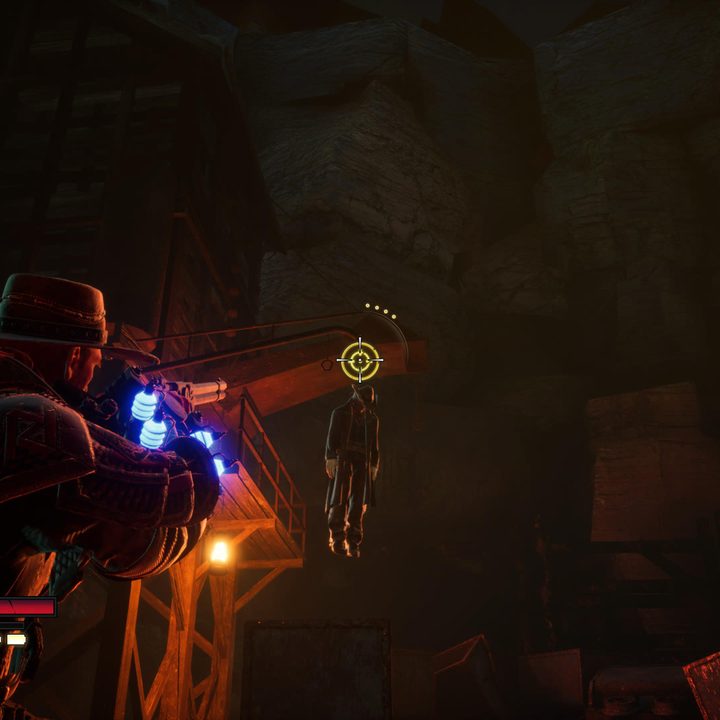
As you make your way through Evil West, you’ll notice it’s a fairly linear experience, but that doesn’t mean there aren’t a few things to find off the beaten path. Take your time and keep an eye out for alternate pathways that lead to collectibles and Bucks – the latter of which is the game’s primary form of currency used for upgrades. You’ll often find these items tucked away in alcoves, inside boxes, or behind breakable walls, so be very thorough in your exploration. Take special note of what’s above you – you’ll frequently find hung bodies that can be shot down to reveal Bucks.
Replay missions from the in-game menu
If you miss anything along the way, don’t fret too much, as you can replay missions to ensure you get whatever you need. Simply open up your Menu and scroll over to the Lore tab. Here, you’ll see all of the missions you’ve already completed as well as what you’ve collected there, and you can choose to replay any mission of your choosing without impacting your current story progress. Using this to go back and round up any Bucks you overlooked can be especially useful since your upgrades can make or break your success.
Make good use of Zapper Pull and Zapper Dash
Since the game will often throw hoards of foes at you at one time, managing them all means staying on the move and finding moments to whittle down the pack – something made much easier with Zapper Pull and Zapper Dash. After a few missions, your gauntlet will get some fancy electrical upgrades that let you use an electrical whip of sorts to pull enemies to you or pull yourself to them, and since there is no cooldown for either ability, they change the dynamics of battle drastically. Find weaker enemies in the packs, pull them out to electrocute them, and then beat them down with your melee attacks. If you find a group of them together, dash over and use some energy attacks or your shotgun to AOE them down quickly. All of this mobility makes you a force to be reckoned with on the battlefield.
Give ’em the boomstick
To drive that previous point home: shotgun, shotgun, shotgun. Your Rentier Boomstick is one of your most valuable assets, as it dishes out substantial damage at close range and can make quick work of smaller enemies while knocking back and interrupting larger ones. This shotgun is on a cooldown and must be used sparingly, but when you get an opportunity to unleash its power, it’s in your best interest to do so, as it’s very likely to make your life much easier. Don’t forget to power it up with Bucks in your upgrades menu, too, as this can improve its cooldown speed and more.
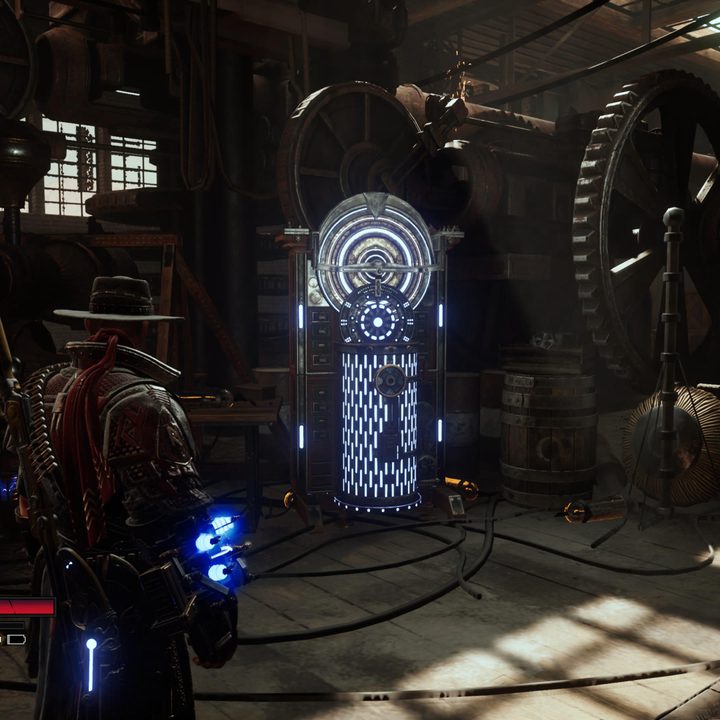
Visit Virgil’s workshop to reset your perks
Early in the game, you’ll gain access to a perk tree you can fill out using points earned by leveling up, as well as an upgrade tree that can be fleshed out with the Bucks you find while exploring. These are both very important and will augment your various armaments or provide passive bonuses that will give you a leg up in combat encounters, so make sure you’re filling these trees out regularly. However, if you happen to want to try a different build, you can always visit Virgil’s workshop while you’re in the hub town of Calico and use the device there to reset everything at no cost.
Buy the Free Bullet upgrade ASAP
Speaking of upgrades, one of the best ones you can buy early on is Free Bullet. As the name implies, this upgrade will net you a free bullet every time you hit an enemy’s weak point – glowing circles that sometimes appear on them when they’re charging attacks. The reason this is immensely important is due to the fact that you’ll face off against some stronger enemies throughout the campaign with weak points that will need to be shot at least four times with your rifle to interrupt. With the Free Bullet upgrade, you can continue shooting those weak points as many times as you need to without ever expending bullets, you sharpshooter.
Don’t be afraid to adjust the difficulty
Evil West comes sporting multiple difficulty levels, giving you the option to choose whether you want a laidback time, a solid challenge, or a full-blown masochistic experience. Even on its Normal difficulty setting, the game can occasionally provide quite a challenge with tons of powerful enemies thrown at you at once. If you ever find that you’re struggling and that the frustration isn’t worth it to you, you can knock the difficulty down a notch or two to make things a bit easier on yourself. Just keep in mind that getting all of the trophies or achievements does require you to complete the game at its highest difficulty without ever lowering it.
Give co-op a try
While the game is largely designed as a single-player experience, it does also offer the option for cooperative play with pals. In this mode, friends will have their health and damage scaled to that of the enemies in the host’s game to ensure that things feel fair and balanced, and you’ll be able to resurrect each other if one of you falls in battle. Even with the scaling keeping things challenging, having two players facing down the hoards can still make for an easier (and sometimes more fun) time, so bring your friends along for the ride. The only major caveat is that the host is the only one who gets story progress in this mode, so don’t expect to be able to play through the game as a team in one run.