How to fly in Minecraft

Flying in Minecraft.
Image used with permission by copyright holder

One tactic you won't find on many Minecraft tips and tricks guides is how to fly. There are plenty of ways to travel across the various biomes, such as teleporting and taming a horse, but none are quite as thrilling as soaring through the air. Here's how you can fly across the blocky world without having to install any mods.

Recommended Videos

Difficulty

Moderate

Duration

20 minutes

What You Need

  • Any version of Minecraft

How to fly in Minecraft with Creative mode

Step 1: First, you’ll need to switch your Minecraft game to Creative mode. Flying isn’t always available in every Minecraft mode, but Creative mode is essentially a god mode that you can mess around in just to experiment. It also makes flying very, very easy.

If you are playing on PC, enter Creative mode with a simple command. Open up the chat, and type “/gamemode creative.” Then hit Enter, and you’ll automatically switch to Creative mode. That’s all you need.

If you are playing on a device where you can’t enter commands via chat, you’ll have to start a new game with Create new world and make sure that the game mode is set to Creative before you begin.
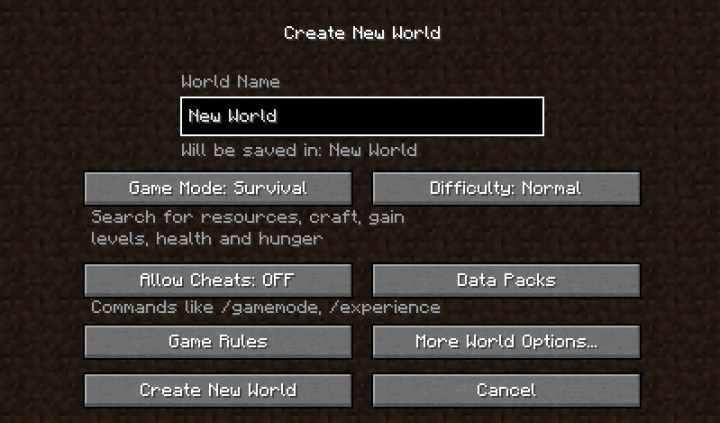
Minecraft Create New World.
Image used with permission by copyright holder

Step 2: Once you’re in Creative mode and ready to fly, press the Jump button twice. Now you’re flying! On a keyboard, that’s the Space bar, while on Xbox, it’s the A button, and on PlayStation, it’s the X button.

Step 3: After you start flying, you’ll need to learn how to navigate. Press and hold the Jump button to move upward. You should be able to adjust your flight with the Directional buttons as you move. Pressing Down or the left Shift key should move you downward. This works a bit differently depending on what device you’re using, but the basics don’t take long to learn.

First flight in Minecraft.
Image used with permission by copyright holder

Step 4: You can stop flying at any time by pressing the Jump button twice again.

How to fly in Minecraft with Survival mode

If you take Minecraft seriously and want to completely avoid Creative mode, you still have an option to fly -- but it’s a lot harder and will take a lot more time. You’ll need to get a very special item called an Elytra. Here’s what to do.

Step 1: Travel to The End and find an End city. It’s easier said than done! In most cases, you’ll have to defeat the Ender Dragon, which will create two portals. One of those portals will take you to the End islands to explore. Here you can find End cities — sprawling, almost fungal cities that are hard to miss. Since the Ender Dragon is notoriously one of the hardest enemies in Minecraft, you may want to take a look at our guide on how to defeat it.
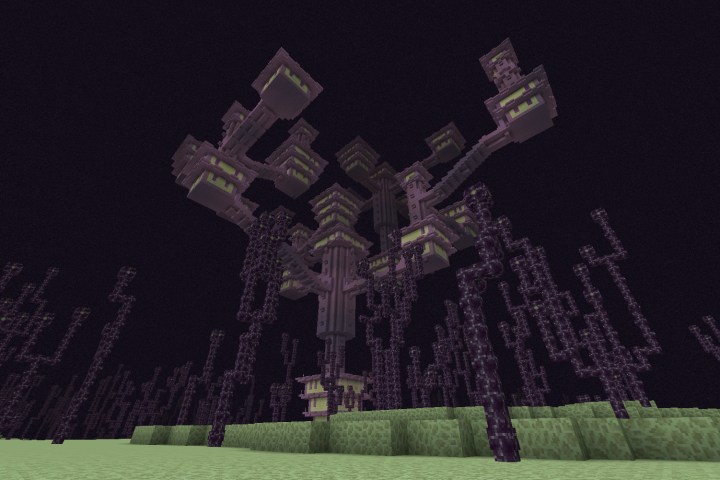
End city in Minecraft.
Image used with permission by copyright holder

Step 2: Find an End Ship. They spawn at End cities and are easy to see – they look like big, gray ships.
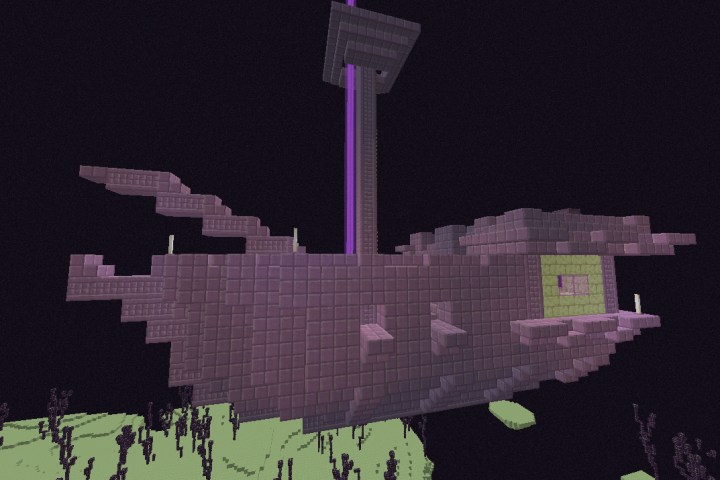
End ship in Minecraft.
Image used with permission by copyright holder

Step 3: Explore the End Ship and look for a special room inlaid with strips of Obsidian (there’s also a Shulker to greet you). At the end of this room, you will find treasure chests and an Elytra. Grab it while you’re looting. In your inventory, it looks a bit like a pair of wings. It is possible to get more than one, but they are hard to find, so it may take some time.
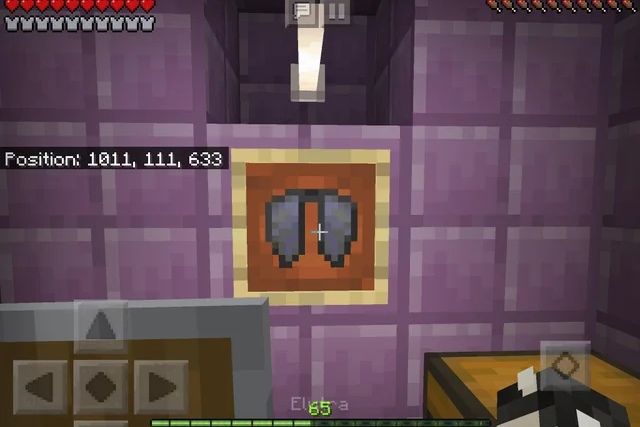
Elytra in Ship.
via Reddit/u/lu_jess_jk

Step 4: Equip the Elytra. Now find a tall space to jump off of and, when in the air, press the Jump button. You should start flying. This is not Creative mode flying; it’s more like using a hang glider. You’ll want to change directions slowly and carefully, and flying straight up doesn’t really work.
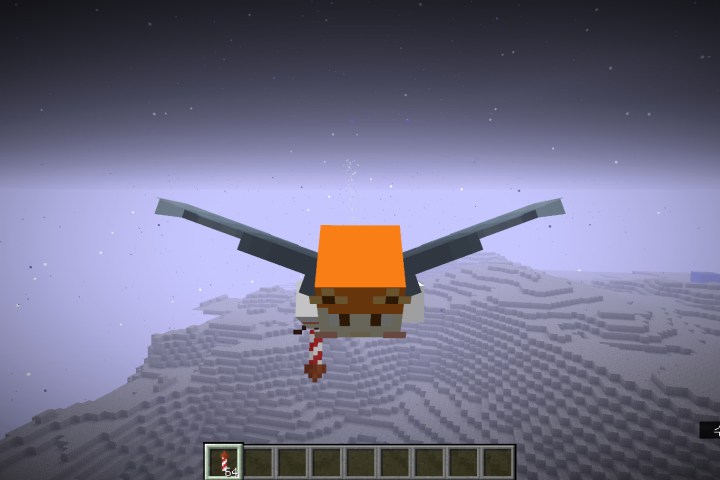
Flying with the Elytra.
via Reddit/u/CivetKitty

Step 5: Eventually, you and the Elytra will start shuddering in mid-air and start descending. People have used firework rockets to give themselves another boost at this point, but it’s not necessary unless you really want to see how far you can fly.

Step 6: Elytras have durability and wear down with use. You can repair them with phantom membranes, or combine two Elytras together to get a repaired version.

Jesse Lennox
Jesse Lennox has been a writer at Digital Trends for over five years and has no plans of stopping. He covers all things…
How long is Atomfall?
An enemy in Atomfall.

With an RPG that claims to be as deep and dynamic as Atomfall, questions about its length are sure to come up. While it isn't a fully open-world game, you will be exploring giant hubs with little direction from the game on what to investigate or when. Structurally, Atomfall shares a lot of DNA with Fallout, but those are some of the longest RPGs on the market. If you're curious how much time you could end up sinking into this title, we'll break down how long it might take you to see the end.
How long is Atomfall?

The trouble with estimating how long Atomfall will take is that it is very much up to you as a player. For example, there is an Achievement in the game for beating it in under 5 hours. Accomplishing that almost necessitates prior knowledge, though, but does demonstrate how quickly you could reach the end if you tried. In our experience, we were able to beat the game in a mostly focused playthrough in about 8 hours. That was us mainly ignoring optional quests and other possible paths to an ending and focusing squarely on one. There is also a high degree of variability based on combat and how quickly you can figure out where to go based on the game's general lack of waypoints guiding you to objectives.

Read more
Minecraft Vibrant Visuals makes the game look more like you imagine
Minecraft RTX ray tracing beta

Minecraft LIVE – March 2025: VIBRANT VISUALS

Minecraft first added RTX support around five years ago, and now it is finally getting an official update that takes advantage of the feature. The new Vibrant Visuals update is not out just yet, but it will be soon for both the Java and Bedrock versions, although it will most likely come to Bedrock first.

Read more
How to get and use Scouts in Assassin’s Creed Shadows
Naoe perched on a spire in Assassin's Creed Shadows.

There are plenty of familiar mechanics returning in Assassin's Creed Shadows, such as fast travel and earning XP to level up both Naoe and Yasuke. One of the many new features you will be introduced to early in the game is the Scouts. Once you unlock the Hideout and are given your initial Scouts, they will become an essential tool for finding your next objective and gathering vital resources needed to upgrade your Hideout. However, how to use them or get more isn't very clearly explained for how essential they are. Let us fill you in on all the details about how Scouts work in Assassin's Creed Shadows.
How to get and use Scouts

Scouts have several primary functions, the first and most important being to scout areas on the world map. Very often, your next objective will not be placed on the map, but instead, you will have directions on the rough location of where it will be. This is where Scouts are necessary. By following the game's directions on the map, you need to put your cursor over the area it is describing and assign one or more Scouts to reveal the area. You do this by pressing Square or X to bring up the dispatch menu and then deploying them at that area. You can see how many Scouts are available on the bottom left of your screen and can assign multiple to an area by pressing the right trigger. The more Scouts you use to scout an area, the larger the area they will reveal.

Read more