When you open that router box for the first time, all the different cables and ports can feel intimidating. Even the instruction manual might read like a foreign language. Fortunately, you’re not the only one who struggles to set up a wireless router.
We can help guide you through the process of setting up your router and connecting it to your favorite devices so that you’ll be on the internet in no time.

Connect your router to your modem
Don’t plug your router into the power outlet just yet. Instead, the first thing you’re going to do is connect your modem to the WAN port with an Ethernet cable.
Step 1: Not sure what the WAN port is? Most consumer routers feature a group of Ethernet ports, several of which are called the LAN ports (local area network) and another called the WAN (wide area network) port.
The WAN port looks the same as the LAN ports, but it’s often a different color and spaced apart from them. In the above photo, for instance, the WAN port is yellow and labeled Internet. Sometimes it will be labeled WAN. This port is intended to connect your router to the modem and the outside world from there. The LAN ports are designed for connecting to local devices.
Step 2: Plug one Ethernet cable into your modem and the other end into your router’s WAN port. Then, plug your router’s power adapter into the wall.
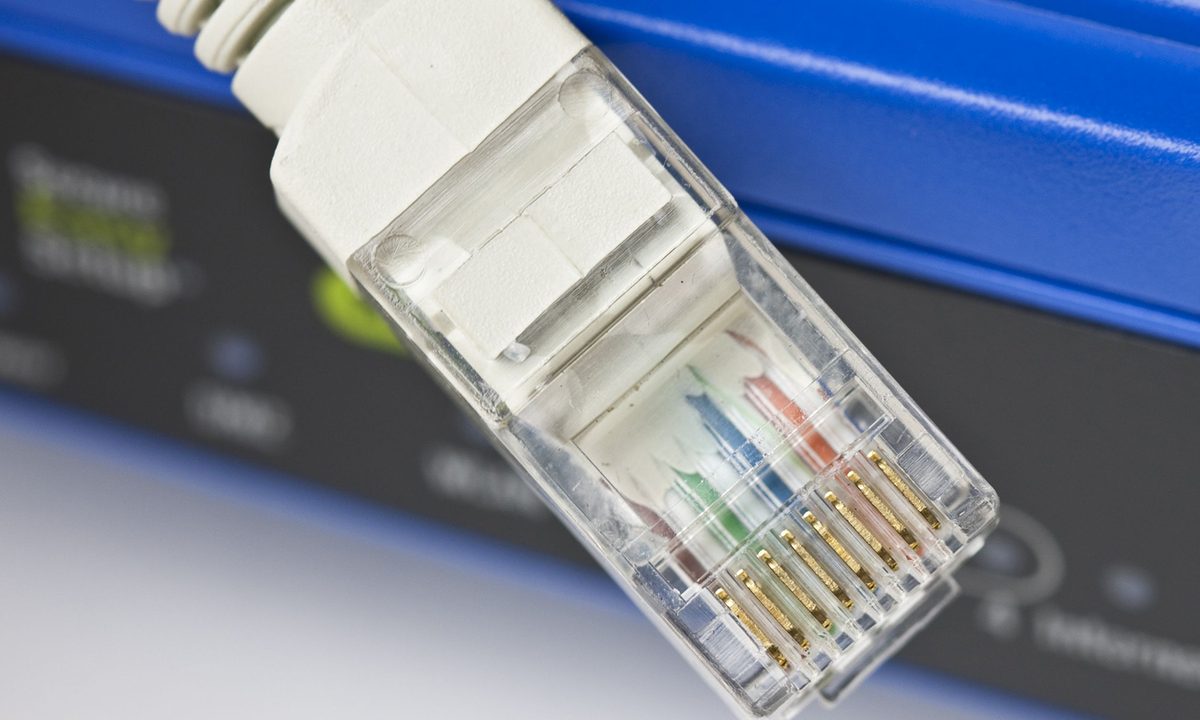
If you don’t have a cable, check out our guide on how to choose the right Ethernet cable.

Download the app and connect
Give your router a minute to start up and create a network. In the meantime (if another connection option is available), download the app associated with your modem’s manufacturer. Today’s modems can typically be set up by a mobile app that will automatically walk you through the setup process. It’s the most effective method, but you have to make sure you choose the right app.
Step 1: Linksys has its proprietary setup and management app, Netgear uses the Nighthawk app, and Google has a setup app of its own. Instructions for what app to use should be in your manual.

Step 2: Now connect to your latent Wi-Fi network. Doing so is usually a simple process: Head to the settings on your phone or computer and choose the Wi-Fi/Network option. Look for your router’s name here. Your router should have a default SSID name that’s printed on the back out of the router, along with the default network key. Use the key to log into the network. Some routers simply have you scan a QR code to complete this process, but if that isn’t an option, these steps should be sufficient.
Step 3: Once connected, launch the router management app to begin the setup!
Alternative method: If your router doesn’t have an app, connect a computer manually to the router using an Ethernet cable. Once you’re connected, head to your router’s configuration page. This page is a website hosted on your router, and it’s a traditional way to configure your router’s settings. How to find it can vary, but it almost always means typing 192.168.1.1 into the address bar of your preferred browser, then hitting Enter.

Step 4: If you find a page, go ahead and jump ahead to the next step. If that address doesn’t work, however, your router may use another address entirely. This address can vary depending on your router, so consult your router’s official documentation if the 192.168.1.1 address doesn’t work.
Alternatively, you could just check our list of default router IP addresses and passwords.

Create a username and password, or find the existing one
Your router app should automatically walk you through setup procedures, so answer its questions and fill out forms as necessary. For most new routers, you’ll be asked to create an app name (again, this is called an SSID) and password. Make sure this password is unique and secure because anyone who has it can do all kinds of nasty things to your network.
Step 1: WPA2 encryption is currently the standard for security, and you should always choose it if given an option for your security protocol. Make sure you select a long password, too, one that is distinct from the admin password you set earlier. Ideally, it should not include words from the dictionary or an easily-guessed name (like the name of your pet). Store the password somewhere secure afterward.
Step 2: A used router, however, may already have a password and need to be reset. Most routers have a recessed reset button on the back. Holding down the Reset button with a paperclip for at least 30 seconds will do the trick. Leave the power on, and wait for the router to rest. It should utilize the default settings when it restarts, meaning the default username and password will now grant you access to settings.

Continue setting up your router
The router app should also allow you to set up other settings such as parental controls, automatic updates, and more. You can tweak these settings and more later from the app, but pay attention to the walkthrough and everything it teaches you. You should learn about guest access, monitoring activity, and more. When finished, the app will configure network settings and finish setting up your network. You can now explore the app at your leisure to learn more.
Some apps, like the Nighthawk app, will also sign you up for free trials of extra security filters. These should not automatically sign you up for payments and will expire naturally after 30 days without any additional costs.
Optional: Setting up mesh routers
A growing number of routers are “mesh routers” these days, such as the Google Wi-Fi router. Mesh routers use a group of Wi-Fi devices that all work together — typically two or three of them. One device plugs into your modem and acts just like a traditional router.
The other devices act more like automatic repeaters that link to the first device and provide a secondary source for the signal. This functionality can significantly expand the router’s range, enable users to get rid of dead zones, and ensure that large houses or property have full coverage.
However, this means you will need to take one more step and position the secondary devices in your home. Here are a few tips to help you position mesh routers the right way:
- Try to set up additional router devices in open spaces where they can broadcast the network as freely as possible. Remember, you don’t have to be latched to a modem with these access points! The routers will need access to an outlet, however.
- Set the additional router points farther away but not too far apart. All routers need to work together. Aim for about two rooms away from the original router on average.
- You can also choose to place your router points at important zones in your home. For example, if you have a gaming space where you use Wi-Fi, you may want to make sure one of the satellite models is placed there for maximum effect.
- Many routers offer a mobile app that makes it easy to connect additional routers and access points to your network from your phone or tablet. For example, Google Nest uses QR codes to connect a router or access point. Failing to connect these additional pieces of hardware to your network means you’ll miss out on the special features they offer. Make sure to complete this step for any devices you add.
And you’re off!
Now that you’ve already connected and configured your wireless router plus any additional routers and access points, you can start to connect devices, so they can access the internet – without any ugly cords or cables.
It might be worth exploring additional options that your new network offers since you have the hardware now. Take advantage of enhanced features like setting up port forwarding and upgrading your router’s firmware with DD-WRT. Then you can access advanced settings that increase your Wi-Fi network’s reliability and security.