
A Plague Tale: Requiem: How to save Tramontane the lost goat

If you’ve spent any time with siblings Amicia and Hugo in A Plague Tale: Requiem, you’ll know that the former is rather afraid of goats and their loud, aggressive screams. Because of this, you might not expect that saving one would be high on Hugo’s priority list, yet doing exactly that is part of a short-and-sweet side quest about halfway through the game’s long, treacherous journey. Saving Tramontane the goat doesn’t require much more than a bit of fire to clear a path. Read on to find out how to help this lost animal return to her shepherd.

Further reading

How to save Tramontane the lost goat

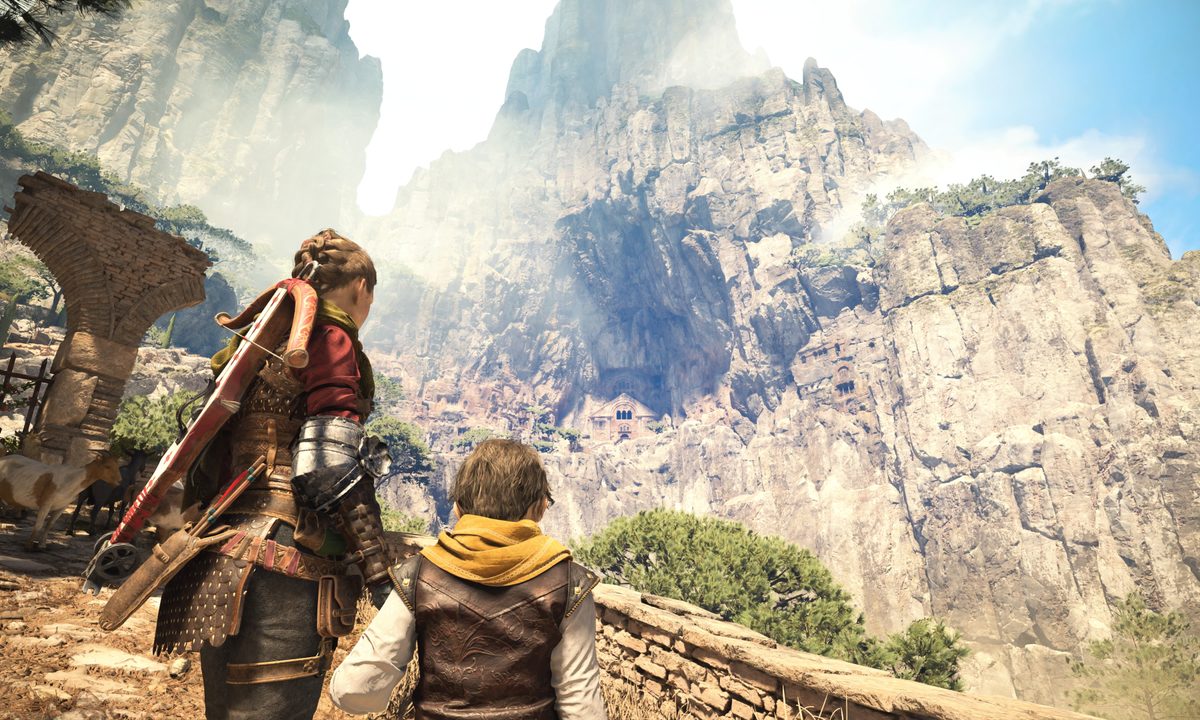
As you make your way through Chapter IX: Tale and Revelations, you’ll eventually have to navigate your way up the mountainside on your way to the sanctuary. A little way up the mountain is a shepherd who will tell you that you’ll need to take a detour to reach a viewing spot for the ceremony taking place at the sanctuary, and he also briefly mentions his lost goat Tramontane, requesting that you send her back if you find her.

Amicia and Hugo watch flames erupt on grass

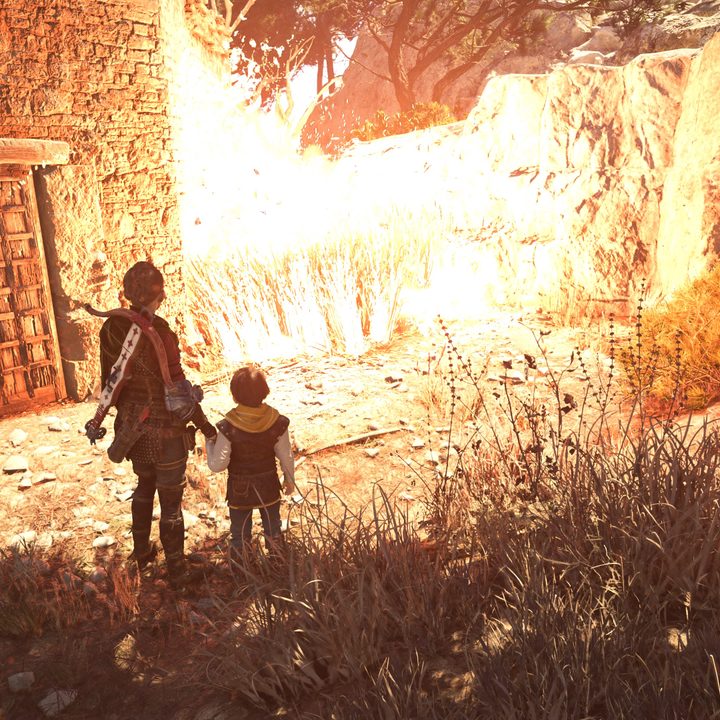
Directly up from the shepherd and his herd of goats is a destroyed brick tower, and as you approach it, you can hear poor Tramontane fussing about being trapped inside. The door to the dilapidated tower is locked, so you’ll have to find another way in by burning down the grass to your right using some fire, which will then reveal a small gap through which you can send Hugo.

Hugo will unlock the door, at which point some dialogue will play out. After a moment, you can press a button to interact with Tramontane and watch as Hugo overcomes his fear of goats. Your work here is done, and shortly after wrapping up the rescue, you’ll be rewarded with the Tramontane souvenir.

Editors' Recommendations

Billy Givens
Billy Givens is a freelance writer with over a decade of experience writing gaming, film, and tech content. His work can be…
All perks in Star Wars Jedi: Survivor
Cal Kestis with BD-1 droid on his shoulder.

Star Wars Jedi: Survivor has a wide variety of skills to learn alongside its five unique lightsaber stances, ensuring you have no shortage of ways to customize your playstyle. The addition of perks bumps up those options even further, granting you the ability to equip badges that improve certain aspects of protagonist Cal Kestis' kit, such as increasing XP earned or improving his ability to break the guard of his foes. Some are found by exploring, while others are purchased from a particular vendor and unlocked fairly early in the game. A handful of perks are unlocked only after beating the game and starting New Game Plus.

Each of these perks uses a certain number of perk slots when equipped, so you'll have to make some tough decisions about which ones you want to have active at any one time. Luckily, exploring the galaxy will net you some additional perk slots, so you'll be able to equip more as you get further in your adventure. Even with all of the perk slots unlocked, however, you'll still want to strongly consider which perks will benefit you best. We'll make that a bit easier on you by listing all of the perks you can find in Star Wars Jedi: Survivor, what boons they offer, and how many perk slots they'll take up.
Perks discovered by exploring
These perks are found by thoroughly exploring the world and completing objectives. You may have to overcome some pretty tough challenges to find them all.

Read more
All lightsaber stances in Star Wars Jedi: Survivor
Jedi Cal Kestis.

Star Wars Jedi: Survivor takes place five years after its predecessor, and Cal Kestis has definitely gained some new Jedi tricks during the time that has passed. While there are some returning features that you're likely to recognize and appreciate, there are also a wide variety of new mechanics, skills, and more to check out in this highly anticipated follow-up. Among those new additions are an expanded set of lightsaber stances that allow you to decide what kind of fighter you want Cal to be. Whether you want to strike fast at the cost of defense, take things slower with bolstered protection, or find the middle ground between the two, you have five options that can ensure you'll find what works for you.
How to change stances
You can have two stances equipped at one time, and switching between them can be done on the fly, allowing you to weave together different elements of your two chosen kits. However, you can only change stances at a meditation point, so you'll need to be sure that you've thought things through pretty well before heading out into dangerous areas. To help you with your decision-making, here are all of the stances in Jedi Survivor and how they work.
Single Blade Stance

This stance is unlocked from the beginning of the game.

Read more
Star Wars Jedi: Survivor’s arachnophobia toggle removes all spiders
Cal Kestis with BD-1 droid on his shoulder.

From endless hordes of Empire goons to hulking Rancors that can crush you in one or two hits, there are no doubt a lot of things to be afraid of in EA's new action-adventure sequel Star Wars Jedi: Survivor. However, if one of your fears happens to be spiders, developer Respawn has got you covered with an arachnophobia toggle that completely removes spiders from the game.

Survivor's Arachnophobia Safe Mode ensures that players who aren't particularly fond of eight-legged creepy-crawlies will never have to engage with any spiders that might crawl their way on-screen partway through the campaign. It's an unexpected addition to a game that is otherwise filled to the brim with strange and unsettling creatures to observe and fight, but spiders no doubt have a special way of freaking some of us out. Many folks are certain to appreciate seeing a choice to avoid arachnids altogether when they find themselves scrolling through the game's suite of accessibility options.

Read more