Metroid Dread has introduced many newcomers to the series, serving as a starting point for many players. The Metroid games are challenging, and Dread is no different, featuring labyrinthian level design, tough enemies to take down, and a litany of well-hidden items to uncover. Even experienced players might struggle with this game, so it’s best to go in as prepared as possible to ensure success.
We’re here to help. In this guide, we’ll highlight some of the most useful strategies to assist you in the game. Whether you’ve played the series before or this is your first one, you’ll likely find something useful in this guide. Here are 10 of the best tips and tricks for Metroid Dread.
Recommended reading:
Shoot at walls to discover hidden areas
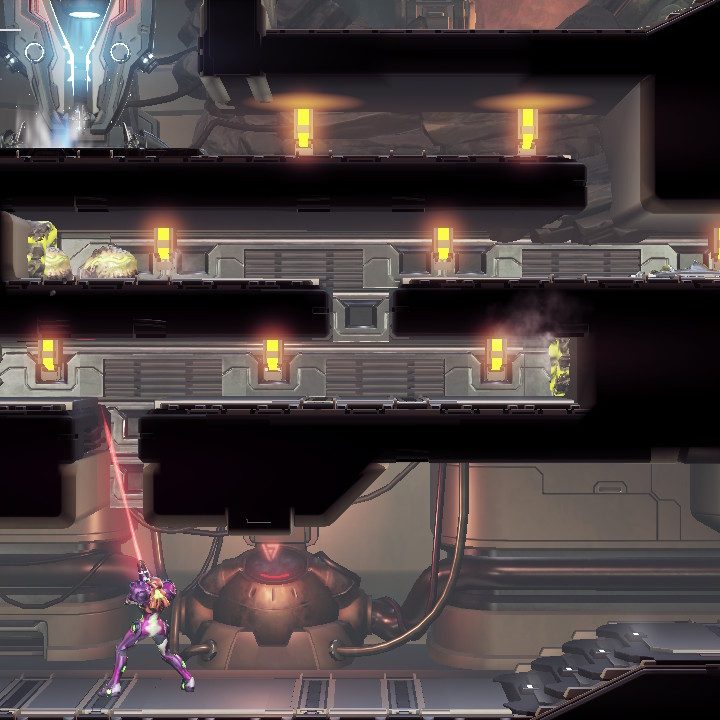
One of the main aspects of the Metroidvania formula is discovery. While some useful items are hidden in plain sight, others are far more subtle. Toward the beginning of Metroid Dread, you don’t have the Pulse Radar, which highlights hidden areas around the map. Because of this, you’re left to rely on discovering items naturally. To make the best use of your time, we advise shooting everything you can in a room to uncover secret areas. You’d be surprised how effective this tactic is, as many rooms have hidden paths that are easy to miss. Some blocks can only be destroyed using Missiles, while others will go down with your regular cannon. Using this method will not only help you uncover items but can also lead to the path ahead.
Check your map often

Tying to the last point about hidden items, checking your map frequently is an excellent way to figure out the next steps. There are several things you should know about the game’s map, such as how to know if you’ve discovered everything in a particular area. In the image above, you can see a section highlighted in white, indicating that an item is left undiscovered there. Just above that is an area that is partially grayed out. This indicates Samus has yet to visit the section in gray. At the top of the map is a percentage that ties to the items you’ve discovered in that area.
Beyond that, you should be aware of the icons around the map. If you hover over them, they’ll tell you what they mean, so we won’t get into them here. Just make sure you check them as you play so you become familiar. What is important is to be aware of whether you’ve collected an item or not. For instance, you’ll see red Missile icons around the map, and if you hover over them, the game will tell you if you’ve collected it or not. As a rule of thumb, the brighter Missile icons indicate that you’ve yet to collect them, while the dull version means you have. You can also hover over certain icons that tell you what ability is needed to interact with them, making it easy to traverse the stages once you’ve unlocked the right powers.
Finally, be on the lookout for the dark green portions of the map. In the image above, you can see a large dark green section above Map Controls. This means you have more of the map to fill, so if you see these dark green areas, you should start exploring around the sections next to it to find a way in.
Check Adam Briefings in the Mission Log if you’re stuck
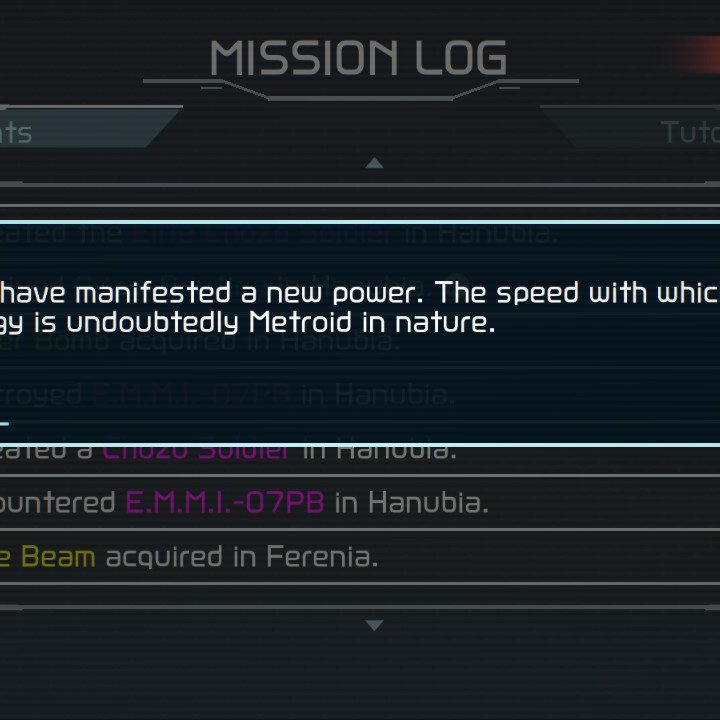
Throughout the story, you’ll visit save stations where your A.I. companion, Adam, tells you what to do next. However, sometimes Adam dumps so much information on you that it’s hard to keep track of it all. The nice thing is that you can reread what Adam said by visiting the Mission Log. To get there, press the Plus button, then L to tab over to Mission Log, where you’ll see all the major events that have occurred thus far. Look for the ones in blue that read Adam Briefing and press A on them to get the information again. This can be a great reminder of your next goal.
Backtrack once you’ve unlocked a new ability
While backtracking might not seem like a fun thing to do, it’s one of the key elements of Metroid Dread (and Metroidvanias in general). That’s because many items and pathways are hidden in earlier stages but are inaccessible until you’ve unlocked a certain ability way later in the game. Remember, you can check the map to see which abilities are needed to advance, so make this a common practice after each power you unlock. The newly discovered ability might lead you to an even more powerful item or even the way toward your next objective. It’s also immensely satisfying to visit older areas because Samus is often far more powerful then, making it easy to stomp out the weaker enemies.
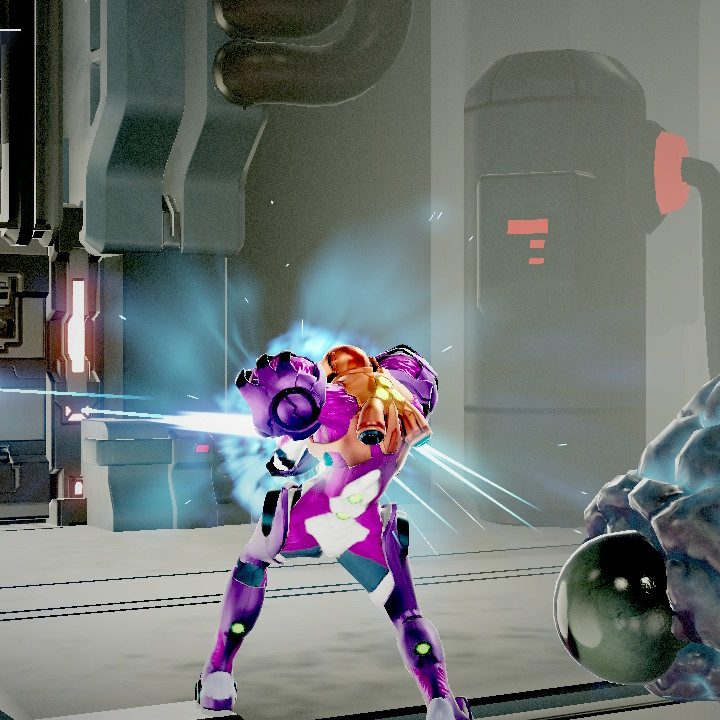
Learn to parry (especially E.M.M.I.s)
Parrying is one of those skills players might opt to avoid during the early stages of Metroid Dread, but doing so leaves them at a disadvantage. Not only does an effective parry allow you to instantly take out certain enemies, rewarding you with more health and Missile ammo, but the maneuver is required for certain late-game boss fights. We won’t spoil them here, but after you’ve depleted certain bosses’ health, you’ll enter a quick time event (QTE) that forces you to parry them effectively. If you miss the prompt, you have to dish out more damage to enter the QTE again, so it’s a good idea to start parrying early so you can get through the battle efficiently.
The game tells you how to parry early on, but we’ll dive into how it works here. Certain enemies will wind up for an attack, and at the peak of their move, a white light will quickly emit from their weapon (or in some cases, their arm) indicating they can be parried. At this exact moment, press the X button, and you’ll counter their attack. Then, immediately press the Y button, and you’ll deal high amounts of damage. After they go down, you’ll receive more health and Missile ammo than if you had just taken them out normally.
For the boss fights, look out for this white light, as well. For some bosses, parrying is required, such as the last few in the game. Other bosses simply give you the option to parry, but we still recommend utilizing the move, as it allows you to get through the fights faster (and often gives you more health, which is ideal in a boss fight).
Use amiibo to refill health and missiles

This tip is a bit of a deep cut but is worth mentioning. Alongside most major Nintendo releases, figures called amiibo are often released. These aren’t just fancy collectibles that look cool but also unlock in-game rewards. The amiibo are built with near-field communication (NFC) and can be tapped onto your Joy-Con or Pro Controller to give you in-game goodies. In Metroid Dread, the Samus amiibo gives you a full, permanent Energy Tank on the first usage and additional health refills each usage afterward. The E.M.M.I. amiibo does the same for Missiles.
However, you don’t actually need these specific amiibo figures to earn in-game rewards. Any Metroid amiibo work, so if you’ve got the Smash Bros. Samus figure or any of the others, put them to good use here.
The kicker is that you’re technically only allowed to use these figures once per day in the game because otherwise, you’d have an unfair advantage. That is unless you alter your system’s clock while playing Dread. If you turn off the Auto Clock Synchronization Via the Internet option within the Settings, you can then advance the system’s day by one, allowing you to infinitely use amiibo to earn health — even in the middle of a fight. Never lose another boss fight again.
Learn how E.M.M.I. rooms work
The E.M.M.I. rooms are some of the most memorable of the entire game. These are the dimly lit areas that contain E.M.M.I. robots who are out to get you. The problem is that they can take you out in one swipe, making it a nerve-wracking experience. However, there are some things you can do to ensure survival. For one, always be aware of the exit. These areas aren’t too large, so finding the exit — even if it’s a door you’ve already passed through — is smart. Once you go through an exit, the E.M.M.I. won’t pursue you anymore.
If the E.M.M.I. is using its radar to search for you and it turns yellow, you should use your Phantom Cloak by clicking on the Right Stick, and stay still if possible. This isn’t always practical, but not moving can sometimes save your neck. If you do have to run, bait the E.M.M.I. around so you can make your escape, and if worse comes to worst, be prepared to parry the enemy. The issue is that the parry timing window is way shorter than any of the others in the game. You must parry as soon as the E.M.M.I. flashes, not before or after. There are always two opportunities to parry, which does increase your odds of survival, even if slightly.
Finally, your goal with the E.M.M.I. areas is to get your hands on the Omega Cannon, which is found in one of the rooms inside these dimly lit sections. They contain a mini-boss consisting of an eye at the top of the stage with smaller enemies that float around it. Once you take it down, you gain temporary access to the Omega Cannon. You need to shoot its rapid-fire attack at the door in these rooms to exit. Then, once you exit the room, line yourself up in a long, linear hallway, opposite of the E.M.M.I., and unload the rapid-fire version of the Omega Cannon upon its head. To do this, hold L and fire away with Y. Eventually, provided you deal enough damage, its armor will burst, indicating that you can use the Omega Cannon’s powerful blasts, which is done by holding L + R, and once it’s ready, firing with Y. After you blast the E.M.M.I. and take it down, the Omega Cannon goes offline.
Farm enemies for health
Sometimes, depending on where (and how) you end up in Metroid Dread, you’ll find yourself low on health, with no health station nearby. While you can certainly just get lucky and escape, a more sure-fire strategy is to farm weaker enemies for health. The smaller enemies are easy to take down, and if parried, they give you even more health. You can continuously farm these enemies by leaving the area and coming back — similar to Dark Souls, in that they respawn. Be careful with this strategy, as it can backfire if you’re greedy. But you can use it to get enough health to get you by.
Make use of the Pulse Radar
Toward the end of the game, you’ll gain access to the Pulse Radar, which is a highly useful tool. It allows you to highlight your surroundings to reveal hidden items or pathways. Of course, with it being such a powerful ability, it isn’t available at the start of the game, but once you unlock it, you should spam it as much as you can. To use it, press and hold right on the D-pad, and the area around you will be scanned, highlighting blocks in white. In short, don’t ignore this ability, as it can help you figure out where to go!
You must manually save your progress at stations around the map
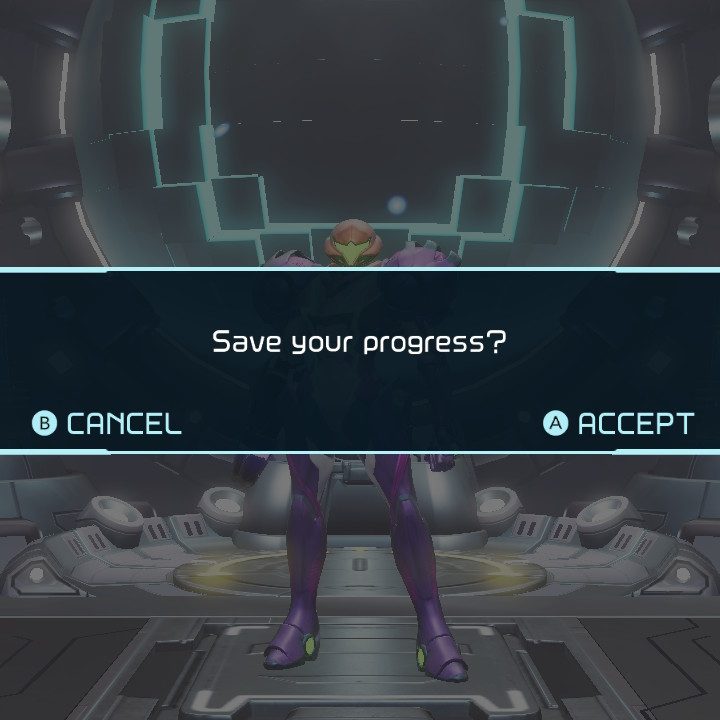
Unlike many modern games, Metroid Dread doesn’t feature a traditional auto-save system. It does offer temporary checkpoints before certain battles, but if you shut down the game, you’ll start off at the last save room. Fortunately, save rooms are littered throughout the game and are indicated by yellow areas called Network Stations. Make sure you visit these rooms often, especially before shutting down the game. In addition, during certain story segments, visiting a Network Station will unlock dialogue with Adam, your A.I. companion. Adam often tells you what you need to know to advance the story, so the Network Station’s benefits are twofold.