
Digital Trends may earn a commission when you buy through links on our site. Why trust us?

How to reset your HomePod

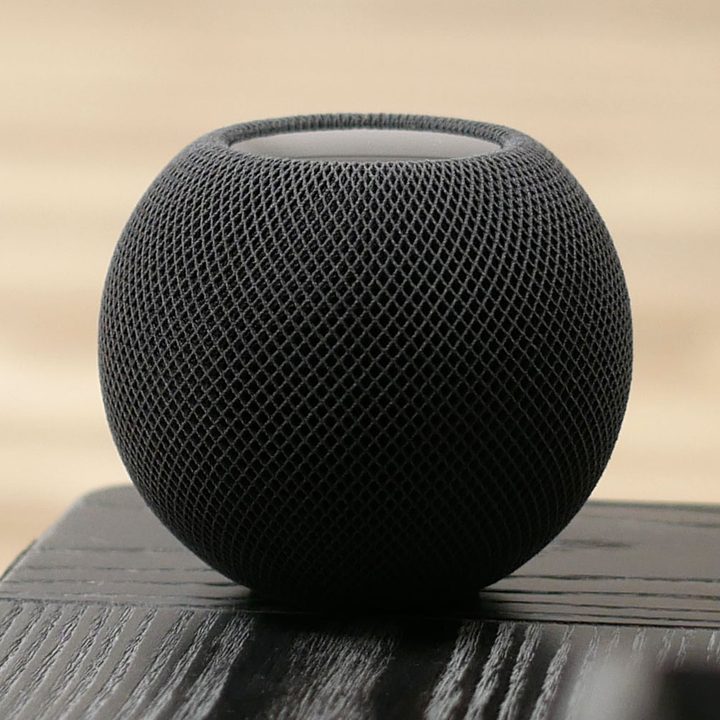
Sitting on an Apple HomePod or HomePod Mini you want to sell or donate? Are you experiencing issues with your smart speaker and need to perform a factory reset? Whatever the reason, there’s more than one way to return your HomePod or HomePod Mini to its factory settings. We cover each of these methods below.

Resetting through the Home app

Home app
Image used with permission by copyright holder

You’ll first want to grab whichever iOS device you’ve got the Apple Home app loaded onto. Make sure you’re logged into the app with the same Apple ID you used to register your HomePod product during its initial setup. Once you’ve confirmed your credentials are in line, go ahead and launch the Home app.

If you’re using an iPhone, iPad, or iPod touch, find your HomePod in the queue of available Apple devices, then press and hold the HomePod you’re looking to delete. If you’re performing this step on a Mac desktop, you’ll want to double-click HomePod instead of tapping.

Now (for both mobile and desktop interfaces), scroll down until you see Remove Accessory, then tap or click Remove. Your HomePod will now enter into a factory reset.

Resetting through the HomePod itself

homepod mini on table edge side
John Velasco/Digital Trends

If you don’t have a phone or computer handy, you can easily reset your HomePod or HomePod Mini with a few device commands. To begin, you’ll first want to unplug your HomePod from the wall. If you’ve got a HomePod Mini, unplug the power adapter. Then (for both speakers), you’ll want to wait 10 seconds. After 10 seconds is up, plug the speaker back in.

Next, wait five seconds, then touch your finger to the top of the HomePod. Press, hold, and wait. A white spinning indicator light should turn red, signaling that your HomePod is about to reset. Siri will then tell you that your HomePod is about to reset. Once you hear three beeps, the process has completed.

To confirm the reset took place, launch your Home app the next time you’re near your phone, then check your available devices to ensure the HomePod in question has been cleared from the list.

Resetting the HomePod Mini with a Mac

HomePod reset screen
Image used with permission by copyright holder

If you own the HomePod Mini, you can use the included USB-C connection to factory reset the device with a desktop Mac. Go ahead and connect the standard end of the USB cable to your Mac. Once the connection is made, look for your HomePod in your Mac’s sidebar (it’ll be located under Locations). Select your HomePod, then click Restore HomePod.

Where to sell your HomePod/HomePod Mini

If you’re trying to get rid of your HomePod or HomePod Mini, there are a number of retail outlets and trade-in sites that will give you some cash for your device. Through Target and Walmart, you can get about $40 for a working HomePod. If you want to try and sell the device yourself, you can do so on Swappa or eBay. Because the HomePod Mini is relatively new, most retailers aren’t offering trade-in approximations for the speaker yet. Once it’s been out a bit longer, that’s likely to change.

Editors' Recommendations

Michael Bizzaco
Michael Bizzaco has been writing about and working with consumer tech for well over a decade, writing about everything from…
How to turn your old phone into a security camera

If you're like most people, you've probably amassed a drawer of unused electronics over the years. Many of these are probably smartphones -- after all, carriers offer great promotions nowadays, giving you a chance to upgrade your device every two years without paying hefty fees. However, instead of letting your old smartphones collect dust (or worse, throwing them away), consider turning them into a makeshift security camera.

There are plenty of great iOS and Android apps available that help turn your old smartphone into a security camera. These work by using your old smartphone's built-in cameras to provide a live stream to your new smartphone. Best of all, many of these are affordable (or free) and work with just about any phone you might have purchased over the last decade.

Read more
What is IFTTT and how can you use it in your smart home?
A bunch of colorful shapes on a black background.

If you've spent any time shopping for smart home gadgets, you've probably noticed that many are built with support for Amazon Alexa, Apple HomeKit, and Google Home. These are smart home platforms, and they let you access all your devices through a single app or interface. You've probably also noticed support for something known as IFTTT. But what exactly is IFTTT? And is it something you should be concerned with? Here's a closer look at the unique (and incredibly useful) software.
What is IFTTT?

IFTTT stands for, "if this, then that." It's terminology often used in programming, allowing software to chain together functions and perform certain tasks if other tasks are detected. For example, if the user inputs the incorrect password, then they'll be notified to try logging in again.

Read more
Nest Hub Max vs. Skylight Cal Max: Which is best for your home?
The Cal Max showing a picture while placed near a shelf.

The Nest Hub Max is one of the most premium smart displays available. Offering a vibrant screen, support for tons of apps, and the ability to sync with Google Home, it's a well-rounded and versatile smart display. The recently revealed Skylight Cal Max is a radically different sort of device -- but it's still contending for the same spot in your kitchen. Instead of offering tons of apps and services, it's a streamlined smart calendar that wants to simplify your life.

Trying to decide between these two premium displays? Here's a look at the Nest Hub Max and Skylight Cal Max to help you figure out which is best for your smart home.
Pricing and design

Read more