
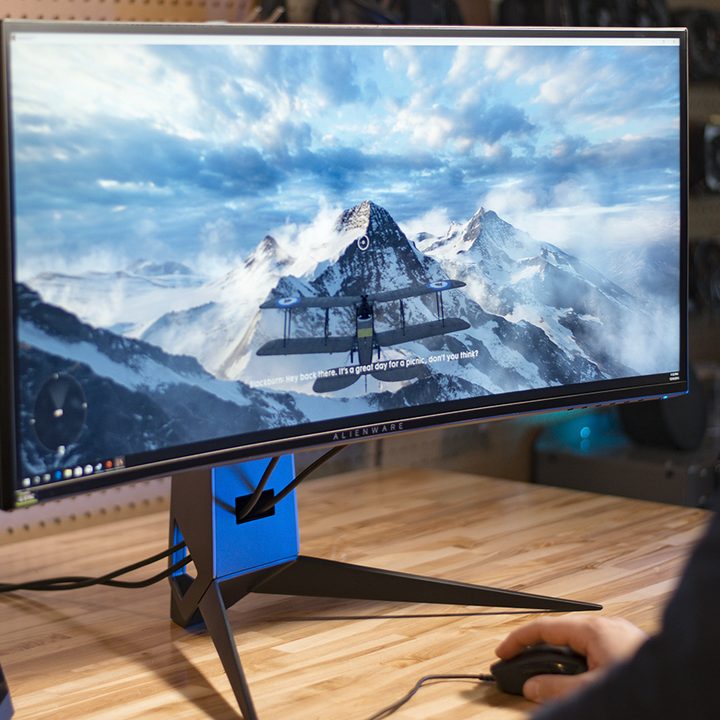
Two of the most common issues with PC gaming are screen tearing and stuttering. It cam affect even the best monitors. Each time your GPU renders a frame, it’s sent to the display, which updates the picture at a certain interval depending on the refresh rate (a 144Hz, display, for example, will refresh the image up to 144 times in a second). Screen tearing or stuttering happens when these two steps misalign, either with your GPU holding a frame your monitor isn’t ready for or your monitor trying to refresh with a frame that doesn’t exist.
G-Sync solves that problem by aligning your monitor’s refresh rate to your GPU’s frame render rate, offering smooth gameplay even as frame rates change. For years, G-Sync was a proprietary Nvidia technology that only worked with certain, very expensive displays with a Nvidia-branded module inside. In 2019, though, Nvidia opened its G-Sync technology to some compatible FreeSync displays, offering an adaptive refresh rate to not only a lot more displays, but a lot of cheaper ones, too.
Although there are now displays with the G-Sync Compatible badge on the shelves, they aren’t set to work with G-Sync by default. Here’s how to use G-Sync on a FreeSync monitor.
Before getting started
First, you need to make sure that your hardware setup is going to support G-Sync, or this process isn’t going to work very well. Your monitor needs to be ready, and that requires three important things.
The first thing you need is a compatible monitor. You will want to consult the GeForce list of G-Sync compatible displays, which are gaming monitors where G-Sync isn’t built-in but is expected to perform quite well. Recent displays from Dell, BenQ, Asus, Acer, LG, Samsung, and more are mostly supported, though you’ll still need to consult Nvidia’s list.
Secondly, you’ll need a GTX 10-series graphics card or better. RTX 20-series and its Super variants work, as do RTX 30-series GPUs. Similarly, the 1660 Super, 1660 Ti, and 1660 work, too. Lastly, you’ll need a DisplayPort connection from this graphics card to your monitor for most displays, though there are some LG models that require HDMI.
Finally, you’ll need to update your GPU drivers. Driver 417.71 brought support for G-Sync in 2019, so you’ll need at least that version, though layer versions are preferable for their improved overall performance and support.
With a compatible monitor at the ready, head into your monitor settings and make sure that FreeSync (or Adaptive Sync) is turned on. This is necessary for the following steps to work.
How to enable G-Sync on a FreeSync monitor

With your Nvidia graphics card plugged in and recent drivers installed, you should have access to the Nvidia Control Panel app on your PC. Open it now. Once open, look at the left-hand menu for the Display section. Here, select the option to Set up G-SYNC.
This will open up a new window where you can enable various G-Sync features. Here’s what you need to do here:
- First, make sure the box for Enable G-SYNC, G-SYNC Compatible is checked
- Make sure that Enable For Full-Screen Mode is selected. G-Sync may have problems trying to work with windowed games.
- Select your display. There’s probably only one display to pick here, so this isn’t usually a problem unless you have an odd sort of multi-monitor display plan and need to make sure the changes apply to the right monitor.
- Make sure the box for Enable Settings for the Selected Display is checked
Once finished, select Apply to get G-Sync started. Your monitor will black out for a few moments after applying settings.
Confirm your compatibility

Perhaps your current monitor is new and upgraded enough to support G-Sync, in which case there is little you need to tweak or correct so that it functions smoothly. As an extra precaution, we recommend executing a graphics test to be positive that you have the desired visuals, at which point you’re free to use it as you see fit. You should note that other monitors may still not enable G-Sync properly. This is common, and you may just have to make one additional adjustment to help your monitor get along properly.
You will use the same Nvidia Control Panel, to access the option for 3D Settings located in the left-hand menu. From here, select Manage 3D Settings, and go to the Global tab. Look for the setting called Monitor Technology, and make sure it is set to the G-Sync compatibility setting.
You don’t have to employ G-Sync for every game, as you can always decide to take it one game at a time. You will want to access Program Settings rather than Global. This allows for some added customization if you prefer certain games on G-Sync and certain games otherwise.
Which is best, FreeSync or G-Sync? Let’s find out.


