
How to prepare for the powerful beasts in Monster Hunter World: Iceborne

Image used with permission by copyright holder

Expansions like Iceborne are rare. The upcoming DLC to Capcom’s Monster Hunter World will not only feature a ton of new content but some of the hardest monster encounters in the game. It’s comprised of Master Rank quests, which are ultra-challenging endgame quests typically seen in the “Ultimate” versions of Monster Hunter games. As such, you need to be ready for the trying new adventure at Hoarfrost Reach, the chilly new locale where Iceborne‘s storyline is centered. For those wanting to dive in before it launches, we’ve put together a list to help you be as ready as possible for Master Rank.

Make sure to check out our Monster Hunter World: Iceborne beginner’s guide.

How to prepare for Monster Hunter World: Iceborne

Reach Hunter Rank 16

This is a mandatory requirement. In order to play Iceborne, you need to reach Hunter Rank 16 in Monster Hunter World. If you reached the credits, you’re already there. This means slaying Zorah Magdaros, working through High Rank quests, and toppling the Elder Dragons. If you’re not at Hunter Rank 16 come launch, you’ll be able to use the new Hunter moves such as Clutch Claw in World’s story, but you won’t be able to head over to Hoarfrost Reach to start the Iceborne story.

Complete High Rank optional quests and Investigations

Image used with permission by copyright holder

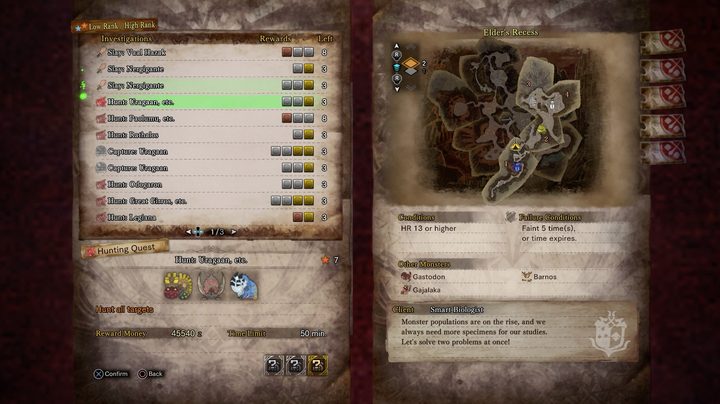
One of the best ways to prepare for Iceborne is to revisit some of the toughest monsters in World. Not only will you sharpen your skills, you’ll earn helpful items and rewards. While you cannot replay main quests, you can do optional quests as many times as you’d like. Run through the Elder Dragons — Vaal Hazak, Nergigante, Teostra, and Kushala Daora — in eight-star quests. You can also grab Investigations from the Resource Center. A good place to start is any High Rank investigation that requires you to hunt two monsters.

Since Master Rank monsters have significantly more health, trying to slay two or three High Rank monsters in one quest will be great practice.

Hunt Tempered and Arch-Tempered monsters

Image used with permission by copyright holder

Depending on how far you progressed past HR 16, you might not have time to unlock Tempered and Arch-Tempered monster hunts. Undoubtedly the toughest High Rank challenges in World, these are the best challenges to prepare yourself for Iceborne. You’ll also get some useful rewards.

Once you collect enough Elder Dragon tracks, an investigation for a Tempered monster can be registered at the resource center. A formidable test comes at Hunter Rank 29 when you have to hunt a pair of Tempered Bazelgeuse. And at Hunter Rank 49, you can hunt Tempered Kirin. From there, you can accept quests against Tempered Elder Dragons.

If you’re already here or manage to get this far, you can accept Arch-Tempered Event quests at Hunter Rank 50 until August 29. All of these Tempered monsters will test your might. If you can make it out alive against a Tempered monster, you should be in good shape when starting Iceborne.

Unlock Mantles

Image used with permission by copyright holder

Mantles are wearable cloaks that provide buffs. You’ll want to have as many of them unlocked when starting Iceborne. They truly help, and some of the Mantles will have a second, more powerful form in Iceborne that can presumably only be unlocked by having the Mantle already.

The three most useful Mantles for starting Iceborne are the Iceproof Mantle, Temporal Mantle, and Rocksteady Mantle.

The Iceproof Mantle nullifies Iceblight and reduces ice damage, which will certainly come in handy in Hoarfrost Reach. You can unlock it by completing the delivery quest “Armory R&D: Weatherizing.”

The Temporal Mantle automatically dodges powerful powerful attacks. It goes without saying how useful it could be against Master Rank monsters. To unlock it, you have to complete the special assignment “No Remorse, No Surrender” (slay Lunastra and Teostra). But first, you have to beat “The Blazing Sun” and “Pandora’s Arena.”

The Rocksteady Mantle increases defense, nullifies reactions to damage, gives you perfect balance when windy, and gives you tremor resistance. As it’s pretty awesome, you have to slay three Tempered Elder Dragons (HR 50) and then complete “A Summons from Below,” which tasks you with hunting Tempered Vaal Hazak and Tempered Odogaron.

If you have time, you should try to unlock all Mantles prior to Iceborne. Here’s the full list.

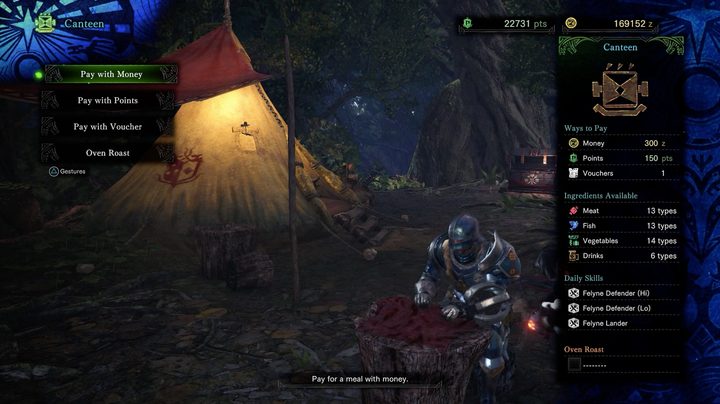
Stock up on healing items

Image used with permission by copyright holder

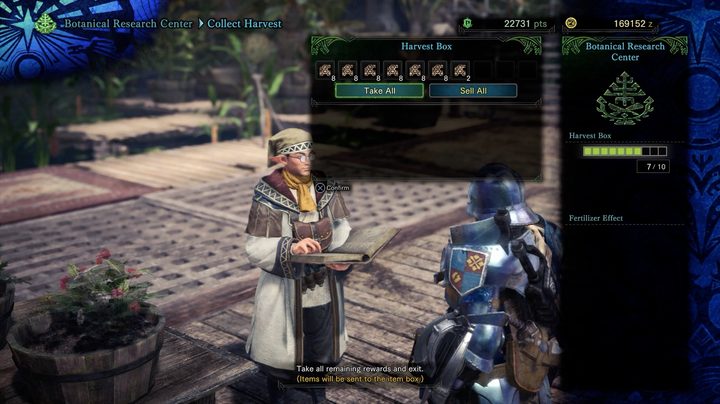
Just as G-Rank monsters have in the past, Master Rank monsters will deliver a beating. Start stocking up on healing items: Max Potions, Mega Potions (harvest tons of honey!), Lifepowder, Ancient Potions, etc. Also make sure you have a ton of Nulberries to remove the many blights you’ll get afflicted with against monsters such as Banbaro, Velkhana, Coral Pukei-Pukei, and more.

Save as many crafting materials as possible

Image used with permission by copyright holder

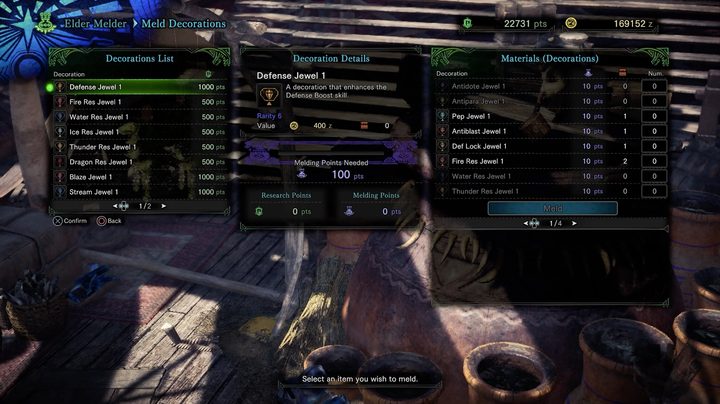
While you’ll earn new monster parts, bones, and ore to craft Master Rank weapons and armor, it doesn’t hurt to save up parts. Don’t spend all of your materials on armor you don’t need for High Rank, since you can later use some of those materials in Master Rank when you will actually need them. This includes Armor Spheres. Conserve those useful armor upgrade materials. It also helps to save materials to take to Elder Melder to make new Decorations and the aforementioned healing items.

Fully upgrade your weapon

Image used with permission by copyright holder

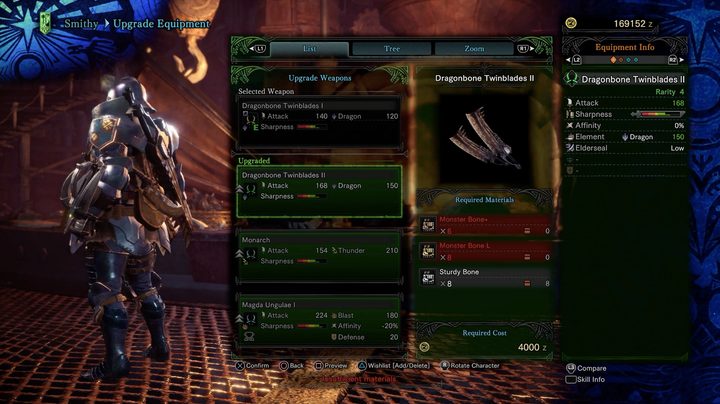
First thing’s first. Pick the weapon you’re most comfortable with to bring with you to Iceborne. Practice with it, of course. But is there still room to improve it on the upgrade tree? If yes, focus on maxing out that weapon. A fully upgraded weapon will help you in the early quests in Iceborne.

Don’t neglect your Palico

Image used with permission by copyright holder

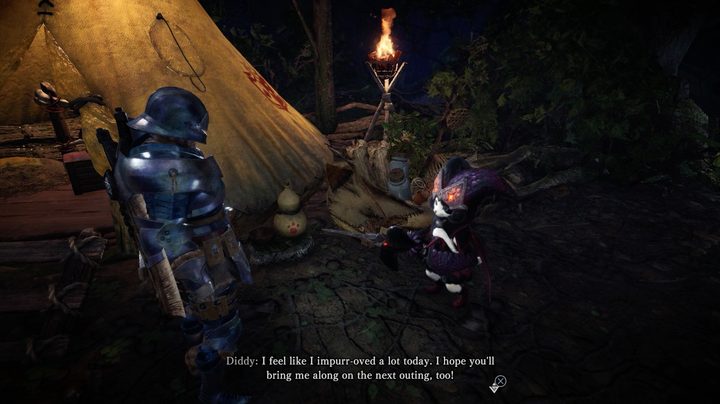
If you regularly hunt solo or as a duo, you already know Palicos can be quite helpful. While the Vigorwasp Spray Gadget is great for healing, other Palico Gadgets are also useful. To unlock more, you have to make friends with the local tribes in each locale and complete short quests for them. For example, in the Ancient Forest, you have to find Grimalkyne Doodles. In the Wildspire Waste, you have to capture a few Grimalkynes for the local tribe. In the Coral Highlands, you have to fight the Tailriders and then slay a couple of Tzitzi-Ya-Ku.

If you’re playing solo, the Shieldspire Palico Gadget can be incredibly helpful, as it can both protect you from large monsters and attack/stun them at high levels.
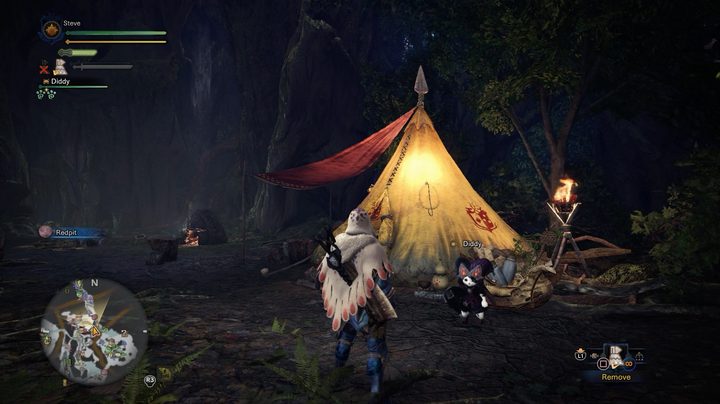
Unlock camps

Image used with permission by copyright holder

Iceborne‘s storyline is centered around Hoarfrost Reach, but you’ll still go on quests in the existing locales. Ahead of the launch, make sure you have all of the camps unlocked for quick and painless fast travel to the Canteen and Item Box.

Topics
Steven Petite
Former Digital Trends Contributor
Steven is a writer from Northeast Ohio currently based in Louisiana. He writes about video games and books, and consumes…
Street Fighter 6: how to enroll with every master
The player confronts Ryu in Street Fighter 6 World Tour.

If you want to be the best, you need to learn from the best. Street Fighter 6 lets you put yourself into the action by creating your own custom character who learns the art of fighting from both the iconic world warriors and a host of newcomers while advancing through the World Tour mode. Each master you pledge yourself to will unlock their own unique moves to add to your list of possibilities when customizing your moveset. You might think meeting all the characters would happen naturally through the story, yet you can easily complete the entire mode without encountering most of the masters. Let us give you your first lesson by showing you how to enroll with every master in Street Fighter 6.
How to enroll with every master

Each of the main characters included at the launch of Street Fighter 6 is considered a master, which results in a total of 18 to find. Some you will come across naturally as you play World Tour mode, but most are either hidden or require you to complete certain optional objectives to find. Here's each master and how you can find them to learn their special moves.
Luke
You will automatically be enrolled with Luke when you begin World Tour mode in Street Fighter 6. You can find and train with him at any time in Metro City at the warehouse marked on your map.
Chin-Li
Chun-Lu is also impossible to miss as you go through the story. Once you get to Chapter 2-1, your objective will be to fund Chun-Li in the Chinatown area of the map. Once you find her there, you can go back to that spot to train with her at any time.
Marisa
Further on in the story, when you get to Chapter 3-3, your objective will now be able to travel using the World Map to get to Colosseo. Once you arrive, Marisa will be introduced automatically. Just speak with her again afterward to become her student.
Blanka
The big green beast Blanka can be missed, but only if you don't bother exploring. After you get to Chapter 6-1, Luke will unlock the Ranger's Hut location on the World Map. Not only will you be able to become Blanka's student, but you will also get the Blanka Chan outfit.
Dee Jay
Also available in Chapter 6-1, Dee Jay is found in Bather's Beach. After a battle (regardless of if you win or lose), you will be able to enroll with this master.
Lily
Lily is the first tricky master to enroll with. During Chapter 4-1, you need to complete a side mission called "The Spirit Guide" that you can pick up from an NPC in Chinatown named Ana. After completing the quest, Thunderfoot Settlement will be unlocked on the World Map. Go there, speak to a few NPCs, and Lily will arrive in a cutscene. Once it ends, speak to her to enroll as a student.
Cammy
Cammy also is locked behind a side mission that you can go on during Chapter 7-1. The one in question is called "Special Unit Del-?" in Metro City. Head down to the subway to grab the quest, complete it by clearing out the subway, and unlock access to the stadium area on the west side of the map. Once you take care of all the enemies downtown, you can go back to King Street via the World Map to find and battle Cammy.
Jamie
Jamie is slightly tricky to find. You need to be in Metro City during the night and go into the Chinatown alley. He will be in the middle of a fight, leading to his intro, after which you can climb up the nearby ladder and onto the roof to speak and train with him.
Ken
After a long break, Ken will be the next unmissable master. Once you get to Chapter 8-3, you will get the mission "The Elusive Former National Champ" that sends you to go find Ken at a construction site. After getting the appropriate headgear, you can head to the site and  be introduced to him.
E. Honda
Not long after you encounter Ken, E. Honda will show up in Chapter 8-4 during the "Big in Japan" mission. Simply head to the restaurant to meet up with the famous sumo star.
Ryu
Ryu can be found next by traveling to Genbu Temple. Just walk up and speak to him to begin training.
Kimberly
Also unmissable, Kimberly will be introduced during Chapter 8-7 during the "High Flying Man" mission. Once the mission is complete, she will be posted up on the roof above your hideout.
Guile
Once you've finished Chapter 8-7, you can go learn from Guile by putting on the SiRN lab coat and talking to an NPC at the construction site to get a mission to go to the Carrier Byron Taylor. Go there, fight a bit, and he will jump in to help you out.
Manon
Following Chapter 7-3, when the "Extra" sidequest unlocks in Metro City's Beat Square, you will be taken to Fete Foraine automatically. After Manon introduces herself, you can speak to her again to become a student.
Dhalsim
The yoga master himself can be found by doing the "Yoga Statue" quest available starting on Chapter 9. Talk to Anik in Bayside Park in Metro City. Complete the quest to unlock Dhalsimer Temple on the World Map, where you can enroll with Dhalsim.
Zangief
The sidequest for Zangief also spawns when you hit Chapter 9. This time, you need to go to the stadium to find the "Hither and Thither" mission from some wrestlers. Finish up the quest and the Barmaley Steelworks will be added to your map. Zip on over and meet the master grappler.
Juri
Not available until much later in Chapter 11-4, you're looking for the "A Hardboiled Adventure" sidequest in Nayshall from Govind in the Bazaar. You will need to wait until Chapter 12 before you can fully finish this quest, but once done, you can ask to study under Juri.
JP
The last master you will find can only be encountered once you've fully finished World Tour mode. Once everything is wrapped up, go to Old Nayshall at night and go to the Suval'hal Arena Entrance. JP will be there waiting by the stairs around back for someone to come asking to train.

Read more
How to change profile Titles in Street Fighter 6

Diving into the world of Street Fighter 6 opens up a whole new arena of customization. Instead of just playing as the iconic world warriors and other designed fighters, you are finally able to create your own custom avatar to face off against these legendary brawlers. The character creator is extensive enough already, but that's only part of the suite of ways you can customize your experience. Titles are back and give you a way to add some flair and personality to your profile when playing against opponents online. Unfortunately, the way to actually change your Title is a bit obscure. Here's how you can change your profile Title in Street Fighter 6.
How to change your Title

After  you've gotten started in the game, head into the Main Menu and go to the Profile section. This is where people will get tripped up. You need to press Square to enter the Battle Settings, then press Triangle to access Update Character Settings, then select Title Settings from the available tabs. This is finally where you are able to go in and pick from any of the Titles you've unlocked so far. The Title will be applied to whichever character you have selected, so you can have different titles set for each character.

Read more
Monster Hunter Rise won’t support cross-progression between PS4 and PS5
A glowing purple monster being attacked from all sides.

Monster Hunter Rise will not support cross-saves or cross-progression between PlayStation 4 and PlayStation 5. This means that players who start their journeys on PlayStation 4 will have to start anew if they wish to play on PlayStation 5 later on.

Yesterday, Capcom announced that Monster Hunter Rise was coming to PlayStation and Xbox in January 2023. Microsoft stated that players can continue their progress between Xbox One, Xbox Series X/S, and the Xbox app on Windows PC.

Read more