
How to add a device to HomeKit

Apple HomeKit may not have as many compatible products as Amazon Alexa or Google Home, but its still a great smart home platform for dedicated iOS enthusiasts. Not only is the platform supported by the Home app on iOS, but you can also control devices using your HomePod or Apple TV.

Difficulty

Easy

Duration

10 minutes

What You Need

  • Apple smartphone or tablet

  • Home app

  • HomeKit-compatible device

But before you can control HomeKit products with any of these gadgets, you first need to add them to your system and configure a few settings. Here’s how to add a device to HomeKit.

Apple HomeKit app on smartphone.
Apple

How to add device to HomeKit

To add every device besides Apple TV to your Home app, you’ll need to use your iPhone or iPad. After loading up the app, follow these simple steps.

Step 1: Turn on the device you’d like to add.

Step 2: Press the Add button at the top of the screen (it’s the one that looks like a plus sign).

Step 3: Select the Add Accessory option.

Step 4: You’ll then be asked to scan a code or hold your smartphone (or tablet) near the device to sync it with your account.

Step 5: When a connection is made, select Allow to let it access your network.

Step 6: Finalize the procedure by adding it to a room and giving it a name, then pressing Continue and Done.

Apple TV 4K hardware with remote and retail box.
Phil Nickinson / Digital Trends

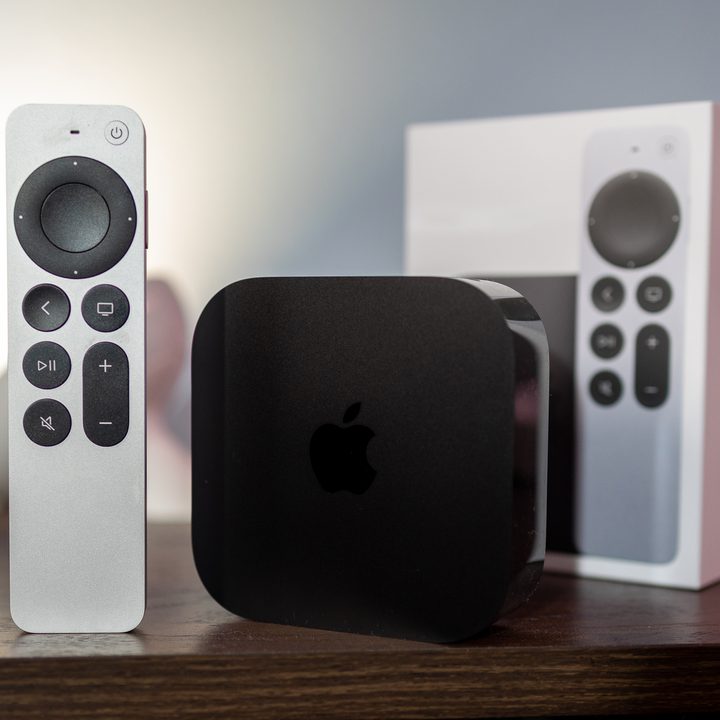
How to add Apple TV to your Home app

If you’re looking to get your Apple TV synced with HomeKit, the process is slightly different. To do this, you’ll first need to open the Settings menu on Apple TV. From there, here’s what to do next:

Step 1: Select the Default User from the Users and Accounts menu.

Step 2: Ensure that you’re signed into iCloud.

Step 3: Head back to the Settings menu, then select AirPlay and HomeKit.

Step 4: Scroll down to the Room option, then find the room you want to add Apple TV to or create a new one.

Step 5: With that done, Apple TV should appear in the selected room when using your Home app.

Editors' Recommendations

Jon Bitner
Jon Bitner is a writer covering consumer electronics, technology, and gaming. His work has been published on various websites…
How to clean the Ecovacs Deebot X2 Combo
Ecovacs X2 Combo under a bed.

While the Ecovacs Deebot X2 Combo handles most of its own maintenance, there are still a few tasks you'll have to perform manually. Thankfully, these tasks only take up a few minutes of your time, and they don't need to be carried out frequently. From checking that the robot's sensors aren't blocked to cleaning roller brushes and the dirty water tank, here's a look at how to clean the Ecovacs Deebot X2 Combo.
Wipe down the robot vacuum sensors

The robot vacuum that comes with your X2 Combo works best when its external sensors are clean. After scurrying around a dirty house, there's a good chance dust has accumulated on the clear cover that houses all its sensors. Check this after each cleaning cycle and wipe it down with a dry cloth. If it's really dirty, a slightly damp rag can be used before drying it with a towel.
Give a thorough rinse to the dirty water tank
Emptying the dirty water tank is arguably the worst part of owning a robot vacuum. But if you're staying on top of things, it should never get too funky. Consider emptying the dirty water tank before it's full and giving its interior walls a good scrubbing to remove buildup. If you don’t do this, your dirty water tank will get remarkably smelly and slowly accumulate more gunk.

Read more
How to set up the Blink Mini 2 as a chime
The Blink Mini 2 on a bookshelf.

If you've been shopping for an affordable security camera that's packed with useful features, the Blink Mini 2 should check all the right boxes. Along with serving as both an indoor or outdoor camera, the tiny device can double as a chime for your smart doorbell. There are a few limitations to the feature, but as long as you're using a Blink Video Doorbell, you should have no problem linking the two devices together.

Need help with the process? Here's how to use your Blink Mini 2 as a chime for your Blink Video Doorbell and receive alerts when someone is at your front door.

Read more
How to fix the ‘unreachable’ error on Nanoleaf Skylight
The Nanoleaf Skylight lighting up a room various shades of purple.

The Nanoleaf Skylight is one of the most unique smart lights on the market. Instead of a simple light bulb or light strip, the Skylight is a series of light panels designed to be installed on your ceiling. Once in place, they act much like other Nanoleaf products, with tons of customization options and color settings available in the mobile app. However, some users are running into an "unreachable" error that prevents them from properly using their Skylight.

If you've stumbled upon the issue, here's a look at how to fix the "unreachable" error on Nanoleaf Skylight, along with additional tips on how to troubleshoot the Skylight pairing process.

Read more