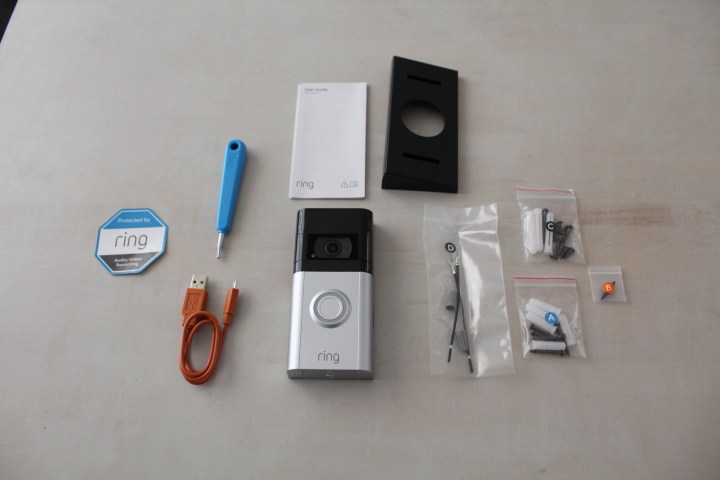
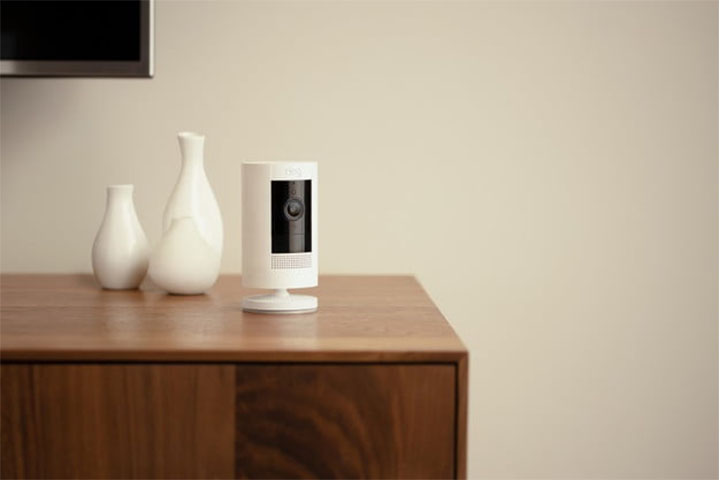
Ring's assortment of security cameras and video doorbells are excellent smart home devices that allow you to add peace-of-mind surveillance to your residence in just a few simple steps. Think of your home's internet as the lifeblood of your Ring device. Whether you're connecting a new Ring device to your Wi-Fi for the first time, or your camera or doorbell requires a reconnection, getting your Ring product online is a quick and easy process that we explain below.
Other than a screwdriver, drill, and your device's included assembly materials, the only thing you'll need to get your Ring gear up and running is a Wi-Fi connection. While your Ring hardware will still be powered in the event of a network outage, you'll be hard-pressed to get any actual camera or doorbell features to work without Wi-Fi.
First, let's cover how to connect a fresh-out-of-the-box Ring device to your home's Wi-Fi network.

How to connect your Ring device to Wi-Fi
After you've charged up the battery (if your camera or doorbell comes with one) and mounted the camera or doorbell, you're ready to pair your Ring device to your home network.
Step 1: First, you'll need to download the Ring companion app (for your iOS or Android devices).
Step 2: If this is your first time using a Ring product, you'll need to create an account. When you first launch the app, select Create account and follow the onscreen prompts to sign up.
Step 3: After creating your credentials, select Set up a device, then choose either the Camera or Doorbell option (depending on your product).
Step 4: Using your phone or tablet, scan the MAC ID barcode or QR code located on the Ring device. You can also find the QR code in the instruction booklet that came with your Ring product.
Step 5: On the next two screens, you'll be prompted to enter your location info and create a custom name for your Ring device. After filling in the appropriate fields, you're ready to put your device into setup mode.
Step 6: Setup mode creates a temporary Wi-Fi access point that you'll connect to from your mobile device, allowing the Ring product to join the Wi-Fi network of your choosing.
While a number of Ring cameras and doorbells will automatically be in setup mode once they receive power, you can manually turn on setup mode by pressing and holding the small setup button located on your Ring device.
When your Ring product is successfully in setup mode, you'll see a pulsing white light emitting from your device.
While the setup button will typically be located on the front of Ring doorbells and the base of Ring security cameras, the exact location will vary based on what product and device generation you're using.
Step 7: Once your camera or doorbell is in setup mode, it's time to connect the product to Wi-Fi.
For iOS devices, navigate to Settings and then select Wi-Fi. (Android devices should automatically connect to your Ring product's temporary access point).
Your Ring access point will either be labeled as "Ring" followed by the last six numbers of your MAC ID or "Ring setup" followed by the last two numbers of your MAC ID.
Select the access point and then return to your Ring app.
Step 8: Select your Wi-Fi network, enter your password, and press Continue.
Step 9: Once your camera or doorbell is connected to Wi-Fi, go ahead and test the connection.
For Ring cameras, a properly-connected cam should show a live view of whatever the camera is aimed at. For doorbells, you can manually ring the bell to initiate a test call.

How to reconnect your Ring camera or doorbell to Wi-Fi
What if your Ring product loses its Wi-Fi connection or you've changed some of your network preferences and need to reconnect the hardware?
Connecting your already-installed Ring device to a new or existing Wi-Fi network is as simple (if not easier) than the initial setup steps.
Step 1: In the Ring app, select the three bars icon at the top-right corner of the homepage. Then, select Devices.
Step 2: Choose the camera or doorbell you need to reconnect. Next, you'll be taken to the Device dashboard.
Step 3: Select Device health and then select Reconnect to Wi-Fi or Change Wi-Fi network.

Why won't my Ring device connect to Wi-Fi?
If you're having issues connecting your Ring camera or doorbell to your Wi-Fi network, or the device itself keeps unpairing from Wi-Fi, there could be one (or several) culprits at play.
Traditionally, Wi-Fi routers are designed to be placed in a centralized and unobscured location in your home. If your router is wedged behind furniture or placed inside a media cabinet, your Ring product may have issues detecting the network bands because they're not being transmitted optimally. Try relocating your router to an un-blocked spot and see if that helps with connectivity.
If you own a dual-band router, another issue you may be running into is that your Ring device isn't actually compatible with your network's 5GHz band. If this is the case, try connecting to the 2.4GHz band instead.
One other issue could be that you've changed either your network name or password. Doing so will require you to reconnect any previously connected web devices using your new Wi-Fi network logins.
Will my Ring equipment work without Wi-Fi?
A majority of Ring's security cameras and doorbells require a Wi-Fi connection in order to operate. However, there are two exceptions to this rule:
Both the Ring Doorbell Elite and Ring Stick-Up Cam Elite are able to work without an internet connection. These cameras use a PoE (Power over Ethernet) connection, which delivers a hard-lined network connection to both products.
That said, if your internet connection happens to go down (because of something like a storm surge or a neighborhood brownout), neither camera will operate until your home's Internet connection is restored.


