When it comes to protecting your smartphone, a screen protector is a must. At its most basic level, a screen protector can protect against dirt, smears, and dust from constant use, but also guards against scratches from keys and coins. In the very worst of circumstances, a glass screen protector can go as far as to take the brunt for your phone, shattering and using up destructive energies that could otherwise harm your phone’s glass display.
Don’t know how to apply a screen protector? We’ve got you covered (pun intended). Whether it’s an iPhone or Android device, here’s a step-by-step guide to help you apply every type of screen protector perfectly every time.
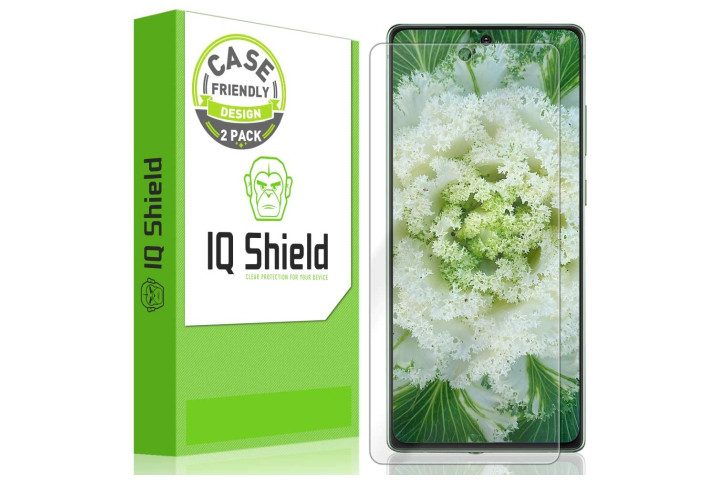
Don't have a screen protector? Check these out
Please note: Before you apply anything, make sure you’re in an area with as little dust as possible. While this isn’t mandatory, the less dust there is around you, the less likely it is that particles or debris will be trapped underneath your installed screen protector. You should also wash your hands prior to installation so your screen will come out smudge- and oil-free.
How to apply tempered glass protectors
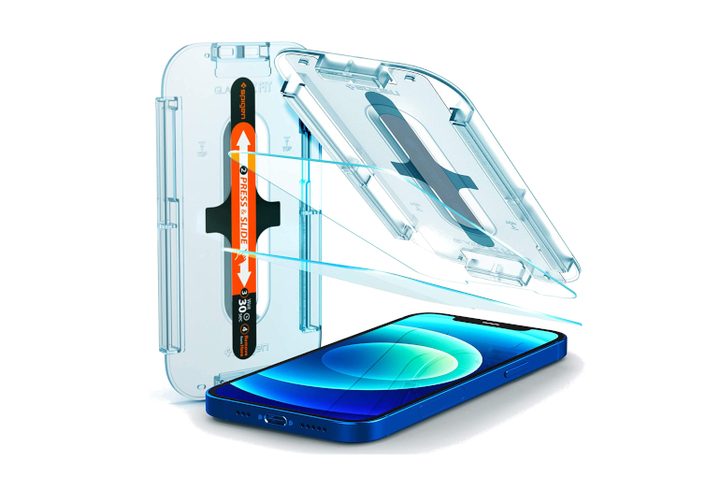
The tempered glass screen protector is one of the most popular options to cover your screen. It’s less prone to scratches than ones made from plastic, mimics the feel of a phone’s glass screen, and is super easy to install. No matter the brand, most packages will include a screen protector, a dust sticker, guide stickers, a wet wipe, a dry wipe, and a microfiber cloth.
Step 1: Clean off any dust particles, stains, and fingerprints from the surface of your smartphone with a wet wipe.
Step 2: Repeat with a dry wipe to absorb all the moisture. Any excess moisture will weaken the adhesive of your screen protector.
Step 3: If there are still any loose bits and pieces on your screen, use the dust sticker to lift them off.
Step 4: If your screen protector comes with an application tray, place your phone inside of it.
Step 5: Remove the package film from your tempered glass screen protector, and carefully align it to your phone screen. It helps to attach guide stickers on the top and bottom edges of your screen protector so your fingers don’t get in the way.
Step 6: Lay the screen protector down and allow it to adhere to your phone screen. If it looks off-center, gently lift the protector and realign it.
Step 7: Wipe the applied screen protector with a microfiber cloth. In the case that you see bubbles underneath the screen protector, take the microfiber cloth and firmly press to push the spots off the edge of the screen.
How to apply plastic film protectors
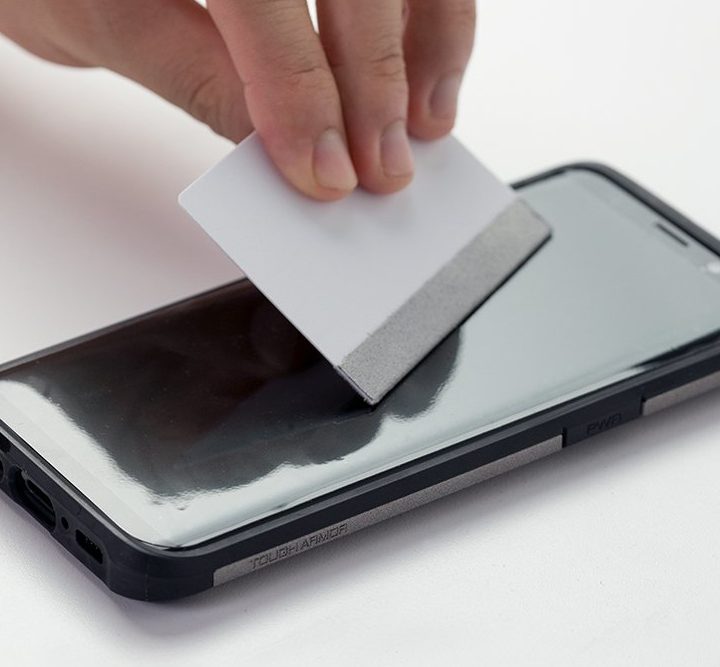
If you’re not a fan of the thicker tempered glass screen protector, then a plastic film protector is the way to go. They’re cheaper, lighter, more subtle, and less likely to have issues fitting with cases — but as you might suspect, they’re not as strong as tempered glass protectors.
Step 1: Clean off any dust particles, stains, and fingerprints from the surface of your smartphone with a microfiber cloth.
Step 2: Peel off the packaging film from your plastic screen protector, and carefully align the protector to the top half of your screen.
Step 3: Apply the top half of the screen protector onto your phone.
Step 4: Take the included squeegee and slowly press the screen protector downwards so that the bottom half lays down. The squeegee can be substituted with a credit card covered with a microfiber cloth.
Step 5: To remove any bubbles, use the squeegee to push them toward the edge of the screen protector.
Step 6: If there’s another layer of packaging film still attached, gently peel it off without lifting the screen protector.
Step 6: Wipe the screen with a microfiber cloth.
How to apply Whitestone Dome protectors
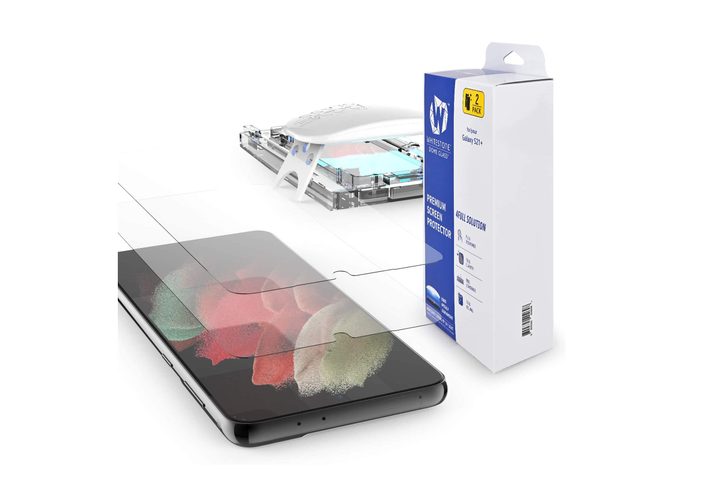
Known for its innovative and revolutionary method of application, the Whitestone Dome screen protector deserves a section of its own. These are highly recommended if you can get over the tedious installation process and expensive price tag. Whitestone also offers an installation video guide, so make sure to watch that before trying it yourself.
Step 1: Turn off your phone.
Step 2: Remove any pre-installed screen protector that’s on your phone.
Step 2: Make sure your surface is level. You can check by laying the included liquid tube on the surface and seeing if rolls. This is important, as you want the liquid adhesive to disperse evenly later on.
Step 3: Clean off any dust particles, stains, and fingerprints from the surface of your smartphone with the alcohol wipe.
Step 4: Repeat with a microfiber cloth to absorb the excess moisture.
Step 5: Cover all ports on the top and bottom of your smartphone with the included masking tape.
Step 6: Place your device inside the installation tray with the top side aligned with the word “speaker.”
Step 7: Cover any front-facing speaker(s) with the speaker masking tape.
Step 8: Place the cover tray on top of the installation tray by aligning the pins around.
Step 9: Insert the white absorbent pads between your device and the tray. These will keep your device in place during installation while absorbing any excess liquid.
Step 10: If there are still any loose bits and pieces on your screen, use the dust sticker to lift them off.
Step 11: Insert the black release pin into the gap above the speaker.
Step 12: Position the plastic bridge by slotting the sides into the holes of the tray. You’re now ready to apply the liquid solution.
Step 13: Remove the red cap of the liquid solution tube, being careful not to mistake it for the black cap on the other end, and screw it into the plastic bridge.
Step 14: Once tightened, remove the black cap of the tube and let the liquid solution pour out for 30 seconds or until it’s empty.
Step 15: Remove the empty solution tube and plastic bridge altogether.
Step 16: Peel off the packaging film and rest the top of the screen protector on the black release pin.
Step 17: Insert the plastic release guide into the bottom of the installation tray.
Step 18: Slowly tilt the tray by pressing down on the bottom so that the liquid solution begins to slide downwards. Try to keep the liquid as close to the middle as possible.
Step 19: Once the liquid solution aligns with the circle on the plastic release guide and the arrows on the installation tray, retract your finger and pull out the black release pin at the top.
Step 20: Allow your phone to sit for about 60 seconds so that the liquid can evenly disperse throughout the screen protector.
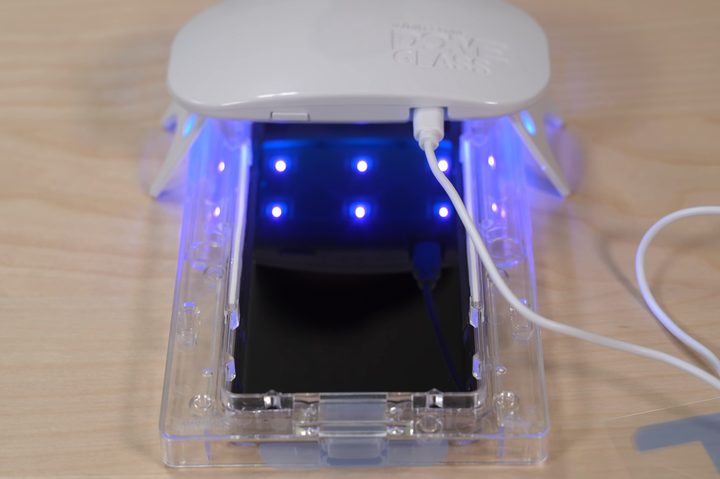
Step 21: Plug in the included UV light and place it over the top half of your phone for 15 seconds. If the light doesn’t automatically turn on, press the power button located on the side.
Step 22: Repeat the curing process on the bottom half of your phone for 15 seconds.
Step 23: Remove your phone from the installation tray and wipe down any excess liquid solution on the sides with an alcohol pad.
Step 24: Cure the top and bottom halves of the screen again, but this time for 60 seconds each.
Step 25: Turn on your phone.
How to apply liquid spray protectors
Liquid spray protectors have grown in popularity due to their simple and fun installation process. You don’t have to deal with any sticky adhesive, and the elastic layer on the protector allows them to naturally heal from scratches. It’s best to install liquid spray protectors at night, as it will take at least 8 hours to completely dry.
Step 1: Turn off your phone.
Step 2: Spray the liquid solution onto a microfiber cloth and wipe the surface of your screen.
Step 3: Spray the liquid solution onto your fingertips and the front of the screen protector. This will prevent the film from getting scratched or smudged during the installation process.
Step 4: Peel the screen protector from the backing and spray the other side as well.
Step 5: Place the screen protector on top of your phone and align it to your liking. The wetness should help you maneuver around.
Step 6: While holding the screen protector in place, take a squeegee and gently push any bubbles and excess liquid underneath the screen off the edge.
Step 7: If your phone has a curved screen, gently press the film onto the edges with your palm. In the case that the screen protector is too wet, allow it to dry more and try again.
Step 8: Allow the screen protector to rest for about eight to 12 hours or until fully dry.
Step 9: Turn on your phone.
How to apply Ringke Dual Easy Film protectors
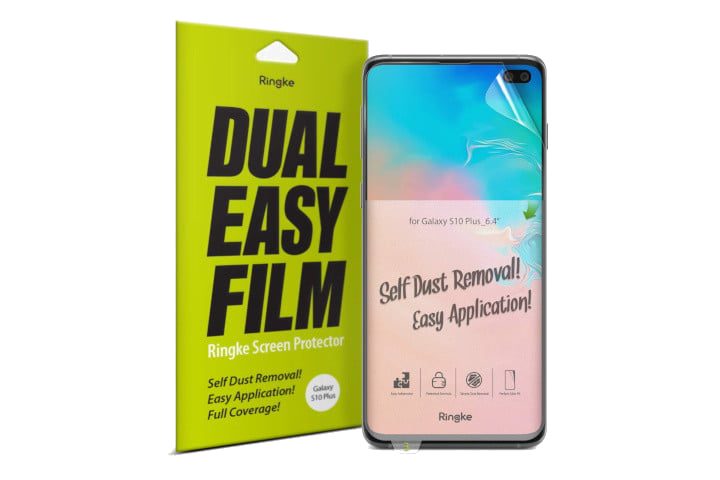
Applying screen protectors can be troubling. We get it, and so does Ringke. The Dual Easy Film screen protector is simple to install, and removing dust is made easy with its dual-layer design. Made a mistake? There’s an extra protector in the box!
Step 1: Clean off any dust particles, stains, and fingerprints from the surface of your smartphone with a microfiber cloth.
Step 2: Peel off Tab 1 and align the screen protector with your phone.
Step 3: Press the film firmly so that you begin to see bubbles underneath.
Step 4: Lift up Tab 2, which will cause the upper half of the screen protector to lift off the phone.
Step 5: Peel off Tab 2, and as you’re peeling, push the screen protector in place with a squeegee.
Step 6: Repeat with Tab 3 and the bottom half of the screen protector.
Step 7: Peel off Tab 4.
Step 8: Wipe the screen with a microfiber cloth.