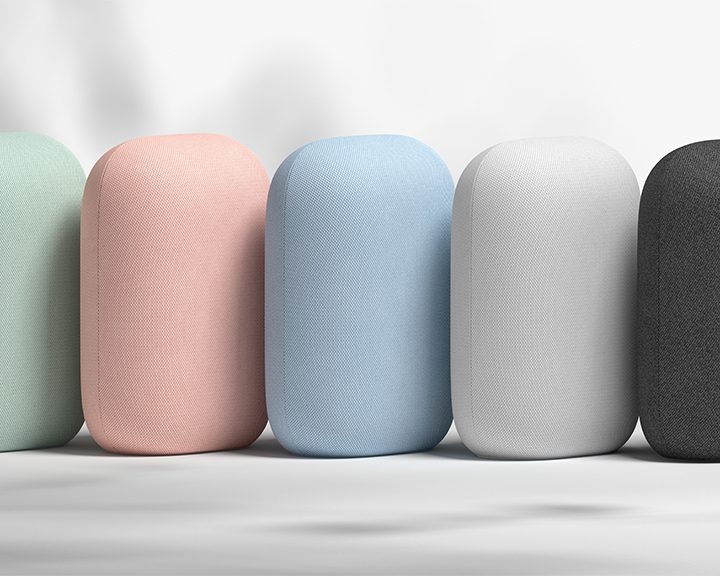
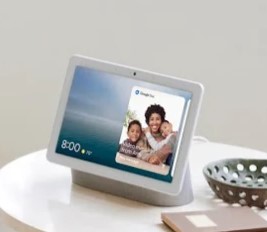
Google Home (now called Google Nest) smart speakers and displays sit at the core of a smart home. There’s the Google Nest Mini for small spaces and tight budgets, Google Nest Audio for better sound quality and more smarts, and the Google Nest Hub and Google Nest Hub Max that come with screens so you can see information at a glance — and even watch TV!
Whichever device you choose, the setup is similar, and at its core is a Wi-Fi connection.
How to connect Google Home devices to Wi-Fi
A strong and reliable Wi-Fi network is a must for any smart home. Your Wi-Fi comes in via a coaxial cable and is usually attached to the back of a device called a modem or router that receives service from your internet service providers (ISPs).
To connect Google Home app and devices to Wi-Fi you will also need:
- A Google Nest speaker or display.
- Latest version of the Google Home app.
- A Google Account (Gmail account).
- A mobile phone or tablet with Bluetooth turned on.
- An internet connection and secure wireless network.
To get started:
- Plug in your speaker or display.
- On your phone or tablet, open the Google Home app.
- Tap the Add icon, which is a plus symbol.
- Choose Set up device and then New device.
The first time you set up a Google Nest device in the Google Home app you’ll be prompted to choose your Wi-Fi network and enter the password. After that, the Google Home app will remember your Wi-Fi information and handle the connections seamlessly. You can check out our article on how to set up Google Home to get a lot more detail.
Changing Wi-Fi networks for Google Nest devices

While they’re quite smart, Google Nest speakers and displays can only remember one Wi-Fi network at a time. If you need to connect your speaker or display to a new Wi-Fi network because you’ve changed the network’s name or password, replaced your router, switched service providers, you’ll need to reconnect your Google Nest device to your new network. You might also need to factory reset your device and set it up again from scratch to reconnect it.
If your speaker or display is connected to an existing Wi-Fi network, but you’d like to connect it to a new one, follow these steps:
- Open the Google Home app and tap on your device.
- At the top right corner, tap Settings (the gear icon).
- Choose Device information and next to Wi-Fi, click Forget. You’ll be taken back to the Home app main screen.
- Follow the setup steps to set up your device on the new Wi-Fi network.
If you get an error message that says “could not communicate” with your device when you try to forget your network or the changeover steps don’t work, perform a factory reset of your device and start over. Each device has a slightly different factory reset sequence so check out Google’s how-to on that topic.
The bottom line is that Google Nest devices including smart speakers and screens are designed for easy setup and use — even for newbies. Don’t be intimidated. These devices can do so much for a home and offer ways to automate your world; check out our handy list of tips and tricks for Google Home.