
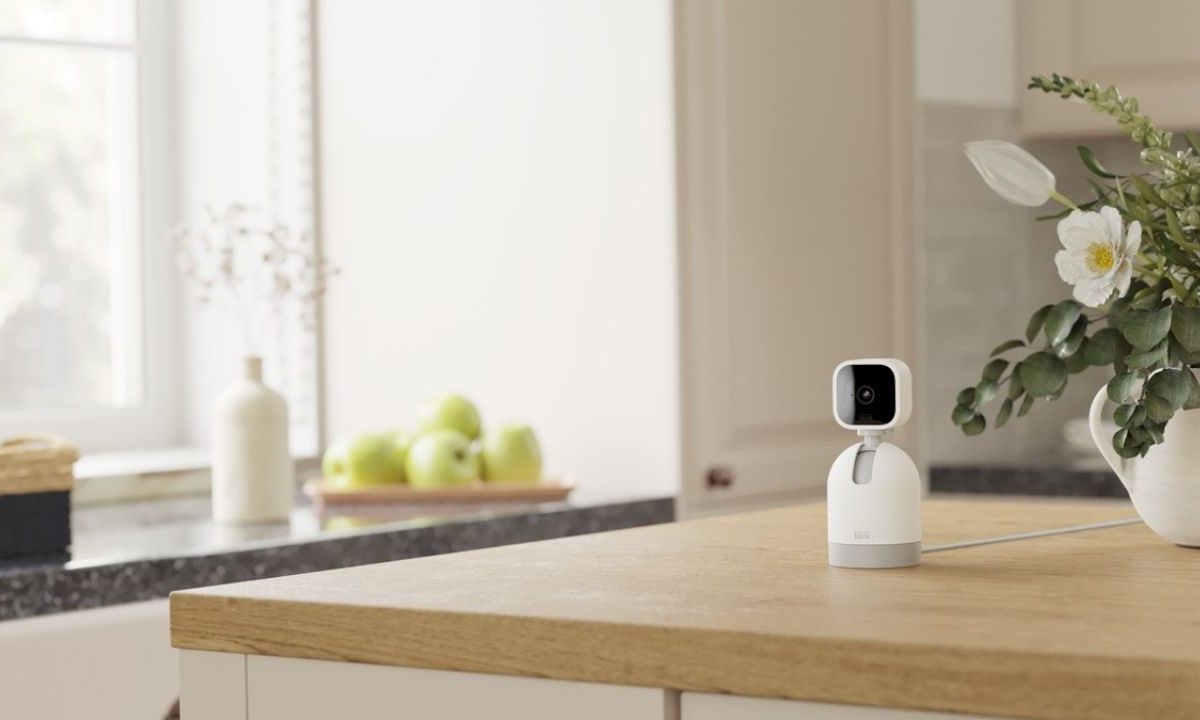
The Blink Mini is a solid indoor camera on its own, but when coupled with the Pan-Tilt Mount, it’s one of the best. This unique add-on product gives the Blink Mini everything it needs to rotate sideways or tilt vertically – providing you with a 360-degree view of your home. Installing your Blink Mini with the Pan-Tilt Mount is a rather straightforward, plug-and-play process, but there are a few steps that might give you some trouble.
If you need help piecing the two separate products together, here’s how to install the Blink Pan-Tilt Mount with your existing Blink Mini camera.

How to install the Blink Pan-Tilt Mount
Step 1: Unplug the Mini and disconnect it from its base.
To disconnect the camera, pull it up off the stem. It will take a slight bit of force. If you need some help, check out our extensive guide on removing the Blink Mini from its stand.
Step 2: Connect the Micro USB cable from the mount in the back of the Blink Mini cam.
Step 3: Snap the camera onto the mount's stem.
You'll have to press the camera down onto the mount's stem with force until you hear it snap into place.
Step 4: Connect the original Micro USB camera from the Blink Mini to the back of the mount.
Step 5: Once power is restored to the mount and camera, the app will notify you that the indoor Mini camera has been updated to include the Pan-Tilt Mount.
Once it's connected, the mount will automatically calibrate. It will move and rotate the stem to ensure everything works correctly and has enough space. Close and restart the app if the app doesn't update to show you that the mount is connected.


FAQ
Can you mount the Pan-Tilt Mount?
The mount has a quarter-inch threaded screw hole in the bottom of the base that you can use to mount the camera on walls or ceilings. Once mounted, make sure to go back through your Blink Mini's settings to update or flip the video feed.
Now that your camera is connected to the mount, you can move it while viewing a live feed. Open the app and view your camera's live feed, and you'll notice arrows to move the camera. There are also some additional settings in the menu part of the Blink indoor Mini camera now.
With the mount, you can update the default home-viewing position for the camera. If you move the view away from the home position, a home button will be in the middle of the arrows to go back to default. You can also flip the video if you have the camera mounted. Lastly, if the motor moves weirdly, you can recalibrate the mount to keep everything running smoothly. All of these options are shown in the live view or settings of the Blink app.
To expand the capabilities of your Blink Mini camera, you can purchase the Pan-Tilt Mount for $30 through Amazon. There's a preconfigured bundle package available as well for $60.


