So you dropped your phone in the street. Then it was run over. Twice. And then you were almost hit by a Subaru trying to rescue it from the middle of the crosswalk. If this sad story sounds familiar -- or at least plausible -- chances are that the first thought racing through your head was of all the contacts, photos, text messages, and notes stored on your device. What’s an Android aficionado to do in a case like this? Like your mother once said: “Plan ahead.”
Planning ahead is the easiest way to make sure your data isn’t lost to the ether, even if your phone is destroyed. Luckily, Google automatically syncs your contacts, calendar appointments, docs, and even app purchases — as long as you give it permission to do so. While Google will preserve a lot of your data, there are other methods that you might consider using. Read on to find out how to back up your Android phone.
Use the cloud
Like Apple’s iOS and iPadOS, Google provides means to automatically back up your Android device to the cloud. This setting is typically toggled on, but you can verify by following these steps in stock Android 11 and Samsung phones:
Step 1: Swipe down from the top to expand the notification shade and tap the Cog icon. This opens theSettings panel.
Step 2: Tap Google or System (stock Android only).
Step 3: Tap Backup.
Step 4: Tap the toggle next to Back Up to Google Drive if this feature isn’t enabled already.
What can be backed up
Here is Google’s official list of what is backed up to the cloud:
- Apps
- Contacts
- Date and time
- Display settings (brightness and sleep)
- Gmail settings
- Google Calendar events and settings
- Language and input settings
- Settings and data for apps not made by Google (varies by app)
- SMS text messages (not MMS)
- Wallpapers
- Wi-Fi networks and passwords
Keep in mind that your Google Account only offers 15GB of cloud storage for free. If you need more, especially if you’re backing up photos and videos, you’ll need a subscription.
As the list shows, photos, videos, and files are not backed up using this tool. You will need the Google Drive or Google One app to upload any files. You should also verify that automatic backups are turned on in Google Photos. Read on to find out how.
Use Google Photos
Here's how you can use Google Photos to back up your device.
Step 1: Tap to open the Google Photos app.
Step 2: Tap on your Google account icon in the top-right corner.
Step 3: Tap Photos Settings.
Step 4: Tap Back Up & Sync.
Step 5: Tap the toggle next to Back Up & Sync if this feature isn’t switched on already.
Step 6: You can also access this toggle by gong the Settings > Google > Backup route and tapping the Google Photos option.
Select what data to sync
You can also potentially add a few more bits and pieces to that list and configure precisely what you do and don’t want to be backed up. Here’s how:
Step 1: Swipe down from the top to expand the notification shade and tap the Cog icon. This opens the Settings panel.
Step 2: Tap Accounts. On Samsung phones, tap Accounts and Backup followed by Accounts.
Step 3: Tap on your Google Account.
Step 4: Tap Account Sync. On Samsung phones, tap Sync Account.
Step 5: Tap the Toggle next to each item you do and do not want to sync.
Please note: The list will differ depending on what you have on your phone.
Samsung Account backup
On Samsung phones, you also have the option to back up to your Samsung Account. Here’s how:
Step 1: Swipe down from the top to expand the notification shade and tap the Cog icon. This opens the Settings panel.
Step 2: Tap Accounts and Backup.
Step 3: Tap Backup and Restore.
Step 4: Tap Back-Up Data.
Step 5: Tap on the Data you want to back up, like Messages and Settings, and then tap Back Up.

Transfer your photos to a PC
One major thing Android lacks is a native way to back up everything to a PC. With an iPhone or iPad, there are built-in means in MacOS, the iTunes software for Windows. There are no similar means for Android devices, not even in Chrome OS.
The easiest way to transfer your photos to a Windows PC is to use the native Your Phone app. You can also use OneDrive to upload your photos to the cloud and sync that folder to your PC. Other methods include Bluetooth, a physical USB connection, and other cloud services.
Read our separate guide on how to transfer your photos and videos to a Windows 10, Mac, or Chromebook.
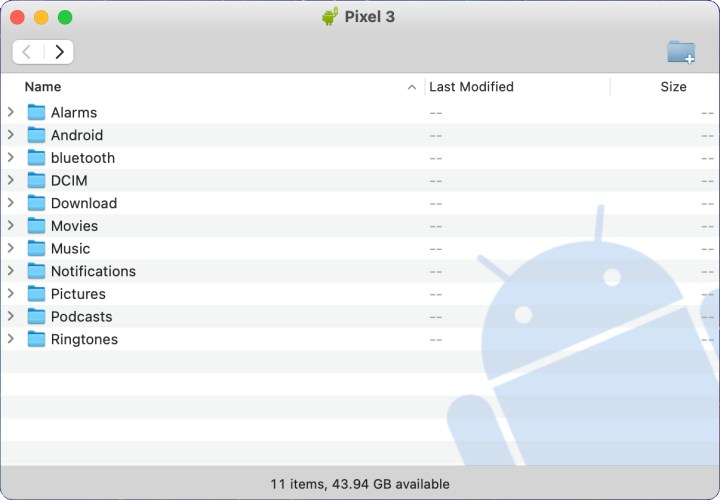
Transfer your files to a PC
Unfortunately, transferring files to Windows 10 isn’t quite so easy, as the native Your Phone app only transfers photos. Instead, your best bet is to use OneDrive and synchronize a folder with your Windows PC. Other options across all three platforms are to use a wired connection, Bluetooth, or a different cloud service.
Read our separate guide on how to transfer your files to a Windows 10, Mac, or Chromebook.
Go with a third-party backup utility
We strongly recommend that you stick with Google for your backup needs, but there are alternatives you can use. Here are a few:
My Backup Pro ($7)
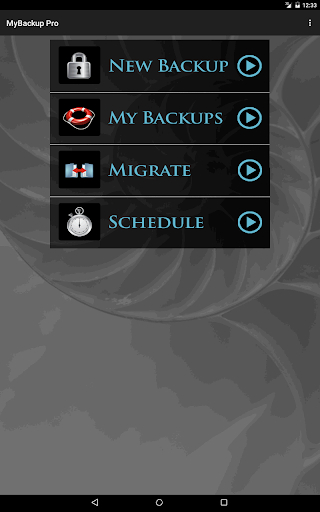
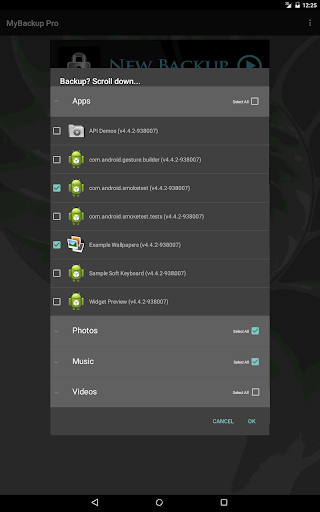
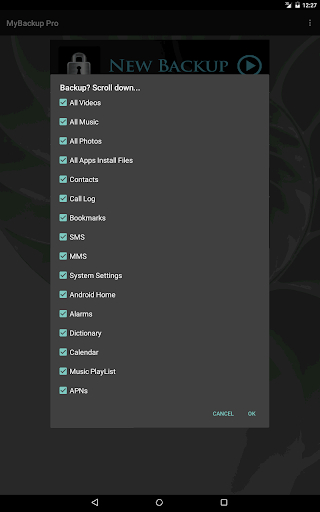
My Backup Pro backs up nearly everything in a single session without the need to root your phone: Photos, app data, browser bookmarks, contacts, system settings, home screen shortcuts, alarms, calendars, SMS messages — you name it and it’s probably covered.
This app allows you to schedule backups at convenient times, like when you’re sleeping, and saves the backup files either to the MicroSD card in your phone or to the cloud, making your data instantly accessible at the My Backup Pro site.
G Cloud Backup (free)
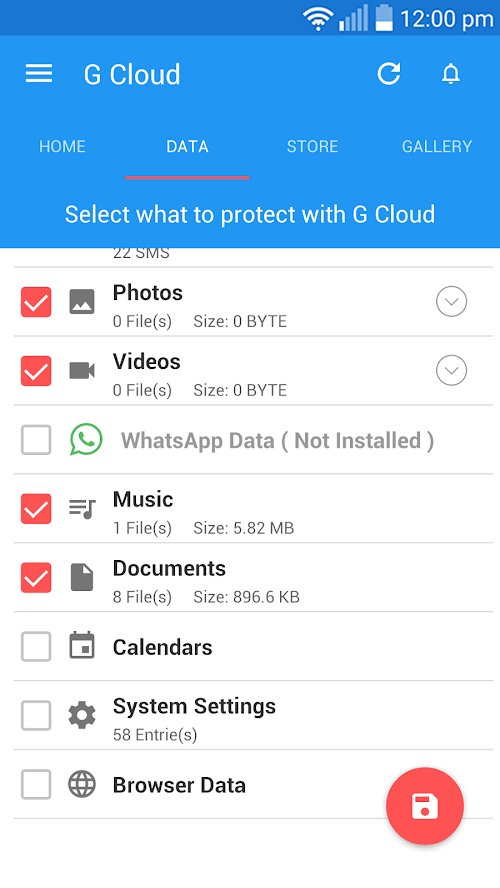
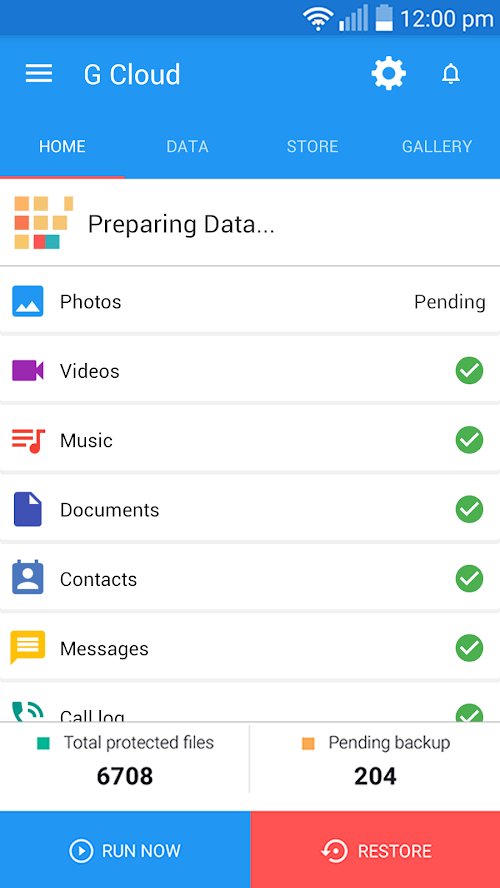
G Cloud Backup lets you back up everything from contacts and photos to app data, videos, music, SMS, and more. Everything is backed up securely to the cloud, with a handy Memories feature to easily sort back through photos or messages from a specific date. There are even options to schedule backups.
You get 1GB of storage free but can earn more (up to 10GB) through the app, or purchase the upgrade if needed. If your phone dies or you get a new handset, you can restore or migrate data with a single tap.
SMS Backup & Restore (free)
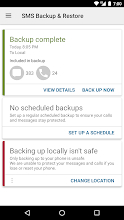
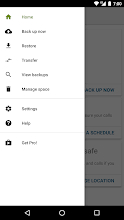
Want to preserve every last drunken text message for posterity? SMS Backup & Restore integrates with your email account, Google Drive, or Dropbox to back up your SMS messages in XML format. You can store backups on your computer and send them via email. It’s possible to view and restore your messages selectively, or all at once. You can also use the app to schedule regular backups.
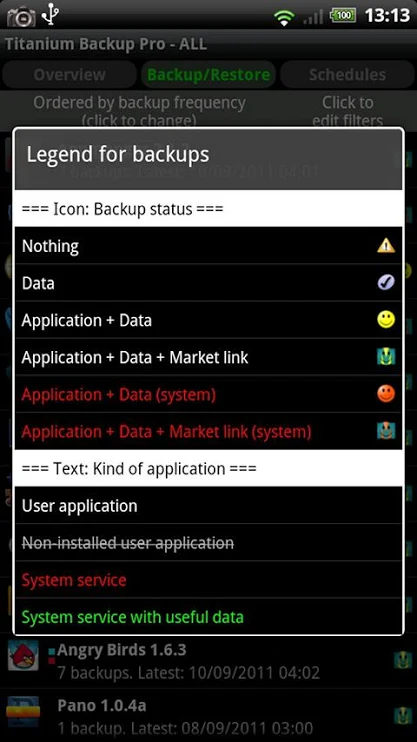
Titanium Backup (free)
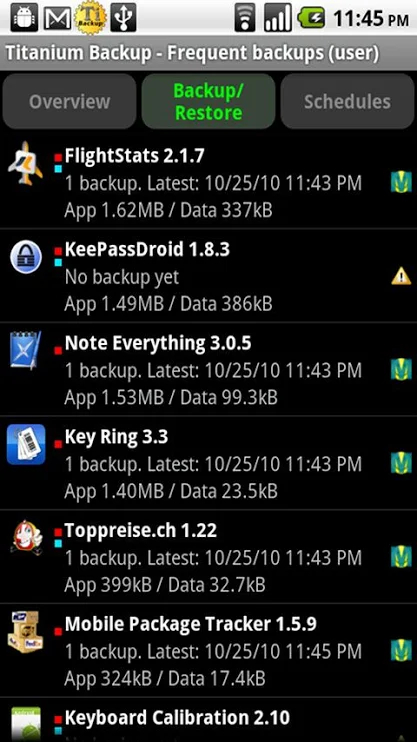
Titanium Backup is an excellent choice if you’re attached to your Android device. This impressive tool comes with tons of helpful, user-friendly features. However, the $6 Pro version offers everything under the sun such as multiple backups per app, encryption, unlimited schedules, CSV export, and more.
You can download and use the app’s basic features for free, but your phone must be rooted. The Pro version is a key you must purchase through Google Play.
Use your device manufacturer’s software
Nearly every smartphone manufacturer offers a proprietary backup solution for your device. Most brands, however, are shifting away from computer-based (or MicroSD card-based) storage. Instead, they’re rolling out secure switching apps that let you export and import the information. Everything from your contacts and game progress to photos and saved messages can efficiently be zapped over to your new device, wire-free. Here’s a list of some of the options by manufacturer:
Your smartphone carrier might be able to provide you with unique data swapping app options. Head to your cell phone provider’s counter and ask if they have any solutions if all else fails.
Back up now
Regularly backing up your device will ensure you don’t lose any important files if you lose or break your phone or if it gets stolen. A phone can be replaced — at a hefty cost — but if your data is lost with it, then you can’t get those photos and files back. All smartphone users know that accidents happen at the worst times – like the moment you’ve paid off your device or right after its insurance expires.
Think about all of the photos, videos, messages, and contact information stored on your device. When all of that carefully cultivated data disappears, it can be difficult or downright impossible to recover.
You don’t want to lose irreplaceable data or pictures because you didn’t back your phone up. Instead of wishing you had backed everything up, take time now to back up your phone’s photos, contacts, and apps to your PC or even an external drive, so you won’t have to worry about it anymore. You’ll find countless options once you research backups for your specific device.


