The best gear to buy in Pikmin 4

After surviving your crash landing, which itself was a mission to rescue other crashed explorers, you will need to use anything and everything you find in your environment to survive in Pikmin 4. The titular Pikmin, and your new pup Oatchi, will do the bulk of your work for you, but it will be up to you to craft your own gear to create in The Lab. There are dozens of gear items you can get, but all of them have a cost so you will want to prioritize getting the strongest ones first. This will make your early days trying to survive in this mysterious land that much easier. Gather up your Pikmin and do some research on the best gear you should buy in Pikmin 4.

How to buy gear

A description of what raw materials are in Pikmin 4.
Nintendo

Before you can start buying gear, you need to unlock The Lab where it is sold. This will happen very early on after you rescue the castaway named Russ in a cave in the Sun-Speckled Terrace. Once he’s back at your base, you can interact with him to spend any raw materials you collect around the map. Some gear items won’t be available right away, requiring you to either do specific things or accumulate enough Sparklium first.

Recommended Videos

Best gear to buy

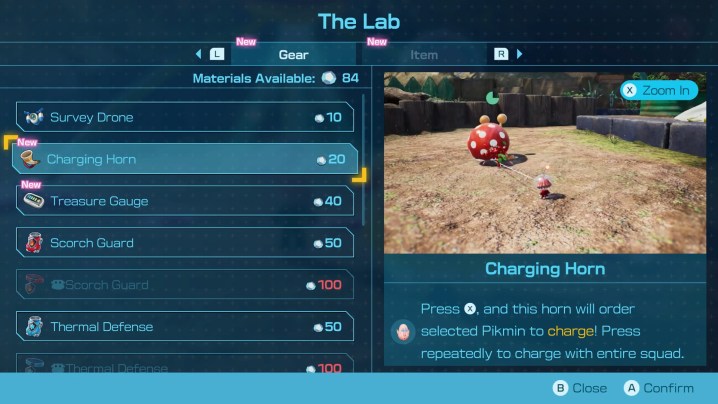
Charging Horn

Looking at the Charging Horn in the shop in Pikmin 4.
Image used with permission by copyright holder

The Charging Horn is great for rushing down your targets. When you have it equipped, if you hold the X button down you can direct all your Pikmin (and Oatchi) toward an enemy or object you want them to interact with and send them rushing towards it. If it is an enemy, they will swarm it all at once for massive damage.

This piece of gear requires you to get 450 Sparklium to unlock and then costs 20 raw materials to purchase.

Treasure Gauge
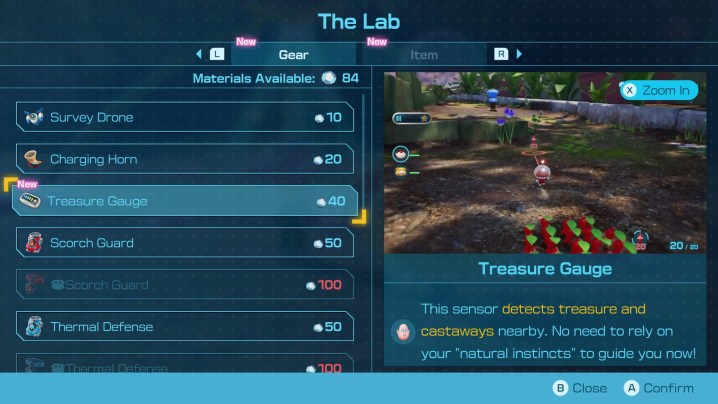
A description of the Treasure Tracker in Pikmin 4.
Image used with permission by copyright holder

Pikmin 4 is all about collecting things, with the most important of them being treasures and other castaways. The Treasure Gauge makes finding both of these easier by adding a little meter on your screen. The closer you are to either of these things, the more the meter will fill up, helping you track down any pesky treasure or castaway you’ve been looking for.

The Treasure Gauge unlocks when you reach 1,000 Sparklium and will cost 40 raw materials.

Survey Drone
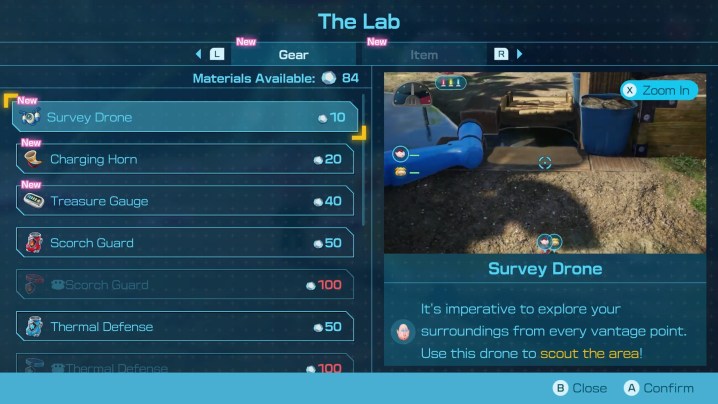
A description of the Survey Drone in Pikmin 4.
Image used with permission by copyright holder

Never get caught off guard again with the Survey Drone. Your default view in Pikmin 4 is fairly limited, making it hard to really scout out what’s ahead of you until you’re basically on top of it. With the Survey Drone, you can take full control of the camera and take a look at what enemies, items, and more await ahead, even beyond obstacles you can’t cross. What’s better is that, if you spot something interesting or worth taking note of, you can drop a pin on it to mark it on your map as a reminder.

You can unlock the Survey Drone by collecting a total of 600 Sparklium and then purchasing it for a mere 10 raw materials.

Rush Boots
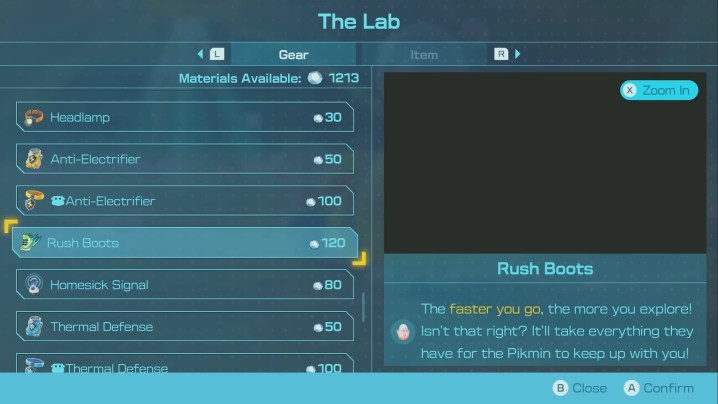
Looking at the Rush Boots in The Lab in Pikmin 4.
Image used with permission by copyright holder

There are a few different boot options to pick from in The Lab, but we found Rush Boots to be the most useful to keep on. As you may have guessed, Rush Boots increase your normal movement speed. You’re doing a lot of running around in Pikmin 4, especially in these larger zones, so getting where you need to fast helps you get more done before nightfall.

By collecting 5,100 Sparklium the Rush Boots will become available in The Lab for 120 raw materials.

Homesick Signal

Purchasing the Homesick Signal in Pikmin 4.
Image used with permission by copyright holder

Finally, grab yourself a Homesick Signal to make managing all your wayward Pikmin that much easier. With this piece of gear, any lost Pikmin not in your squad will be called back to return to the S.S. Beagle. This is perfect for regrouping before you take on a big fight, or to try and save as many Pikmin as you can before nightfall without having to try and rush around finding them all yourself.

The Homesick Signal unlocks at 4,500 Sparklium and costs 80 raw materials.

Jesse Lennox
Jesse Lennox has been a writer at Digital Trends for over four years and has no plans of stopping. He covers all things…
The best Yasuke gear in Assassin’s Creed Shadows
Yasuke stares down an enemy in Assassin's Creed Shadows.

After a fairly lengthy intro in Assassin's Creed Shadows, you will have access to both Naoe and Yasuke and can swap between the two as you please for the rest of the game. Your XP is shared between the two characters, but each one has their own skills to master and gear to equip. Naoe is more suited to sneaking and assassinating enemies without being detected, while Yasuke takes a more direct approach and is built for open combat. This means each one should be using the appropriate gear to support that playstyle. Weapons, armor, and trinkets are dumped on you for doing almost everything, which makes sorting through it all and finding the best gear a bit annoying. For Yasuke, these are the pieces of armor and weapons you should focus on getting.
Best Yasuke gear

Just like Naoe, Yasuke can hold two weapons, wear armor and headgear, plus equip a trinket.
Weapons
Yasuke's long katana is his old reliable primary weapon, with the best of the best being Venom Pillar. This weapon allows you to instantly charge a posture attack without holding the button by swapping between light and heavy attacks. You should be doing this naturally for better combos, buit this makes his basic attacks even more lethal. If you add the engraving that prevents your attacks from being interrupted, you become unstoppable.

Read more
The best Naoe gear in Assassin’s Creed Shadows
One of the protagonists in Assassin's Creed Shadows.

Assassin's Creed Shadowsintroduces a few interesting twists on the series' established formula. There are new features like Scouts and a fully upgradable hideout, but the big change is the addition of two distinct protagonists Naoe and Yasuke. Unlike Syndicate, these two characters serve vastly different roles, with Naoe being suited more towards stealth and Yasuke a better fighter. Each one has their own skills to unlock, but just as important is equipping them with the best gear. You will be drowning in loot over your playtime so knowing which is worth keeping and upgrading can be tricky. If Naoe is your preferred character, these are the items you should be using to maximize her potential.
Best Naoe gear

Naoe can hold two weapons, plus armor, headgear, and a trinket. These are the ones we found to be the most powerful for her.
Weapons
For Naoe's katana, the Bloodshade legendary katana has the most powerful bleed abilities in the game. It obviously inflicts bleed, but its special perk is that bleed buildup doesn't drain over time so you don't have to be overly aggressive to get it to proc. You can find this katana on a ship to the west of Osaka on the coast of Amagasaki in Izumi Settsu.

Read more
The best hideout upgrades in Assassin’s Creed Shadows
Yasuke trains outside in Assassin's Creed Shadows.

There have been various forms of upgradable bases in Assassin's Creed games before, but none as deep as in Assassin's Creed Shadows. Besides being a relaxing location where Naoe and Yasuke can hang out with their various allies, you will also be building entire structures that add new functions to the game. You're tutorialized on them only to get access to Scouts, but the rest of the buildings and upgrades are up to you. Since resources are so precious, investing in the wrong structures can set you back hours. Instead, we best hideout upgrades you should get in Assassin's Creed Shadows.
Best hideout upgrades

The most obvious tip to start with should go without saying, but don't bother purchasing any of the decorative buildings until you have built and upgraded all the ones that provide benefits. Unless you're mainly interested in playing Assassin's Creed Shadows as a mini Animal Crossing game, leave that until the end.
Stables
Your first order of business should be to upgrade your stables. This building is a little misleading since it has nothing to do with your mount but actually relates to those stockpiles you will come across in various camps and castles. These are packed with resources, but you are required to mark them for Scouts to collect and bring back to your hideout. The Stables first allow you to even use this feature, and upgrading it increases how many supplies you get from each pile. This will help fund all future upgrades so should be done as early as possible.
Study
Speaking of Scouts, you will need them quite often throughout the game for revealing quest locations and gathering supplies. Unless you pay, you can only use a scout once per season, and you only start with three. Building and upgrading your Study not only gives you more scouts to work with but also increases their scouting range on the map.
Tera
Don't overlook this smaller building in the lower sections if you're trying to earn XP. This building can't be upgraded so all you need to do is get it once and you're done, but it increases all your XP gain, no matter what source it comes from, by 10%. That is massive if you're trying to power level your characters.
Forge
Finally, the Forge can be left for last in our opinion. You will have a quest to build one, but that's all you should do with it until late into the game, if at all. Each upgrade increases the maximum level you can upgrade your gear in, which is great, but completely unnecessary for most of the game. You are always finding new gear at your current level while completing quests and looting chests so spending your resources to buff a weapon or piece of armor tends to be a waste when you find something better right away. The later upgrades do allow for better engraving, but again, this is best saved for the end game when you know what gear you want to stick with.

Read more